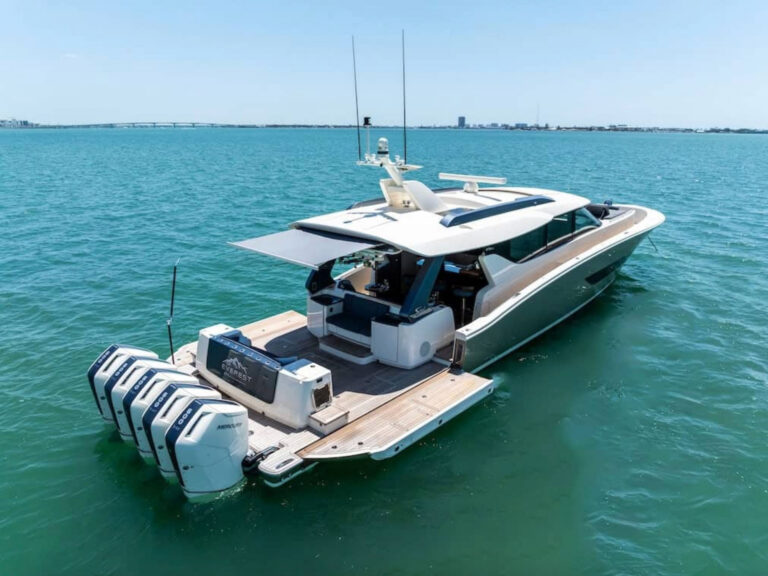
Marine VHF antennas have not changed much since VHF radios were adopted by recreational boaters in the 1960s. We have seen improved durability and materials, optimized transmission and reception range, and enhanced mounting systems. Yet, the function of a VHF antenna has remained much the same—until now.
Shakespeare Marine, a long-established leader in marine antennas, has reimagined what a VHF antenna can be with the new CommLight. The 6.5-foot tall, 6 dB gain, and 5 MHz bandwidth CL-6 antenna not only offers outstanding transmission and reception capabilities, but it is also the first antenna to offer LED lighting. Controlled with a mobile app, boaters can adjust the vibrant glow of the antenna across the full RGB color spectrum and cue up flashing modes and adjust the pulse speed. It has multiple presets, and the CL-6 can sync its changing colors to the tempo of downloaded music.
Lighting aside, the CL-6 features brass and copper elements for range and reception, a corrosion-resistant stainless-steel ferrule designed to fit a standard threaded (1-inch diameter/14 threads per inch) ratchet mount, a durable high-gloss PMMA antenna finish, a 15-foot RG-58 coaxial cable with a PL-259 connector, and a 25-foot two-piece power cable with a controller that connects wirelessly to your mobile device.
Because you need to route and install both a standard coax cable and a power cable, retrofitting your boat with the CL-6 differs a bit from installing a replacement VHF antenna, but this DIY project is still fairly easy.
Skill Level: 2 of 5
Finish Time: Approx. 3-4 hours
Tools and Supplies
- Shakespeare Marine CommLight VHF antenna ($199.95; thegpsstore.com)
- Shakespeare Marine 4187 or 4187-HD ratchet mount (westmarine.com)
- Power drill and bit set
- Phillips screwdriver
- Socket wrench and box/open wrench sets
- Solder gun
- Resin-core solder
- Marine crimp terminals with heat-shrink collars
- Heavy-duty self-adhesive 1-inch Velcro strips
- Crimping tool
- Heat gun
- Zip ties
- Blue Sea Systems medium cable clam No. 1002

Download the App
Before getting started, it’s a good idea to download the free Shakespeare CommLight app on your mobile device. For Android, visit Google Play; for iPhones, go to the App Store. Once it’s on your phone, scroll through the functions, which include the on/off button at the top of the homepage, connecting to Bluetooth, a color wheel, pulsating and flashing color modes, music-sync mode, brightness and more. Having the app on your phone ahead of time will allow you to confirm that the illumination system is operational before you finalize the installation and button up everything on your boat.
Mount the Antenna
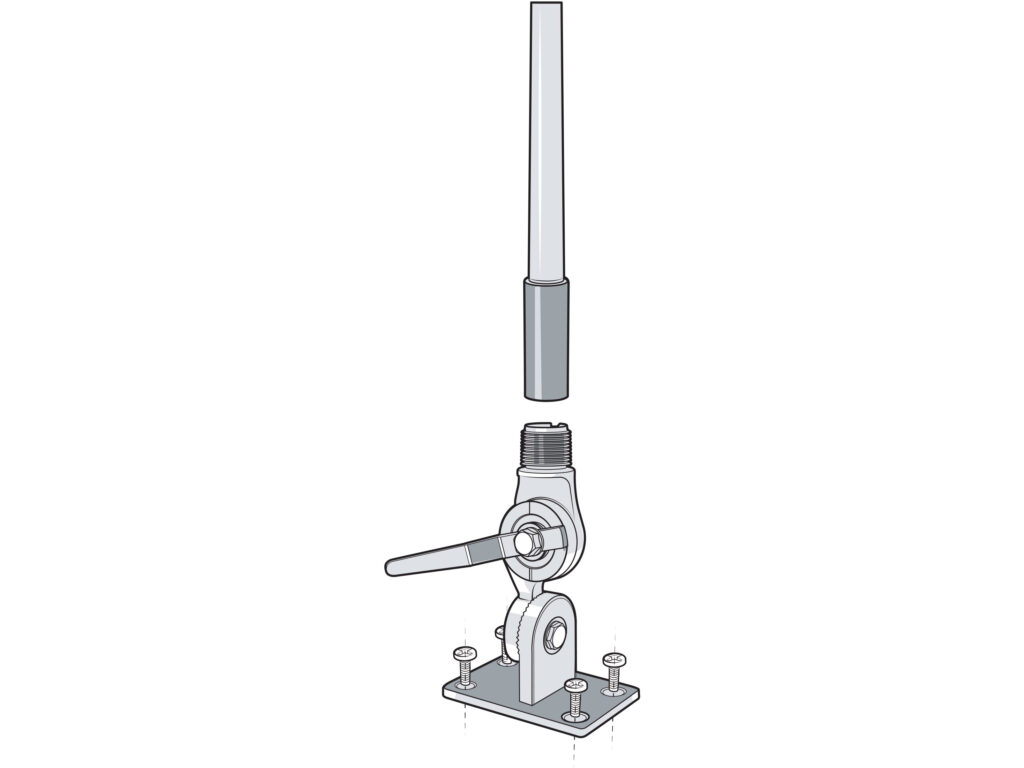
If you do not already have an existing VHF antenna on your boat, choose a mounting location that is as high as possible (such as on a hardtop), free from obstructions, and as far as possible from any other antennas. Use a Shakespeare 4187 or 4187-HD or similar ratchet mount (sold separately), and follow the directions with the mount that you have chosen. If your boat has an existing VHF antenna that you are planning to use with the CL-6, remove the old antenna completely, and then thread the ferrule of the new antenna onto the ratchet mount, and tighten by hand. Do not use pliers; they can scratch the ferrule.
Route the Cables
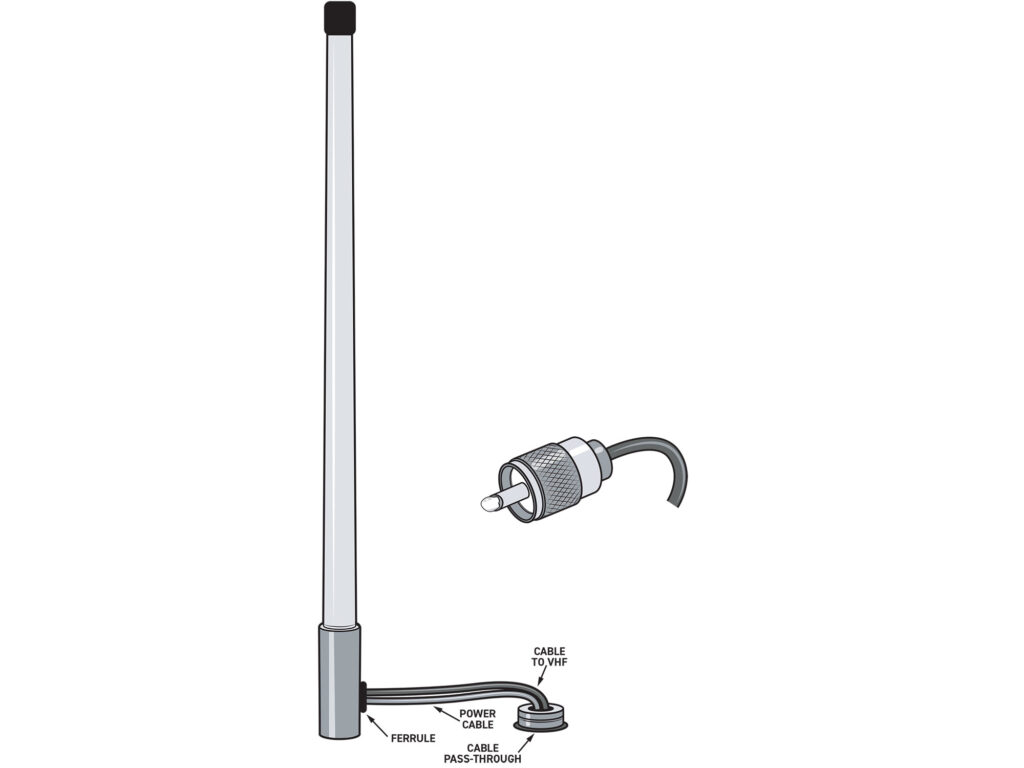
Route the RG-58 and power cables from the antenna through the same pass-through that you used for the previous antenna. Once through, route the RG-58 cable to the VHF radio, keeping it away from electrical equipment and other cables. Roll the cable in a coil of at least 8 inches, and stow it out of the way. Install the PL-259 connector (supplied) on the RG-58 cable according to the connector’s instructions. These call for soldering the connector to the cable. For a video tutorial on soldering on a PL-259 connector, visit Boating’s YouTube channel.
Install the Control Box
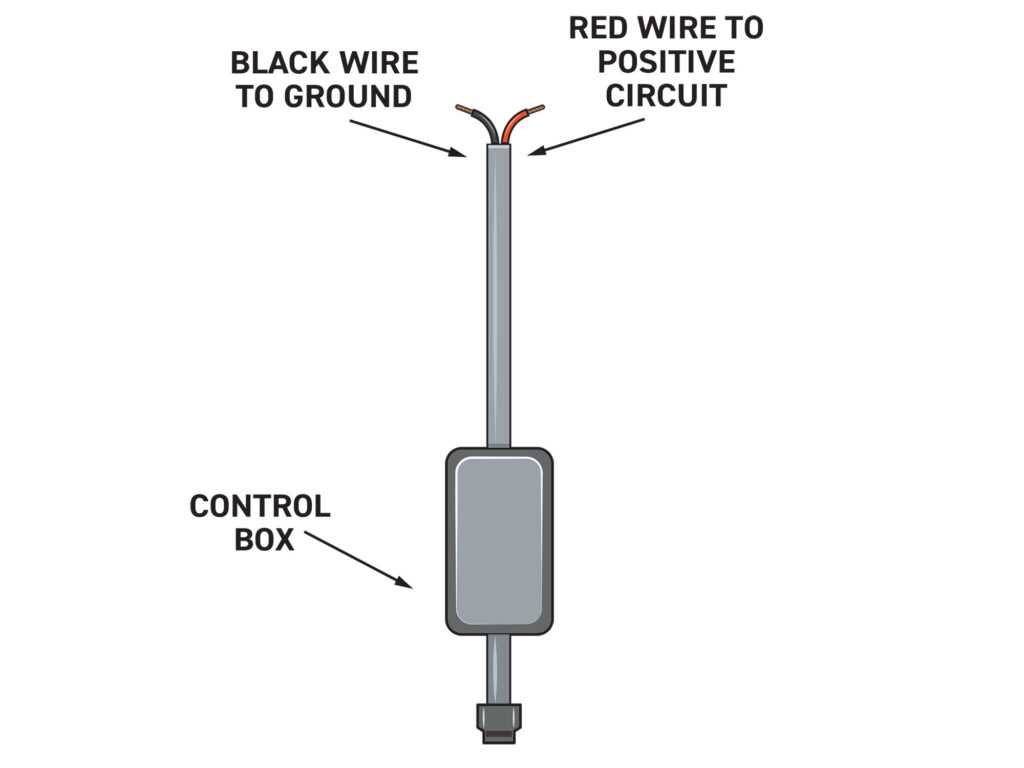
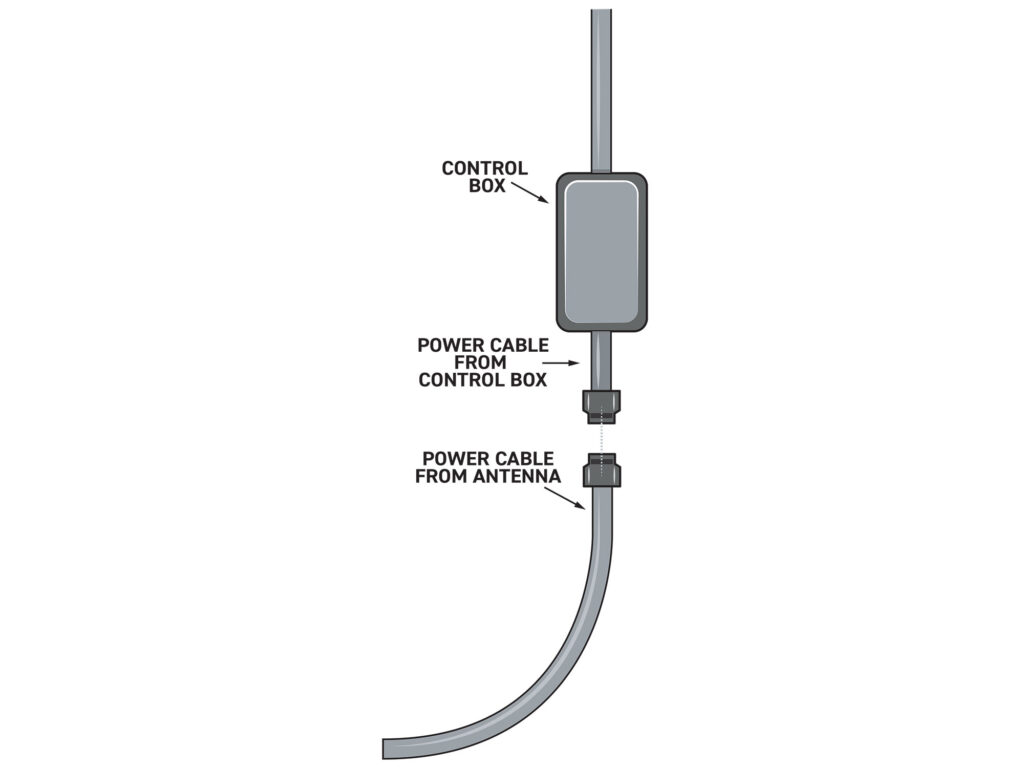
Position the compact illumination-control box in a spot that can receive Bluetooth signals from an onboard mobile device. The control box should also be close to an onboard power source. There is no supplied mounting system for the control box, but we recommend using a strip of heavy-duty Velcro with peel-and-stick adhesive (not supplied) to secure the lightweight module. Add a 3-amp fuse or breaker to the red positive wire from the power cable, and connect it to a switchable 12-volt DC power source. Connect the black negative wire from the power cable to the onboard ground circuit.
Read Next: How to Make DSC Fully Functional on a VHF Radio
Route and Connect the Power Cable
Run the power cable from the pass-through to the illumination-control box, and connect these two elements using the special cable-to-cable watertight plug, ensuring that the small pin connectors align properly and that the two knurled turnbuckles thread tightly against each other. Switch on power to the control box using the CommLight app previously installed on your mobile device, and test the system and its various features to ensure full functionality. Then secure all of the cables along their runs with zip ties to prevent chafing or other damage.

