Today, new boats are required to meet American Boat and Yacht Council Standard H-41 to provide (and I am paraphrasing here) a means of unassisted reboarding that is accessible to and deployable by a person in the water.
For safety, this makes a lot of sense, particularly if a boater falls overboard from a vessel with tall gunwales that make it impossible to clamber back over the side. Instead, he or she can deploy a boarding ladder or other reboarding system to climb back in the boat more easily.
However, a fair number of boats on the water today were built before the establishment of ABYC Standard H-41 in 2014; thus, some older vessels—particularly outboard boats with cutout transoms—might not meet this requirement.
To be clear, this is not a legal requirement on older boats, but it is a good idea. Fortunately, there are ways to add compliant reboarding systems, and one of the most popular for outboard-powered boats is one like the transom platforms with steps sold by Boat Outfitters.
Here’s how to install this boarding system on an outboard-powered boat with an older-style cutout transom.
Skill Level: 2.5 of 5
Finish Time: Approx. 2-3 hours
Tools and Supplies
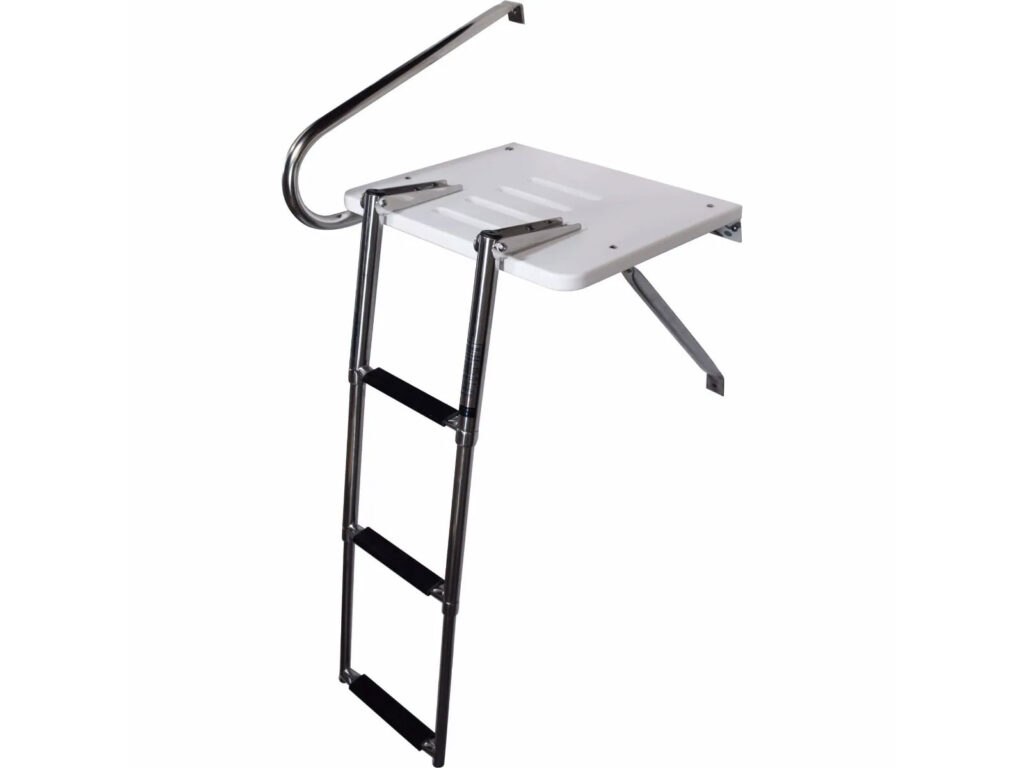
- Outboard Swim Platform with 2 Step Ladder ($230.49; boatoutfitters.com)
- 1/4-inch aluminum plate or 3/4-inch King Starboard to create a backing plate
- Stainless-steel hardware for through-bolting the platform to the transom
- Power drill and drill-bit set
- Screwdriver and wrench set
- Assembly lube
- Marking pencil or masking tape
- Marine sealant
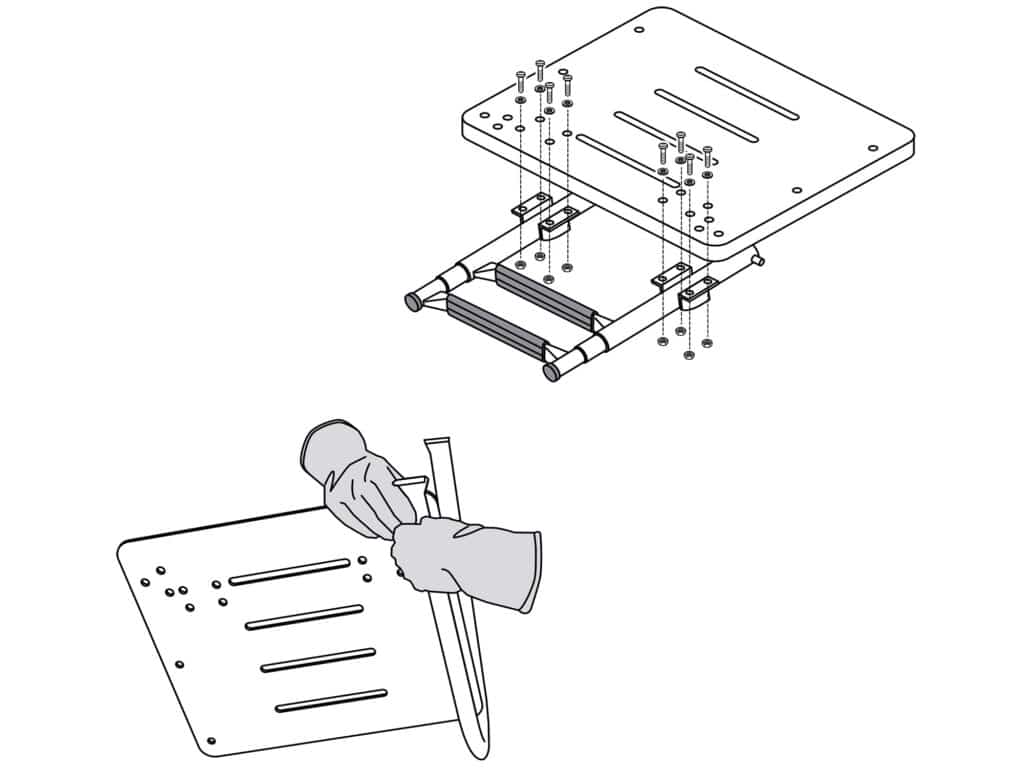
Assemble the Swim Platform Parts
Determine which side of the transom is most suitable for the platform. Using the supplied stainless-steel hardware, pre-drilled holes and assembly instructions, assemble the platform with the handrail to the outside edge of the platform and the lower support strut to the inside edge of the platform. Tighten the hardware securely and ensure that nothing is loose or wobbly before moving to the next step. To make mounting the platform a bit easier in step three, hold off on installing the boarding ladder assembly until after the boarding platform has been secured to the transom.
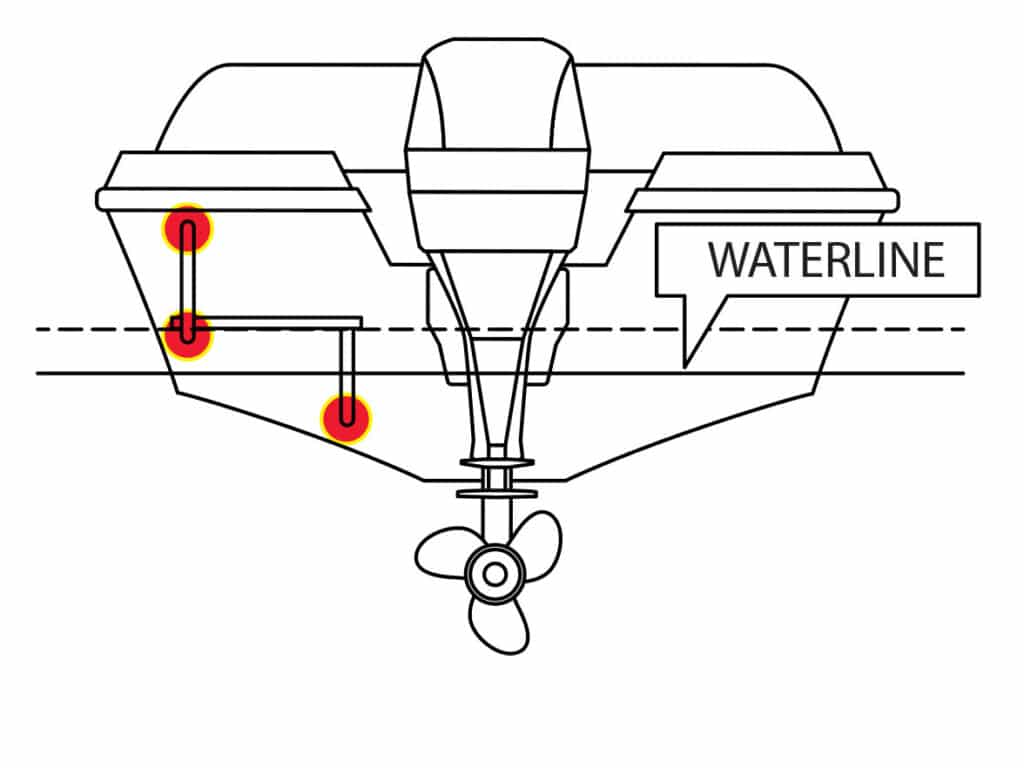
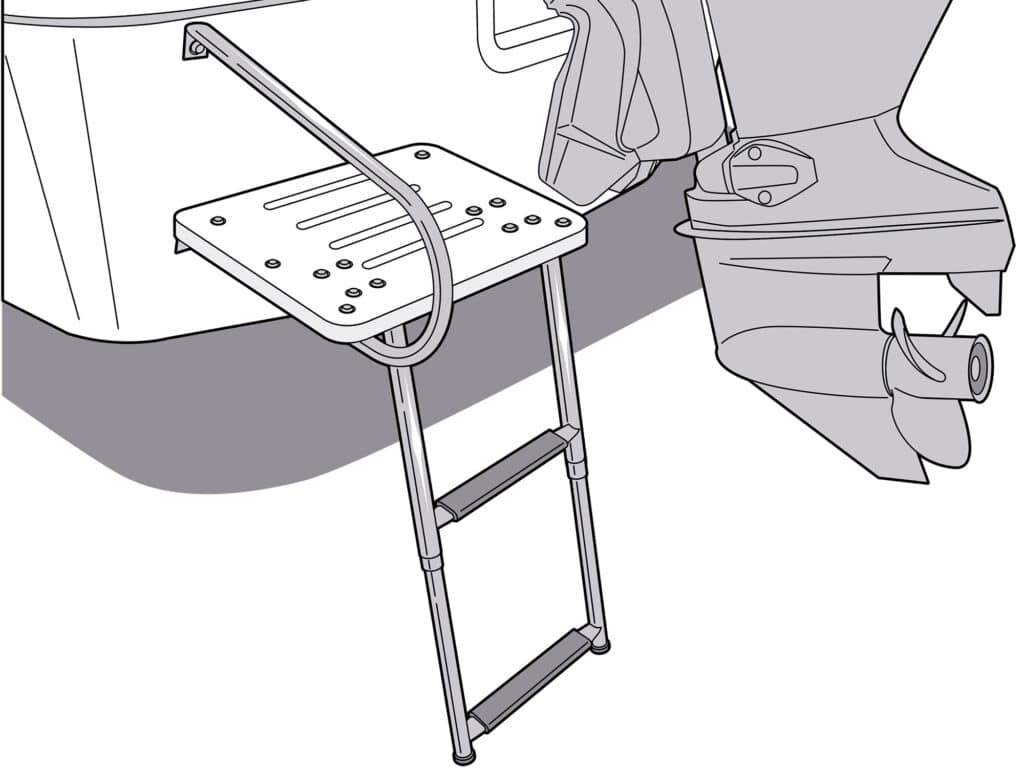
Mark the Location of the Swim Platform
To ensure clearance from the outboard, use the steering wheel to swing the motor as far as possible to the side on which you plan to install the platform. Then draw a line indicating the motor’s full extension. Position the platform assembly away from the line, ensuring that the platform itself is parallel to the waterline and about 3 to 4 inches above it. Mark the four mounting holes through the flattened ends (two each for the handrail and strut). Ensure that there are not wires, hoses or objects behind the mounting hole locations that might be damaged from drilling.
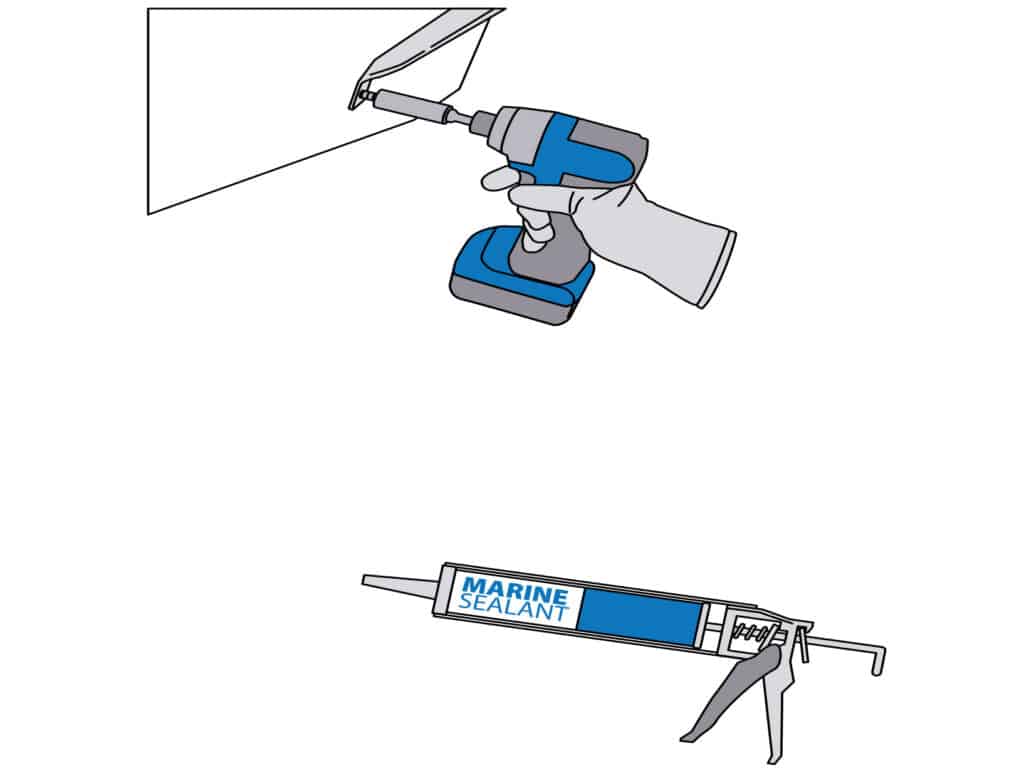
Install the Swim Platform
Drill the four marked holes with a bit compatible with the selected stainless-steel fasteners (not provided). Hold the drill perpendicular to the transom when drilling. If the transom is less than 2 inches thick, install a backing plate made of aluminum, marine plywood or King Starboard on the inside of the transom. Bed the mounting holes with marine sealant, then through-bolt each of the mounting points with at least a 1/4-inch stainless-steel bolt, washer (on the outside), fender washer (on the inside) and a nylon-locking nut. Tighten each fastener securely.

Add the Ladder
Use the supplied hardware, pre-drilled holes, stainless-steel hardware and instructions to securely mount the boarding ladder under the platform. Afterward, deploy and retract it to make sure it works smoothly and easily.
Read Next: More DIY Projects
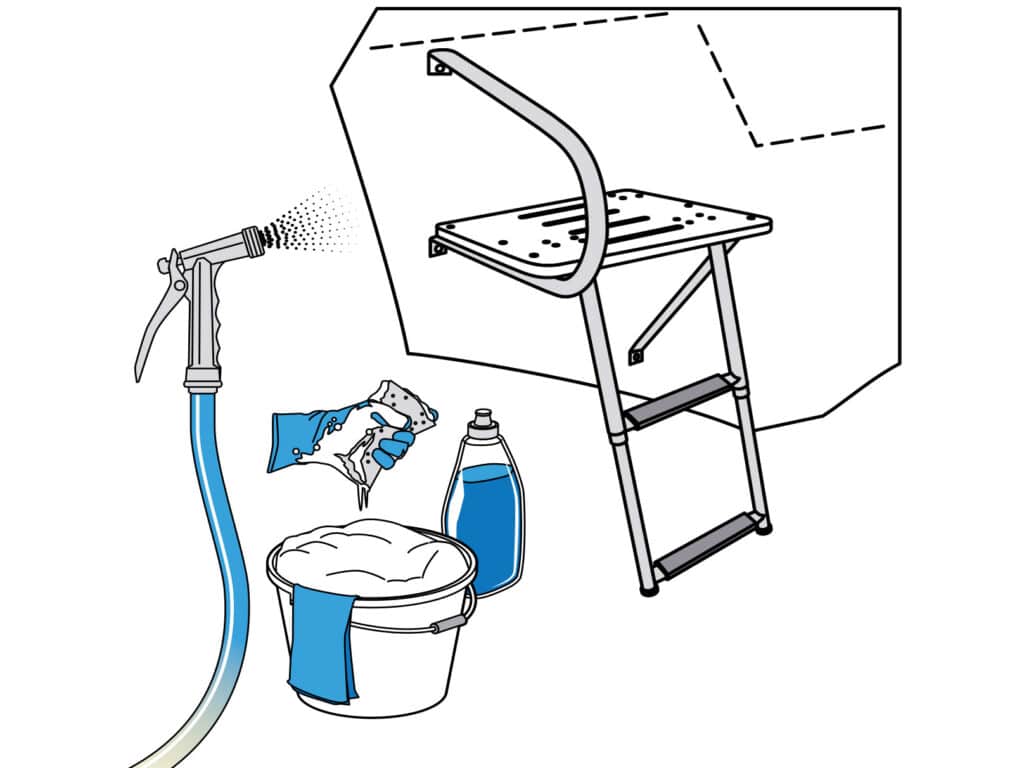
Maintain the Swim Platform
Boat Outfitters’ transom platform and boarding ladder are constructed from corrosion-resistant materials, but salt water can lead to minor corrosion of the stainless-steel components. To keep the boarding platform and ladder in the best possible condition and operating smoothly, wash everything with fresh water and soap after each trip, and occasionally apply metal cleaner and polish to help maintain the luster of the stainless rails. Also, periodically check the mounting hardware for looseness and retighten if necessary.