To paraphrase one of my best buddies, there are a thousand ways to mess up a boat engine. I’ve witnessed my share, including scratched, scuffed, scraped or sun-faded finishes on outboard engines and sterndrive units. Many times it’s the gear housing or skeg that suffers paint damage, the result of unwelcome encounters with shoals or submerged objects. Other times it’s the outboard hood or lower cladding that’s blemished from bumping docks, seawalls, pilings or even other boats.
You can, of course, touch up minor scratches with color-matched paint, but restoring the finish to the kind of quality you see on new motors and drives requires a bit more time and work. Yet it is well within the skill level of most DIY-competent boat owners, thanks to the refinishing kits from ColorRite designed for metal or plastic exterior marine-engine surfaces.
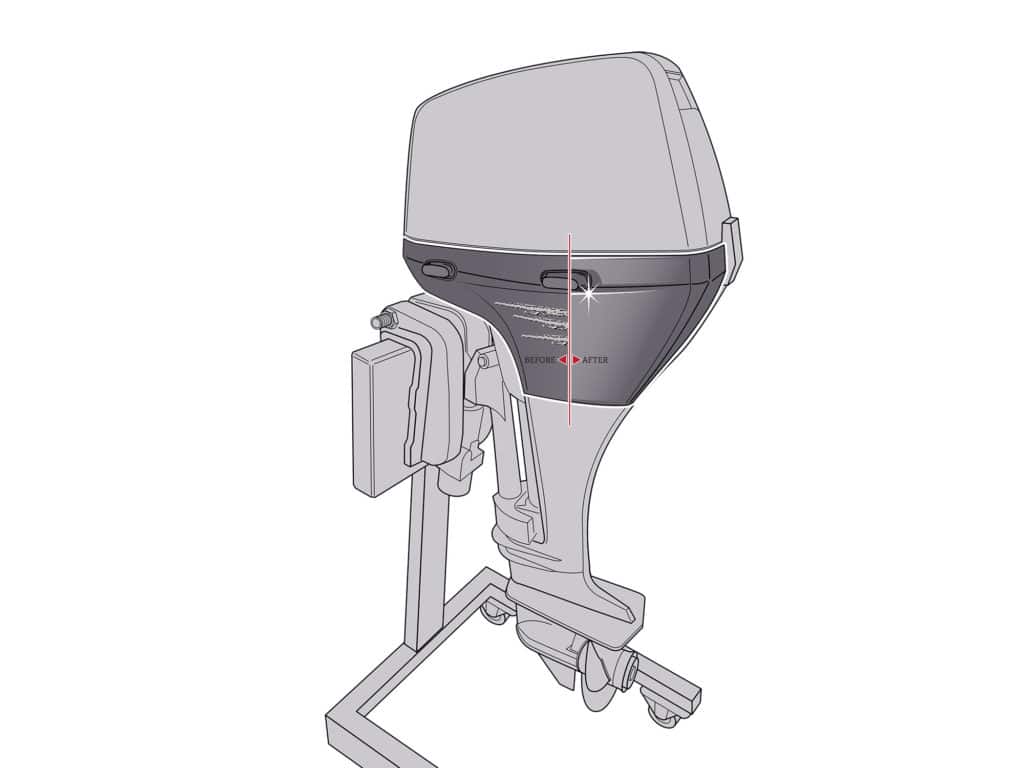
Our project focused on refinishing the severely scratched left side of a two-piece apron on a seven-year-old Suzuki Marine DF 9.9 hp outboard. The widespread damage occurred from accidentally sliding around in the bed of a truck. To refinish the 12-by-18-inch piece of plastic cladding, we chose ColorRite’s Aerosol Complete Repair Package, which includes three 12-ounce spray cans (one each of primer, Suzuki Shadow Black color coat and clear coat), as well as prep wipes, a sandpaper pack, a tack cloth, masking tape, and a 2-ounce bottle of light-cut polishing compound.
To get started, we unbolted the damaged half of the apron from the engine, then removed parts that did not require paint such as the hood latch and rubber seals. We also did a spray test to ensure the color was a good match. For painting, we chose a warm, windless day and sprayed outdoors well away from boats, cars and structures to prevent overspray.
Skill Level: 2 of 5
Finish Time: Approx. 3-5 days
Tools and Supplies
- ColorRite Aerosol Complete Repair Package; includes three 12-ounce spray cans (one each of primer, color coat and clear coat), Prep-Wipes towelettes, sandpaper pack, tack cloth, masking tape, and 2-ounce bottle of light-cut polishing compound (colorrite.com)
- Microfiber towels
- Goggles for eye protection (amazon.com)
- Respirator mask (amazon.com)
- Rubber gloves
- Water bowl for wet-sanding
Wipe, Sand, Clean
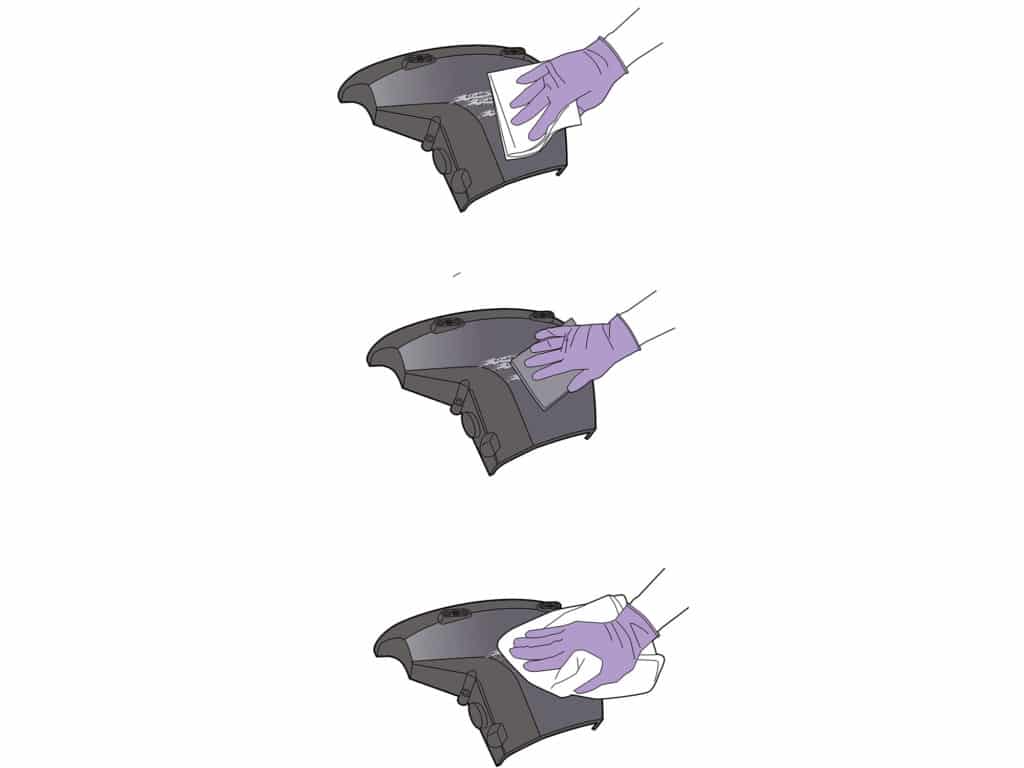
Before sanding, wipe the entire engine surface with ColorRite Prep-Wipes towelettes to remove any grease or wax. Follow this up by wiping the entire surface with a soft, absorbent cloth such as a microfiber towel. Then sand by hand with 600-grit wet/dry sandpaper and water. Do not use solvent or reducer. After sanding, use a dry cloth to wipe away residual moisture and sanding slurry. Next, and immediately prior to step two, use the tack cloth to remove any dust and tiny dirt particles.
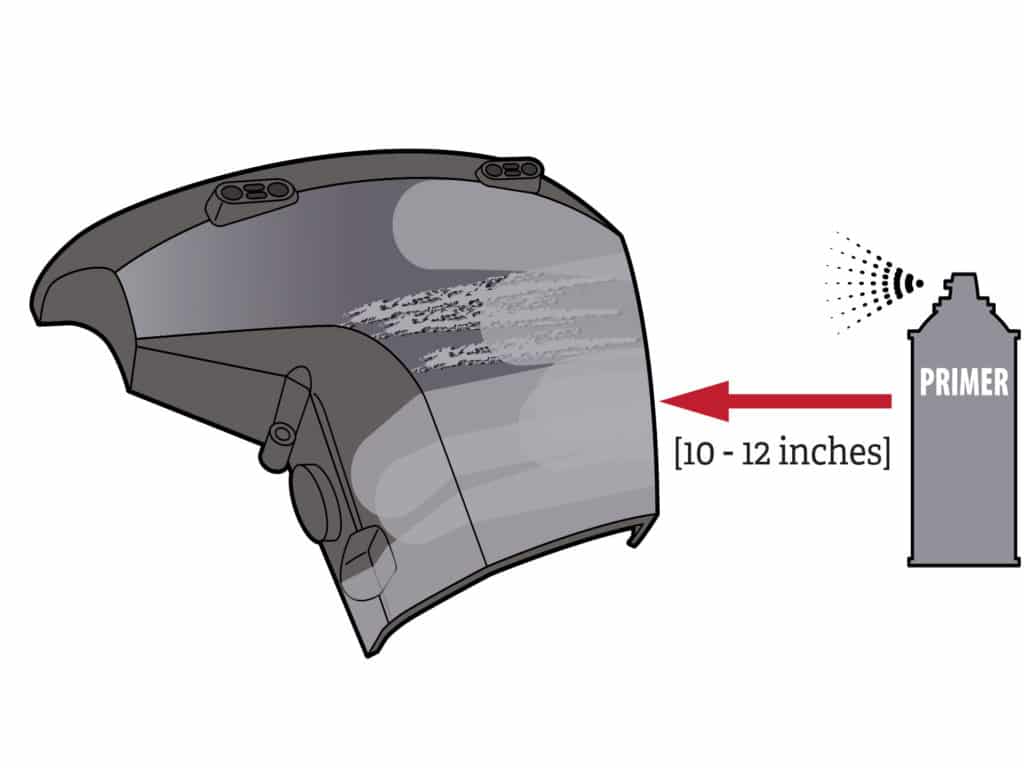
Apply Primer
Because some scratches went down to the bare plastic, we needed to apply the ColorRite primer, which is gray in color. We sprayed three light but even coats, keeping the nozzle 10 to 12 inches away from the surface. We allowed each coat to dry 10 to 15 minutes before spraying the next coat. Not only did the primer provide a consistent base shade for the color coat, but it also filled in minute scratches in the surface of the old finish and underlying plastic, helping ensure a smooth final finish.
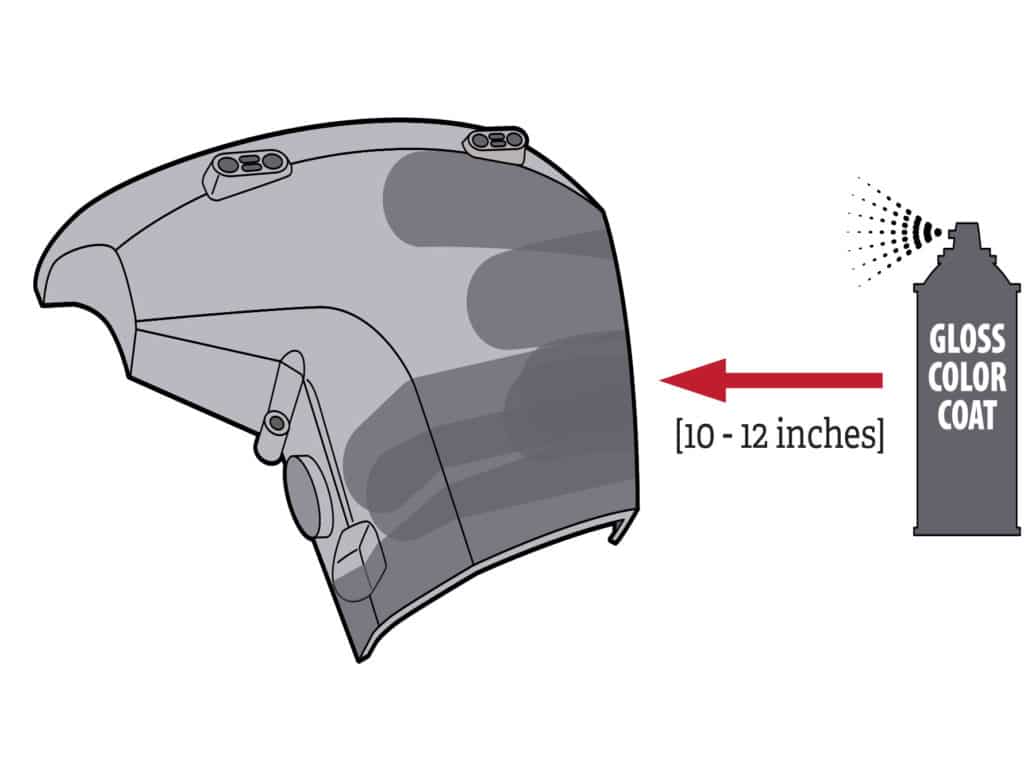
Color Coat
We let the final primer coat dry for 15 minutes before starting to apply the color coat. As with the primer, we sprayed three even coats, allowing each to dry for 10 to 15 minutes before applying the next. We kept each application light, with the spray nozzle about 10 to 12 inches from the surface to prevent runs or drips, and covered the entire surface with each application for consistent color. The finish might initially appear a bit rough or stippled in texture, but this will smooth out after steps four and five.
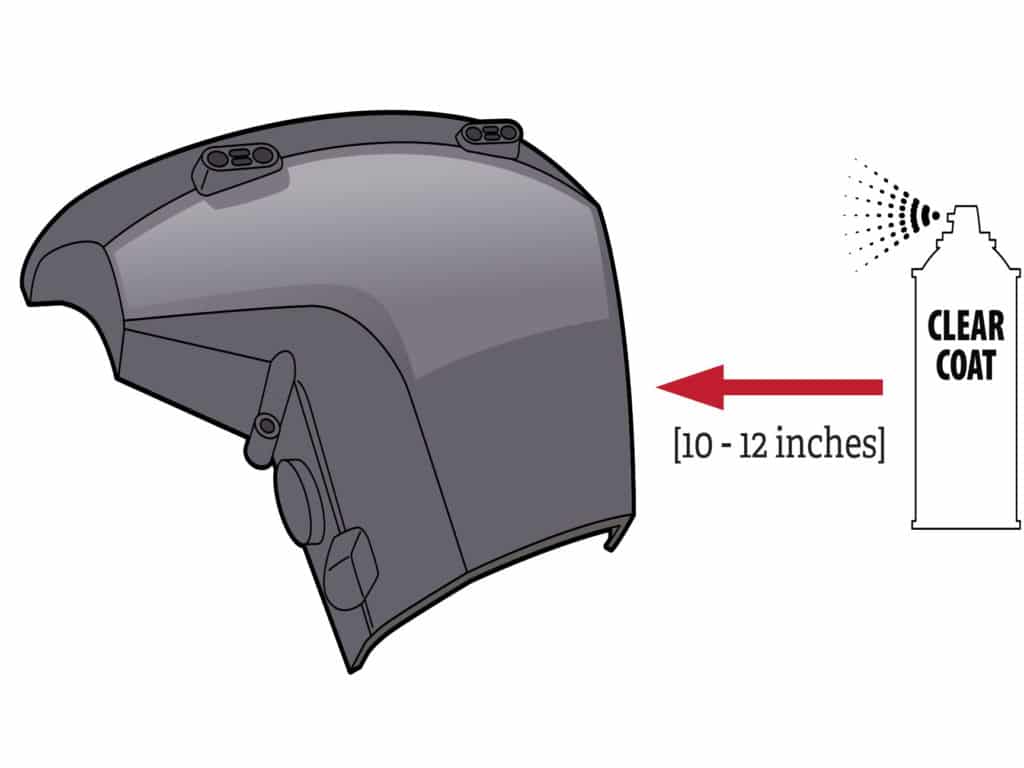
Clear Coat
We let the final color coat dry for about 45 minutes. Then we sprayed on three light, even and full-coverage applications of the ColorRite glossy clear coat, waiting about 10 minutes between coats, and again keeping the nozzle about 10 to 12 inches from the surface to help prevent sags or drips. The clear coat not only creates a glossier finish, but also helps fill in and even out the color coat’s slightly rough texture, if any. After clear-coating, let the finish cure for three to five days in a dry, undisturbed place.
Read Next: How to Apply Clear Coat to a Fiberglass Boat
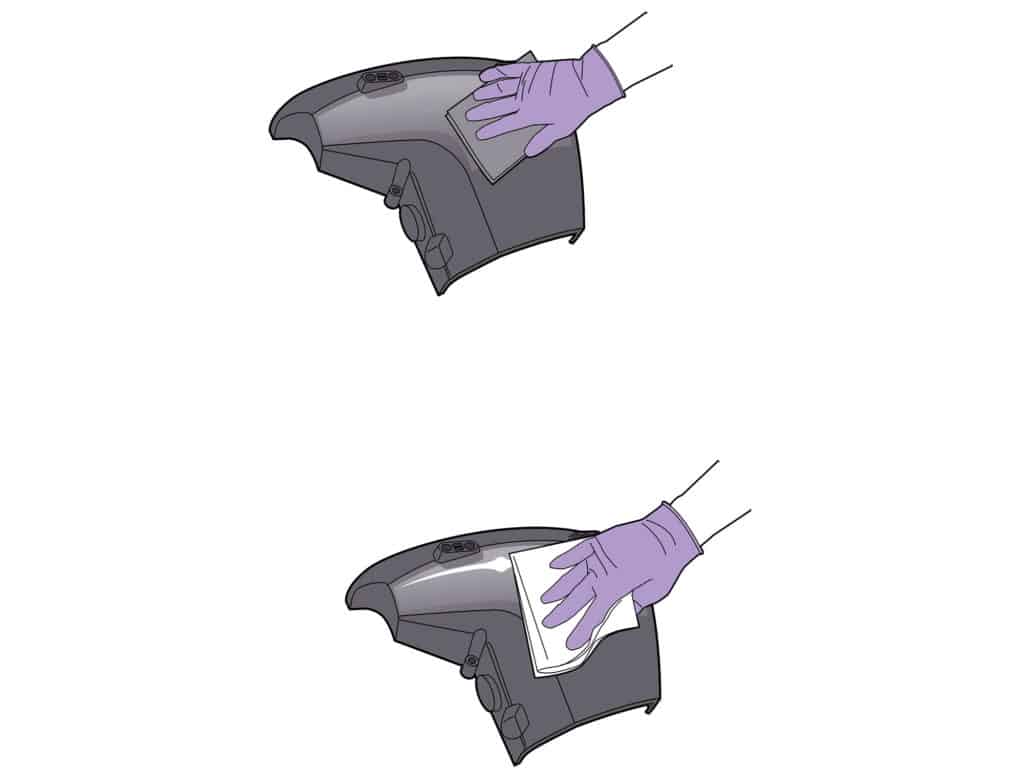
Wet-Sand and Polish
After five days, we used 1,200-grit wet/dry sandpaper and water to lightly sand the apron surface by hand. We avoided over-sanding the ridges to prevent wearing through. This process resulted in a smooth but slightly hazy finish. Then we used microfiber cloths to apply and buff out the ColorRite light-cut polishing compound to bring out the color and replicate the factory sheen. After bolting the apron back on, it was identical in color and gloss to the surrounding parts.
Spray-Out Test
A spray-out test helps determine how much paint you need to match an existing finish. ColorRite supplies a spray-out card and instructions on how to apply a test finish using the entire application process outlined below, including the glossy clear coat. Compare the color on a completed spray-out test to the existing finish to ensure it matches. If too pale, retest using more color coats; if too dark, use fewer color coats until you get a good match.

