It’s a big moment: the day your new engine or engines get mounted on your boat’s transom. But there’s more to this seemingly simple act than meets the eye. The devil, as ever, is in the details. So, we worked alongside the pros at Hampton Watercraft and Marine as they installed a new 250-hp Mercury 4.6L V-8 FourStroke outboard aboard our project boat in order to show you how trained technicians at a full-service authorized dealer do this job right and what you might expect during your repower project.
You should know that mounting the new outboard was a three-person effort, with two technicians working hands-on the engine and a third operating the fork truck. The process took about 90 minutes. Here’s how it went.
The engine, in its crate, was brought beside the project boat by fork truck. Mercury Marine crates outboard engines in a steel-framed assembly that protects and secures the engine during transport. So, after the cardboard covering is cut away, this frame must be disassembled by unbolting.

Next, using a two-point hoist strap, the engine is lifted by the fork truck. Mercury Marine incorporates lifting eyes on the powerhead for this purpose. As two technicians steady the 527 pound (the lightest 250-hp outboard currently offered) outboard engine and prevent it from swinging. Suffice to say that the skill and finesse of the fork truck operator plays a big role in engine mounting.

Next, the engine is carried to the centerline of the boat and suspended just aft of the transom by the fork truck, and lined-up with the existing mounting holes in transom. But it’s not as simple as just bolting-up to those holes and calling it done. Transom heights are nominal and each re-power boat must be considered as an individual.
Check out our complete Repower 2020 Guide!
The certified technicians at the transom begin taking crucial measurements. Key among these is the engine mounting height. For most purposes, the anti-ventilation plate, which is just above the propeller, should be even with the hull bottom when the engine is vertical. If the mounting is too low, excess drag will be introduced; if it’s too high, cooling water intake can suffer and the prop may ventilate., or, “suck air.” This is confirmed using a straightedge off the hull bottom. This drives the decision as to which of the four mounting holes on the Mercury’s bracket to use.
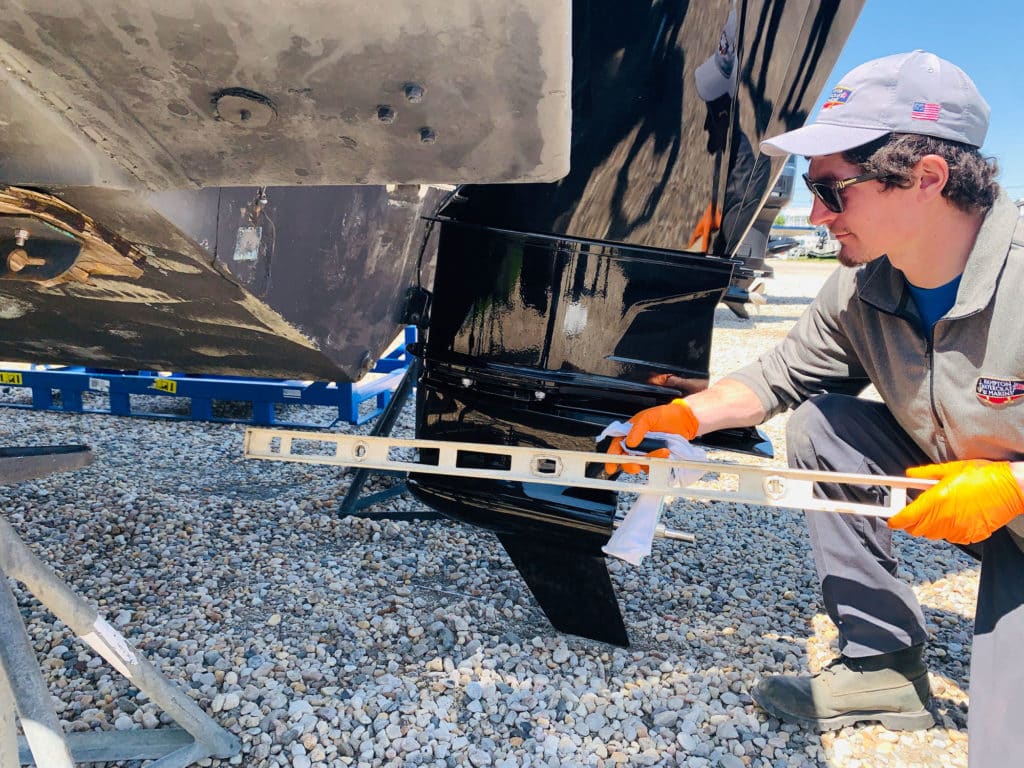
Confirming that, a power pack is connected to the engine wiring harness so that the engine bracket can be tilted to match the transom angle. This makes installing the bolts easier. Sealant is applied and the bolts are inserted through the holes. Note that we had already reamed the mounting holes prior to the project boat’s arrival at Hampton Watercraft and Marine, but normally, this task would need to be completed at this time.
At this point, the way in which the techs installed the mounting bolts caught my attention. The top bolts were run through from inside the boat, the threads and nut ends protruding out through the transom. They installed the lower pair of bolts the opposite way, installed from the outside with the threaded ends protruding inside the boat.
The reasons for this procedure? The top bolts are run through from the inside out so that the exposed end does not interfere with steering assemblies. The lower bolts are run from the outside in because they are low enough to be submerged and thus the threads could become fouled over time especially for a boat that stays in the water.

The techs explained that it’s that way in the installation manual. Not that I doubted their training or experience, but a quick look at the many Boston Whaler boats (Hampton Watercraft is a big Whaler dealer) around us, confirmed that this is the way is done at the factory.

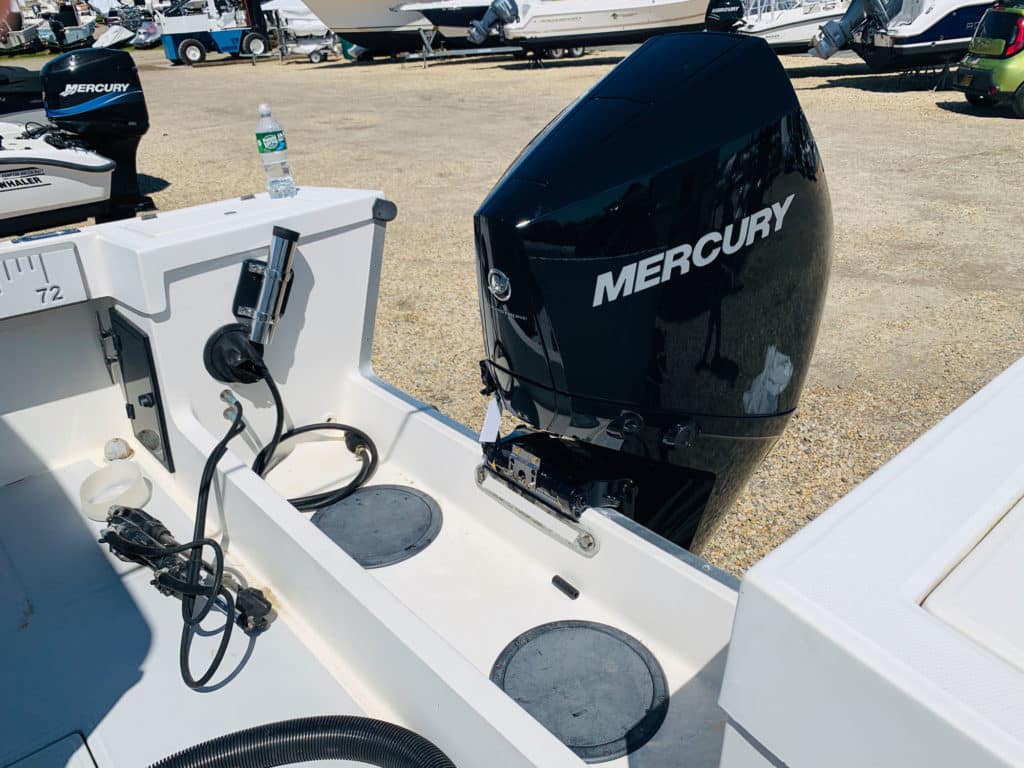
Our Regulator project boat’s transom is 23 years old, and it is cored with closed cell Klegecell foam, and it is still structurally sound, even after two decades of chasing fish in the Atlantic. For good measure, though, we installed a transom plate, a machine aluminum bar (Visit T-H Marine for more info) that spreads the engine mounting bolt loads across a wider area. We think this is good practice.
Check back soon for future installments of repower 2020. We’ll be covering rigging details, systems integration and tips for deciding where to buy your repower outboard.
Takeaway: Make sure your boat’s transom is structurally sound before repowering. A certified dealership, marine surveyor, or fiberglass repair expert can help you make that call.


