Editor’s note: Capt. John N. Raguso is a charter captain with more than 50 years experience. While he has fished the world over, he plies his home waters off Long Island, NY aboard his Mercury-powered Edgewater, MarCeeJay
I have bought a half-dozen coastal fishing craft in the past, and all were pre-owned. I gravitate toward “experienced” vessels for a few compelling reasons. As my needs drifted toward running larger and more seaworthy craft, the new-boat price tag was becoming less realistic for my budget. Another inducement to consider purchasing a late-model used boat is the usual depreciation hit a new boat takes in its initial three to five years. These craft are still in great condition and come with the remnants of a transferrable factory warranty. But not all pre-owned vessels are created equal, and I have learned a few things during my used-boat buying escapades. I’ll share a dozen nasty nits with you here, along with potential solutions.

Rod Holders That Drain Into the Bilge
Flush-mount gunwale rod holders that drain water directly into the bilge cause a number of issues, including added stress on bilge pumps and allowing any foam flotation downstream to absorb water. Other negatives include exposing wiring and batteries stowed in the bilge area to unwanted immersion, which accelerates corrosion on any connections or in-line breakers. Adding an accessory cap that closes off the rod-holder opening on top or installing a drain cup and hose to the bottom end of the rod-holder tube solves the problem. The parts required for a quick and easy DIY fix are reasonably priced and available on Amazon, eBay, and a variety of online marine accessory dealers.
Check the Canvas
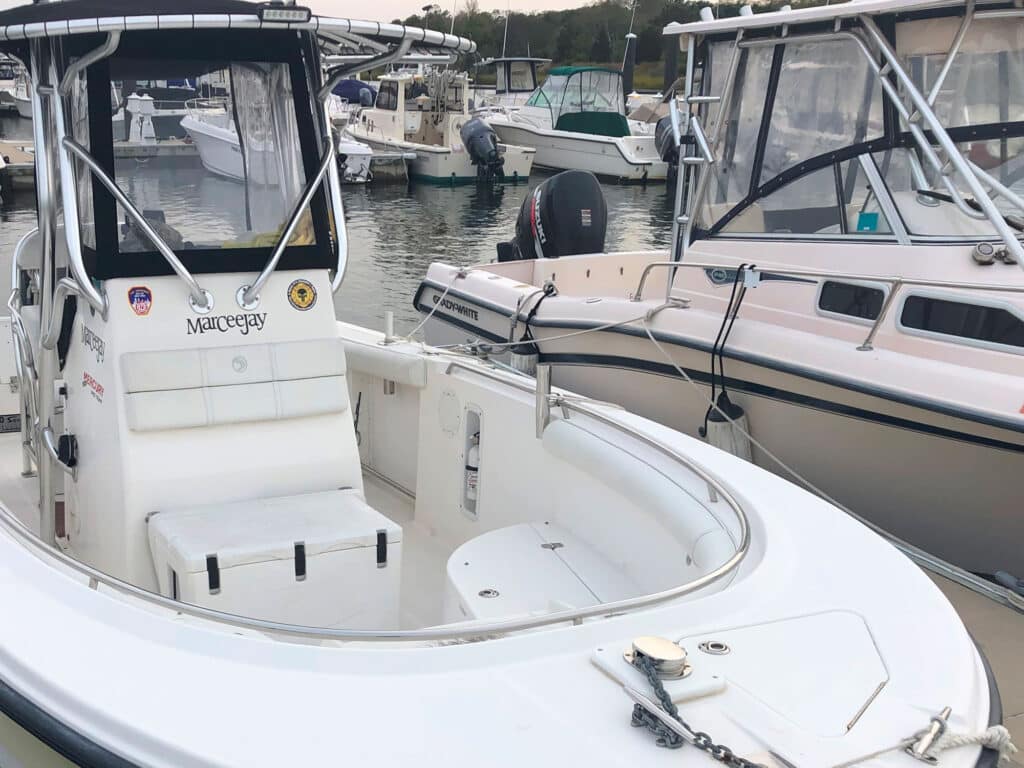
A formerly owned boat, be it a cuddy, dual console or center-console, often comes equipped with a canvas package. Even if the dealer or previous owner claims that it is “like new,” make the effort to unfurl the canvas from its shroud and ensure that the snaps are all lubed and intact, and you can see through the clear vinyl windows when standing or sitting at the helm. Hazy clear vinyl or crusty canvas that is weathered, leaking, or worn from use or age is expensive to replace and might add $2,000 to $3,000 or more to the purchase price.

Beware of Below-Deck Livewells
Livewells positioned below the deck and accessed via a flush hatch in the cockpit sole are a real pain to your knees when trying to catch a frisky baitfish in a rolling seaway. They’re also a challenge when trying to fix plumbing leaks or swapping out a pump motor. Yet another negative is the need for a second pump to drain out the below-deck well’s contents, which is more stuff to maintain in the limited-access bilge space.
Better livewells are positioned either in the transom corners or the transom cap, which makes them more ergonomic when rigging a live bait. They also typically empty water overboard via a gravity drain, and are less of a challenge to access and maintain.

Panel Wiring Jambalaya
The panel wiring on some of the used boats that I have inspected in the past resembled an overturned plate of rainbow spaghetti. This is especially true if the former owners didn’t follow any particular electrical code and added numerous accessories with whatever wiring was available. Both factory and added accessory wiring should be neat, loomed or tie-wrapped, feature heat-shrink tubing on the connection ends, and be tagged to identify what switch or piece of electronics they represent. Most quality builders color-code their 12-volt DC wiring harnesses and feature a legend in their operator’s manual to describe the function and location for each individual hot wire (white with red stripe, blue with white stripe, etc.). I recommend using tinned, marine-grade wire in the proper gauge for the amperage demand.

Wet Feet in the Cockpit
While wet feet might be the norm when a brace of hefty crewmembers are tuna chunking in the cockpit 30 miles offshore in choppy seas, dry feet should be the standard when working calmer waters. One way to check this out is to turn on the freshwater hose and douse the deck with some weight in the cockpit while the boat is in the water to see if the scuppers will keep it dry. Another method is to toss a few pails of bay water onto the deck and see how fast it clears out.
If persistent cockpit water is a nagging issue, adding ping-pong ball scupper drain fittings may solve the problem. Although, these require vigilant maintenance to prevent them from becoming fouled. These are available in marine stores and online.

Seacocks, Valves and Through-Hull Fittings
Through-hull fittings with seacocks allow the operator to throw a 90-degree lever arm to stop unwanted water flow should a leak or break develop in downstream plumbing. Problem is, some seacocks are positioned in the hull on the extreme end of human reach. Quality builders feature remote seacock fittings with extension arms that allow crew to open and close the lever. But what if these are frozen? It’s a good idea to work these manual levers at least once a month to ensure smooth operation. For stuck lever arms, remove the hose connection (on dry land), and spray penetrating oil like WD-40 or CRC into the nipple and gradually try to work it free. If this doesn’t work, the faulty seacock needs replacement. At any rate, make sure the seacocks operate smoothly on a boat you are considering buying. Replacing or rebuilding a corroded seacock might cost a couple hundred dollars and take several hours.

Battery-Switch Mayhem
Battery-switch wiring can be a source of confusion on a boat. Often, the 12-volt DC panels and the engine run off the single output feeder on the typical four-way switch. This is not ideal because starting your engine can cause a demand spike that shuts off your electronics.
I recommend a pair of batteries (one cranking, one for electronics) for a single-engine boat. To be fully “in charge” of the battery charging operation, employ a pair of switches for this duty, with the house power cell on a separate on/off switch and the engine battery on the Battery 1 position of a four-way switch. Connect the input of the on/off switch to the Battery 2 lug, and you can now manually control when everything is on or off. Use the “both” setting on the battery switch for charging both batteries via the engine alternator.
Take It to the House
Far too many times, even on name-brand boats costing $300K or more, someone forgot to dedicate a “house” battery for the vessel’s electronics. My rule of thumb is simple: one deep-cycle battery for the onboard electrical panels and one starting battery for the engine. If you are running twins on the transom, that translates to a pair of starting batteries and one house battery. Triple engines add up to a trio of starting batteries and one for the house. You get the picture. If onboard electronic demands require a pair of house batteries, make it so.
Safety-Gear Storage
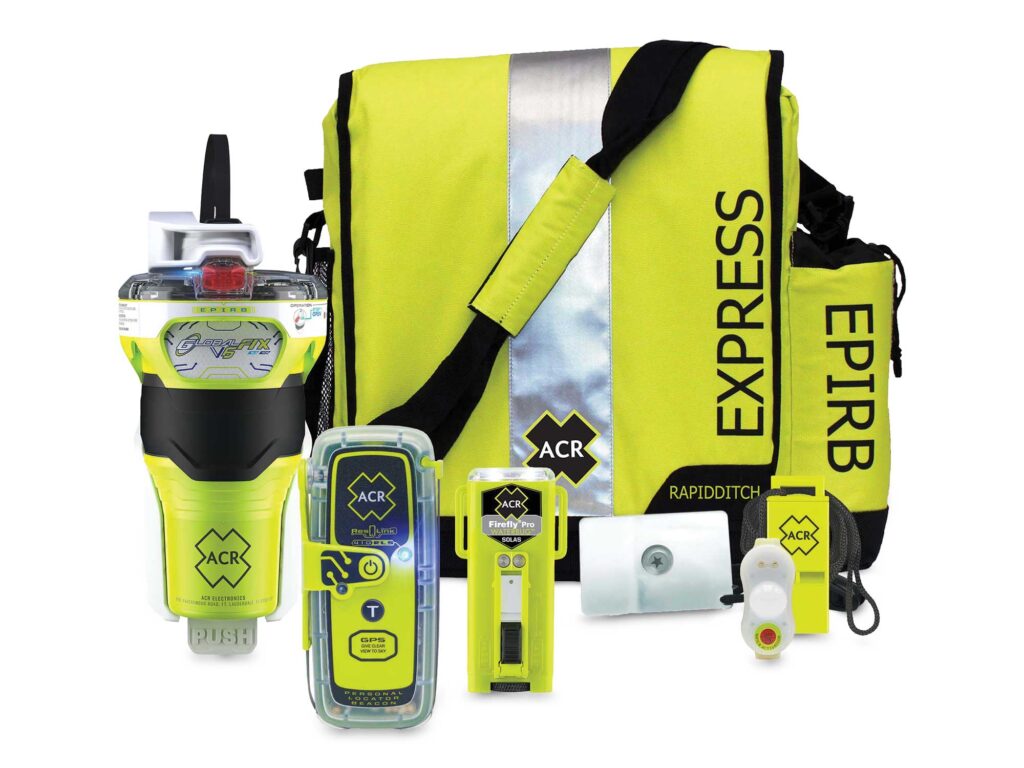
Safety-gear storage space (for items like life jackets, flares, tools, lights, rations, etc.) is frequently an afterthought on many boats. If you can’t put this stuff anywhere that’s easy to access in a sudden, unplanned emergency, things could turn catastrophic very quickly. One solution for life jackets is to install a cargo net holder under the T-top or hardtop that puts these lifesavers in the right place for the right moment. If the used boat you bought is too small to stow the aforementioned emergency gear, packing up a waterproof ditch bag is the solution, requiring that you take it on and off the boat every trip.

Fuel-Filter Whereabouts
Although it’s common sense that every engine onboard should have its own dedicated fuel filter or water separator, some older used boats might lack these.
Cannister-style water-separating fuel filters should be installed in spots that are easy to reach, where there’s enough elbow room to swap out the canisters without spilling the contents down into the bilge. The lower in the bilge they are located, the faster the steel cartridge and aluminum mount will deteriorate. I try to install these as high and dry as possible, and employ a stainless-steel filter head to minimize corrosion concerns.
Read Next: Why Some Boat Buyers Hire a Marine Surveyor Before Buying a New or Used Boat
Onboard Coolers and Fish Boxes
One of my pet peeves when looking at a pre-owned vessel is observing bait boxes, ice boxes, fish boxes or storage boxes that drain their contents down in the bilge. Nothing good can come from this, and the icy, slimy gruel that collects down under will cause the cabin areas and console interior to smell like a rotting chum bucket, in addition to making your bilge pumps work extra hard. This approach shows a lack of design creativity and cost-cutting on the part of the builder. Potential solutions include running hoses from the box drains to a macerator, but only if there’s space and access in the bilge to make this happen.
Read Next: Used-Boat Buying Secrets

Batteries in the Bilge
I mount my boat’s starting and house batteries in an easily accessible, high-and-dry spot because they are critical for smooth boat operations. If the batteries have a hiccup, the boat stops running, wherever that might be.
The best spots to install power cells to ensure longevity and protection from the elements are typically under the center console or helm, or in the cabin. The least desirable spot is down low in the bilge area because the presence of water in the boat’s bowels will expose the lugs and connections to a constant, highly corrosive bath. If this is the only place they can go, use battery boxes and button them up as tight as possible.

