Installing one of today’s advanced fixed-mount marine VHF radios can prove more involved than you might imagine. Naturally, every radio model requires a 12-volt DC power source and a VHF antenna, but models from brands such as Icom, Standard Horizon and others host a number of sophisticated features and options—in addition to voice-transmit and -receive functionality—that rely on other inputs, connections and optional equipment.
One of the most important inputs is GPS. Unless the radio has built-in GPS (which some do), it will need an NMEA 0183 or NMEA 2000 connection to an onboard GPS receiver such as a chart plotter to integrate location data into AIS and Digital Selective Calling, position polling, and automatic distress alerts. To learn more about setting up DSC, visit boatingmag.com/how-to/making-dsc-fully-functional-vhf-radio.
Depending on the VHF model, other accessory connections may include a second antenna for AIS reception, one or two loud-hailers, and an external speaker, as well as remote microphones in either hardwired or wireless versions.
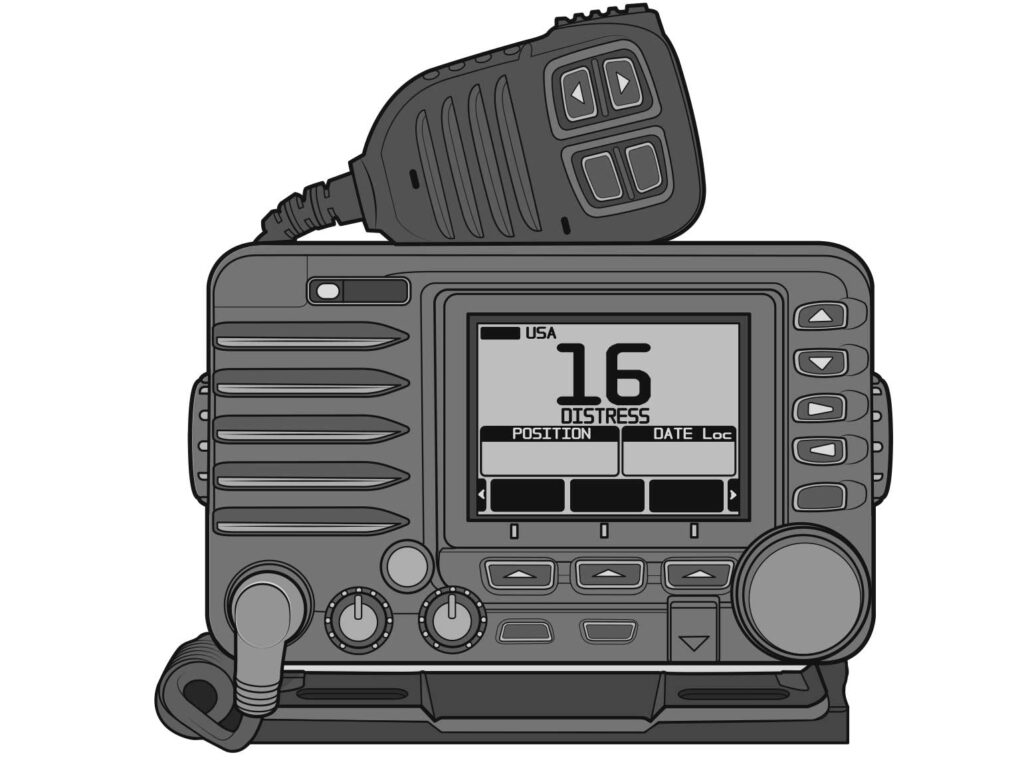
For this project, we installed a Standard Horizon Quantum GX6000—a top-of-the-line VHF that offers all of the features described above and then some. In fact, there are so many features that we can’t cover them all here, so instead we will focus on the most common elements you might encounter on many midrange to high-end radios. Before getting started, turn off or disconnect your battery to help prevent an electrical short during the installation process.
Skill Level: 1.5 of 5
Finish Time: Approx. 2-3 hours
Tools and Supplies
- Standard Horizon Quantum GX6000 VHF Radio ($499.99; westmarine.com)
- Standard Horizon optional MMB-84 flush-mount kit ($18.99; westmarine.com)
- Standard Horizon optional 4.5-inch PA/hailer horn ($49.95; amazon.com)
- NMEA-2000 T-connector and drop cable (to network with an onboard GPS receiver)
- Power drill and bit set
- Jig saw or coping saw
- Phillips screwdriver
- Various crimp connectors with heat-shrink collars
- Wire strippers and crimping tool
- Heat gun
- Zip ties to support wires

Mounting Style
The GX6000 includes a bracket for helm-top or overhead mounting the VHF where it fits best in your boat’s particular helm area or other location. You can also flush-mount the radio at any angle using the optional MMB-84 flush-mounting bracket. Use the template and directions in the kit to create the rectangular cutout on the dash, and secure the radio with the brackets. Whichever mounting method you choose, locate the VHS where it is most convenient to hear the speaker, view the LED display and access controls, as well as provide space for the suppled microphone hanger.
Tip: To minimize magnetic interference, the radio should be at least 1 meter from your boat’s compass, but at the same time, close enough to the helm to allow the captain to see the display and reach the controls and mic. The coiled mic cord will extend approximately 40 inches from the radio.

VHF Antenna
This project assumes you will be using the existing VHF antenna. If you need to add or replace a VHF antenna, you can learn more by visiting boatingmag.com/how-to/installing-a-vhf-antenna-on-a-hardtop. With an antenna installed, route the coaxial cable to the VHF, and connect the PL-259 coupler to the VHF antenna port on the backside of the radio by inserting the center pin of the coupler into the port, then threading on and tightening the knurled portion of the coupler. Unless your antenna features a solderless PL-259 connector, you will need to solder on a PL-259 connector to the end of the cable.

GPS Connection
Fixed-mounted VHF radios require GPS integration for AIS and DSC, which includes sending automatic distress alerts. Some radios such as the Icom M-510 evo have built-in GPS, but with the Standard Horizon GX6000 we needed to tap into the existing onboard NMEA 2000 network to source GPS data with a T-connector and drop cable between a multifunction display and the N2K port on the back of the radio. The GX6000 also has a NMEA 0183 wire harness, but the NMEA-2000 system is a simpler and more robust plug-and-play method of networking a VHF radio with GPS location data.

Loud-Hailer
Loud-hailers amplify voice communications. The GX6000’s built-in 25-watt hailer also serves as a fog-horn, regular horn, a listen-back system, and more. You will need a marine loud-speaker such as the Standard Horizon 4.5-inch round PA/hailer horn. Once the horn is mounted on an area such as the hardtop, route the duplex wire to the back of the radio. Connect the green wire of the PA speaker connection cable to the positive red wire of the horn, and the blue wire to the negative white horn wire. This will enable PA-1. You can also connect a second horn (PA-2) using the orange and yellow wires.
Tip: To prevent RF interference, snap the larger of the two ferrite cores around the PA speaker connection cable, then snap the smaller core around the DC power cord. Place the cores as close as possible to the radio, and wrap some plastic tape around each to keep them in place.

Power Up
Run and connect the red wire of the supplied 4-foot duplex power cord (which includes an inline fuse and plug) from the back of the VHF to a nearby switchable 12-volt DC onboard power source. Run and connect the black negative wire to the nearby ground bus bar, making sure both wires are supported and secure throughout their runs. Plug the power cord into the radio power-pigtail connector. Reconnect the battery and turn on the radio. Once you are on the water, confirm proper transmission and reception by requesting a radio check on Channel 27. Also check the functionality of the PA system(s).