There are a number of app-based boat security and monitoring products today from well-known brands such as Garmin, Gost, Siren Marine, and one newcomer, the Skyhawk Oversea.
Oversea is unique in that its components are all independently powered by internal, replaceable batteries. This eliminates the need for onboard battery power, and this greatly simplifies installation. In fact, the Skyhawk Oversea system is so unique that it won an Innovation Award from the National Marine Manufacturers Association at the 2024 Miami International Boat Show.
Consisting of a 4-by-4-inch waterproof Hub ($299) that communicates via high-power RF signals with even-more-compact waterproof sensors, Skyhawk allows you to customize a system based on what you wish to monitor. The sensor Hub itself contains GPS to enable you to check the location and track your boat remotely via 4G cellular (additional service required) and the free Oversea mobile app. You can also check the sensor readings with the app.
The system can be configured to send alerts via text and/or email if, for example, a boat battery sensor detects that voltage has fallen below a predetermined limit, if a bilge-water sensor is triggered, or if a motion sensor is tripped.
For this installation, we added two battery-voltage sensors, one bilge-water sensor and one motion sensor. With the $19.99 monthly cellular plan we selected, we could have up to six sensors, allowing for expansion in the future.
Skill Level: 1 of 5
Finish Time: Approx. 2 hours
Tools and Supplies
- Skyhawk Oversea Hub ($299; oversea.boats/shop, amazon.com)
- Skyhawk Oversea Sensors ($69 each, except for door-entry sensor, $29; oversea.boats/shop, amazon.com)
- Skyhawk Oversea cellular plan ($19.99 per month)
- Power drill and bit set
- Phillips screwdriver
- Marine silicone sealant
- Shop rags (to wipe away excess sealant)

Subscribe and Register
Before beginning the actual physical installation, take time to download and launch the free Oversea app on your cellphone or tablet. The Oversea app is available in the App Store (for iOS devices) and from Google Play (for Android devices). Use the app to establish an account for the Oversea service, set up your profile, and register each of the devices you have purchased by scanning the barcode on each item in your setup. No pairing or passcodes are required to undertake this step. Take care not to turn on any of the devices at this time. However, you can start to look for the best locations for each based on the function of the sensor.
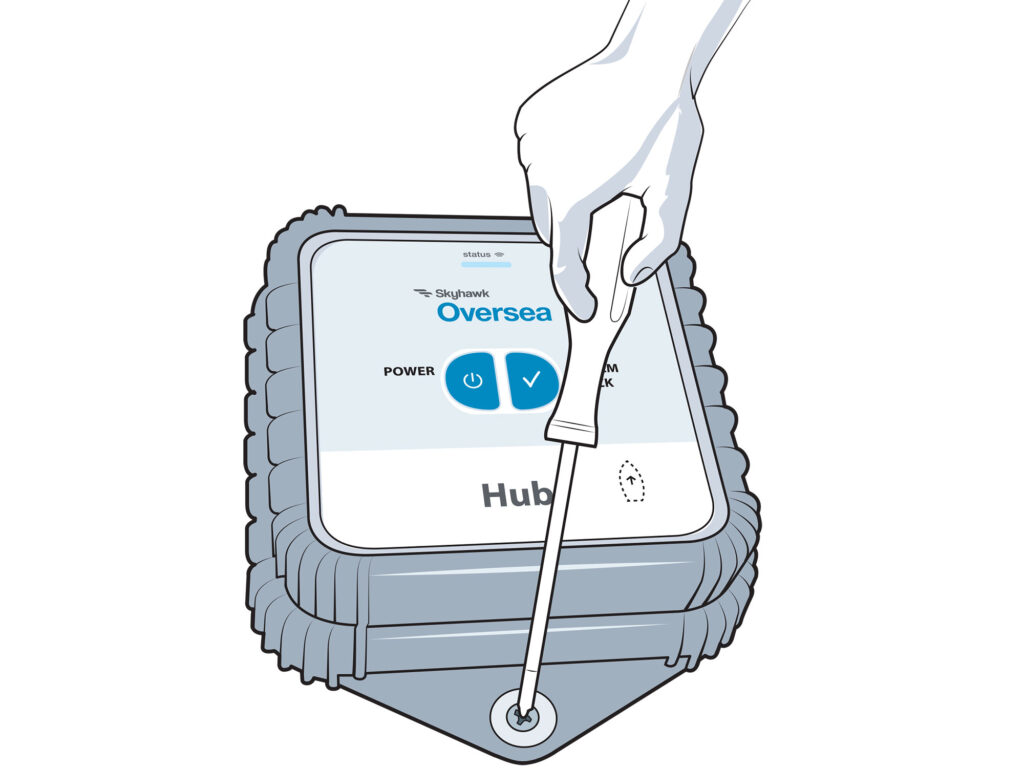
Install the Hub
The Oversea Hub must be positioned on a horizontal surface in a cool, dry compartment that will not block GPS, cellular or RF transmissions. Orient the hub with the On button facing upward and the imprinted boat icon pointed forward, parallel with the centerline. We chose the inside of the fiberglass seat base, and attached the four nonskid adhesive pads to the underside of the hub, placed the silicone bracket over it, and used the two supplied stainless-steel screws to secure it. Press the power button (The three AA batteries in the hub have an expected life of one year, and might last as long as three.), then check the Oversea app to ensure that it connects to cellular and displays as one of your devices. You must do this before moving to Step No. 3.
Tip: The hub can receive GPS, as well as transmit and receive RF and cellular signals through fiberglass. Avoid mounting the hub or the sensors near metal such as marine batteries or engines, which can block connectivity.

Install the Sensors
Locate battery sensors next to the boat batteries in order to connect devices’ positive and negative leads to their respective batteries. The bilge-water sensor has an electronic water-sensing switch and thermometer with a 4-foot wire that plugs into the sensor device, which should be mounted as high as possible in the bilge compartment. Mount the passive infrared motion sensor in a hidden spot aimed at the helm. There are two ways to mount sensors: 1) a built-in bracket for supplied stainless-steel fasteners; and 2) high-strength adhesive hook-and-loop fasteners. Both allow for easy removal to replace batteries when the time comes.
Read Next: Theft Prevention for Boat Trailers

Turn On the Sensors
Turn on each of the sensors by pressing the power button on each device once. A green blinking LED after a button press means the device is turning on. A red blinking LED after a button press means the device is turning off. A sensor that is working and connects with the Hub will blink green every 10 seconds. A yellow blinking LED shows that the last signal from the device was not processed correctly and it will try again to transmit the signal. A red blinking LED means the battery is running low (The two AA batteries in each sensor have an expected life of five years, and some might last 10 years.), and a blue blinking LED means the sensor is sending an RF signal. Confirm that each of the sensors is active in the Oversea app.
Tip: The power-up and connection process can last for 30 seconds or more, depending on network traffic. Do not press the button again too quickly.
Configure Limits and Alerts
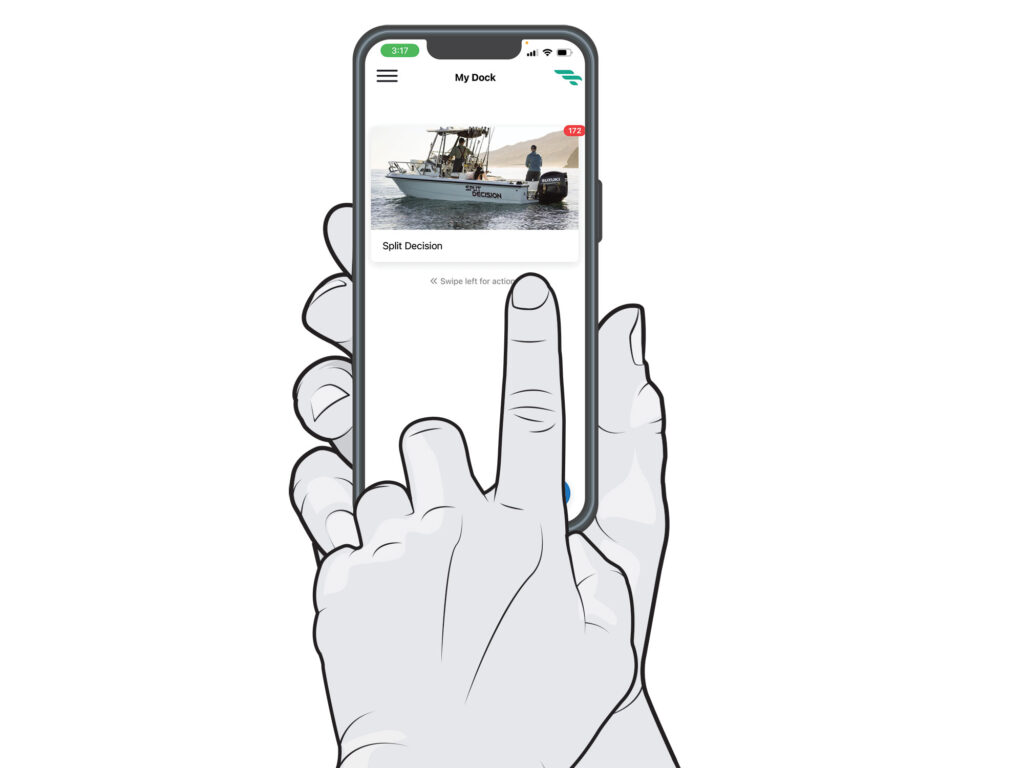
The Skyhawk Oversea app enables boaters to create a certain level of customization and configuration. For example, on the homepage, known as “My Dock,” you can upload a photo of your boat, as well as your boat’s name. You can also name each sensor such as “Start Battery” or “House Battery” to simplify identification of the sensors. You can also set low-voltage thresholds for each battery, and enable alerts that will warn you via text and/or email if such limits are breached. Similarly, Oversea will alert you via the app if the bilge-water level triggers a sensor or if a motion sensor detects movement on board.