Years ago, during an interview about durability while discussing engine componentry, a Cummins Marine engineer told me: “Everything has a cycle life.” That means stuff eventually wears out from repeated use. I’m relating the statement out of context, but the fact remains true.
Of course, there is a flip side: Use it or lose it.
Allow your doodad, gizmo, fastener or component to sit without use, especially in the unforgiving corrosiveness of the marine environment, and you might find it stuck, jammed or immovable. That said, keep an eye on the following nine items, and use the tips provided for keeping things loose.
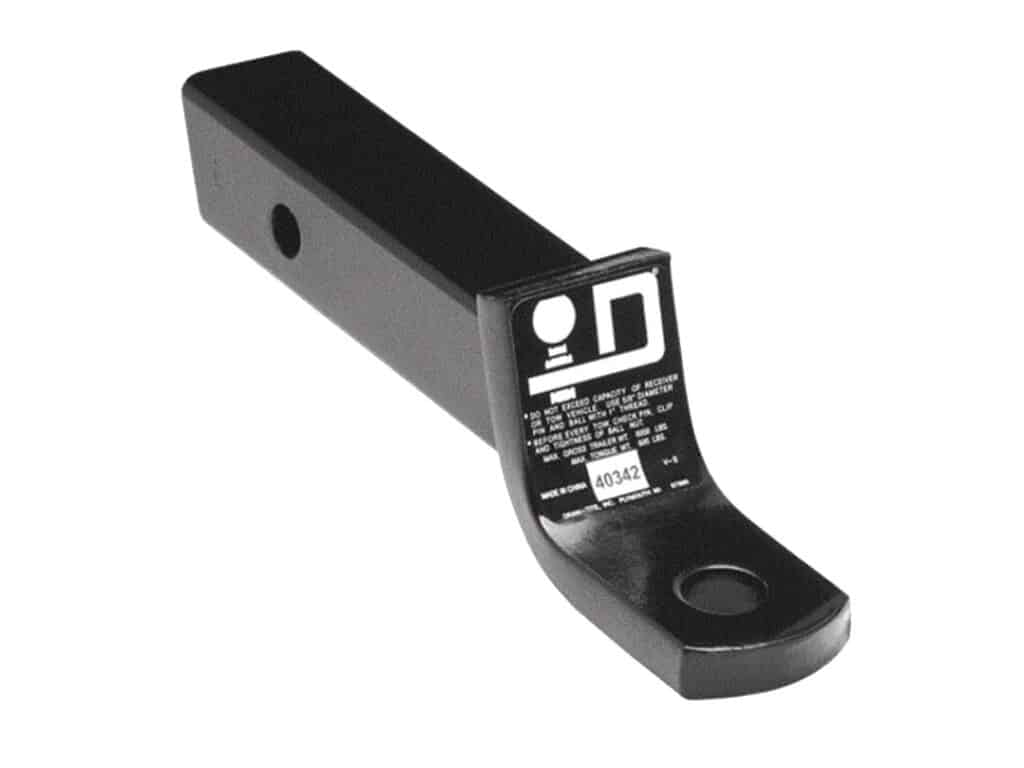
Trailer Draw Bar
When it comes to trailers, there’s one part that can get stuck beyond even the ability of a mad mechanic with a torch to undo: the draw bar. Once a trailer draw bar becomes corroded in place inside the tow vehicle’s hitch receiver, fuhgeddaboudit—the two are mated for life. Prevention means removing the draw bar, as clunky as it is to stow, after each outing. Also, be sure to rinse it (and everything else) with fresh water. A light spray lube now and again on the draw bar or the inside of the receiver wouldn’t hurt either.
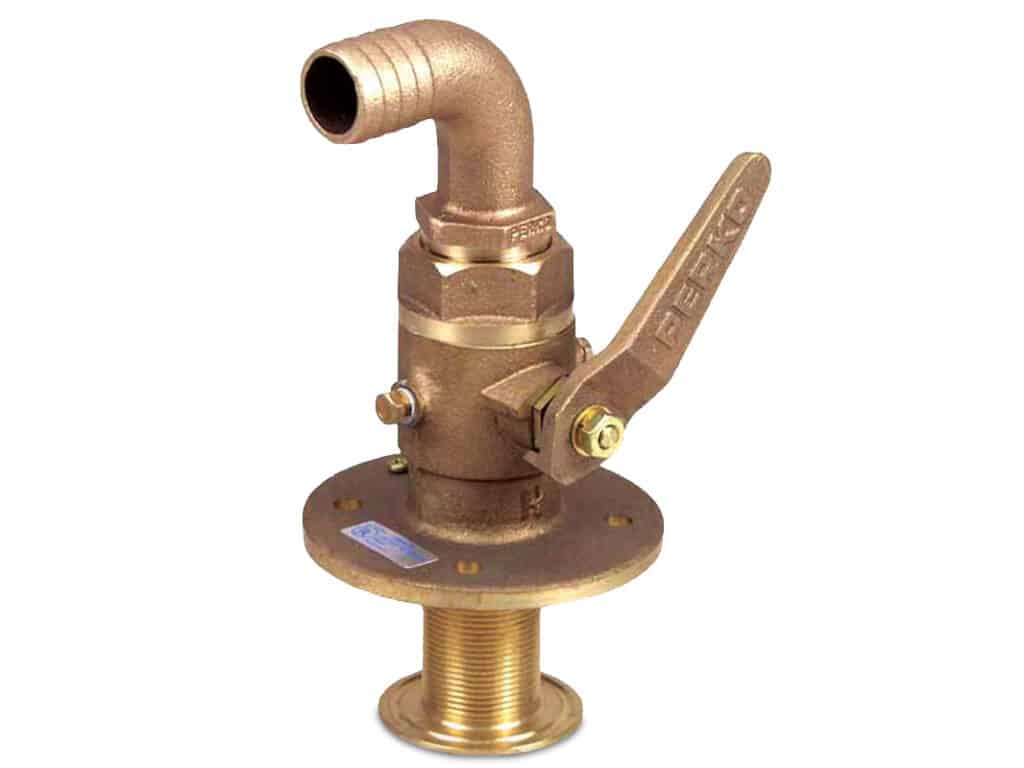
Seacock Levers
This one is important: If a seacock lever gets stuck in the open position, it can sink your boat. Make a habit of throwing seacock (and other valve) levers through their full range of motion on a regular basis. If your boat is kept in the water, you should be closing seacocks every time you leave the boat anyway. A proper seacock will be fitted with a Zerk fitting for injecting grease. Many can be disassembled for cleaning, lubrication, and even lapping the mated surfaces to restore smooth operation.

Trailer-Wheel Lug Nuts
A burned wheel bearing probably tops the list of causes for broken-down trailers. Inability to remove a wheel to change a flat probably ranks second or third. Whether due to saltwater immersion, salt-laden roads in snow country, or time and disuse, lug nuts can become impossibly stuck. Remove and retorque trailer-wheel lug nuts annually. A tip I copped years ago from BoatingLab director Randy Vance is to carry a cordless impact gun fitted with the correct-size socket for my wheels’ lug nuts.
Canvas Snaps
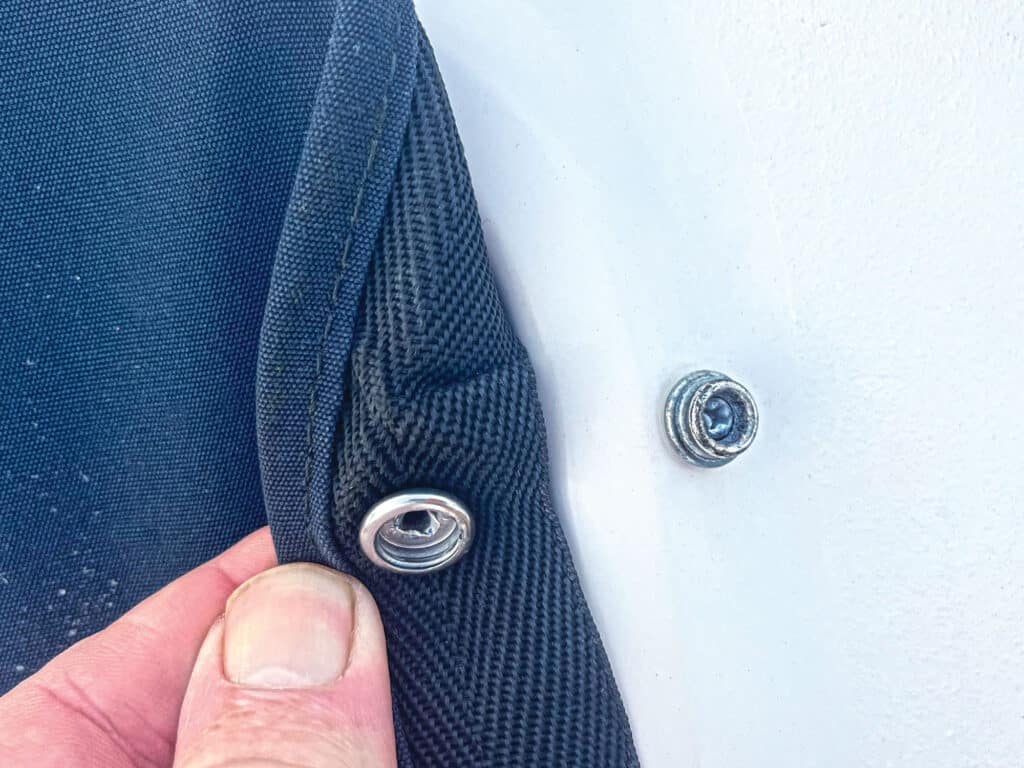
Whether your boat’s canvas uses conventional snaps, the Pull-the-Dot variety or both, these cover and enclosure fasteners can bring out a salty sailor’s vocabulary when they get stuck. From experience, I can assure you that such magic words won’t unstick stuck snaps. Fortunately, other things will. First, make a point to open and close snaps regularly. Second, apply a light coating of Teflon lube or wax to both sides of the snap. Finally, use a judiciously applied hair dryer or heat gun on cold-shoulder-season days to expand cold-shrunk canvas and help snaps operate normally.
Zippers
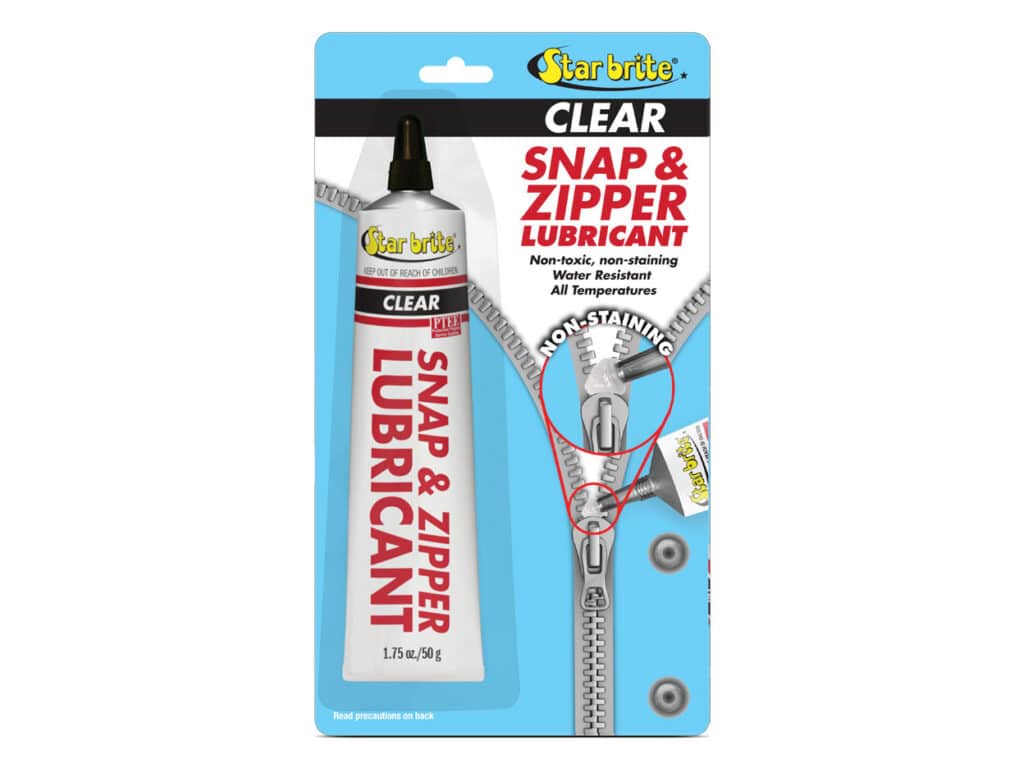
Like snaps, zippers cause grief when they stick because they can leave your crew or boat exposed to the elements. Plus, if a zipper failure involves a tear, things are more difficult and costly to repair than a stuck snap. Operate zippers regularly, even those that remain zipped most of the time, such as your side curtains or windshield connector curtains. A yearly coating with wax from a candle or crayon is easy to apply, isn’t messy, and works well. Just rub it on.

Seat Spiders
What’s a seat spider? Why, it’s the mechanism that mates a helm chair to its pedestal and allows it to swivel and slide. It’s got several things going on, including riding on replaceable bushings, which have a definite life cycle and can be purchased as replacement parts from your dealer or vendor. Then there are screws to adjust swivel tension, plush springs, levers, and some kind of locking mechanism. Loosen the swivel adjustment, pull the seat, and rinse the seat spider every couple of years. Let it dry, apply a coating of silicone spray, and reassemble.
Movable Seats
Many fishing boats sport movable pedestal seats. These get stuck from grit and sand getting in the socket. Make a point to pull seats regularly. Vacuum to keep the sockets clean of grit and sand. To remove a stuck seat, try tapping it with a wood or plastic mallet while a helper pulls straight up. Or place a jack with some blocks next to the pedestal and under the seat, and jack it out. If the seat socket has an open bottom, remove it from the deck, and push the pedestal out from the bottom once it’s removed. Lube might attract grit, so don’t use any. Just keep the mating surfaces clean.
Read Next: How to Replace Canvas Snaps

Tow Pylons
’Twas a couple asking how to remove the ski pylon from a used boat they had just purchased that prompted this article—thanks, Suzie and Jim Kent. Often it’s the plastic sheath, which becomes malformed over time, that causes ski pylons to stick. Tapping might not help, and lubes can further deform that plastic. Try rigging a lever to a pry bar (taking precautions to protect your boat and the pylon with scrap wood, etc.). It will come up. Once out, sand mating surfaces with 200-grit sandpaper. Remember to remove regularly thereafter. This can work for seat pedestals as well.
Outrigger Poles
Outrigger and center-rigger poles commonly get stuck in their bases. Removing them often and cleaning the socket and pole help prevent this. Try using compressed air in the sockets to get out the sand, salt and grit. A strap wrench can sometimes be used to persuade a stuck pole by applying some twisting action without marring the pole. (Do not try the pliers and rags routine.) Using lubricants or penetrants can cause the plastic sheath to expand and make the pole stick even tighter. Avoid using them. And regarding the plastic: It can expand over time and require a sanding to return to the normal size. So, once you get the poles out, go over the pole ends with 150-grit sandpaper, holding it shoeshine-style.

