zachstovall.com +1 407-492-8774 1877 Karolina Ave. Winter Park, FL 32789 USA
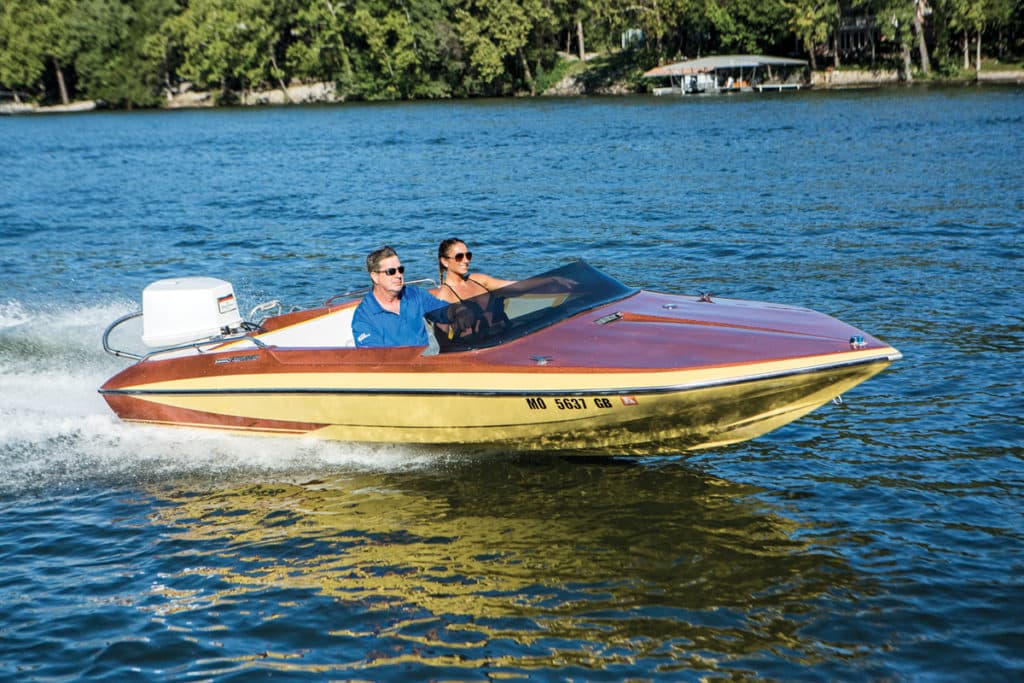
I was 16 when I was invited on my first boat date. She was my age, pretty, tall and slender, with dark hair and an olive complexion. She was visiting our resort and rental marina on Lake of the Ozarks in Missouri with her aunt and uncle. They had an Art Carlson-designed Glastron CVX with a taxicab-yellow and metal-flake finish. The dagger-shaped skiff was pushed by a Mercury “tower of power”: six cylinders stacked straight up that generated a righteous 115 hp. I fell in love with that boat. I’ve forgotten the girl’s name.
Since the beginning of fiberglass boatbuilding, few hull designs warrant the term “classic.” Unlike any 40-year-old car resurrected from a scrap heap, most old boats are just that, and less.
But when one of the first makers of fiberglass boats, Glastron, teamed up with Carlson, the renowned go-fast boat designer of the day, what emerged was so edgy, the creations were featured in action scenes in the James Bond movie Live and Let Die. The craft influenced the hearts of boaters for decades. And they continue to inspire boaters today.

I had my eye out for a GT 150 — the boat aboard which James Bond jumped over a levee during his historic chase scene. So, while testing boats in Syracuse, Indiana, I spotted a faded-silver metal-flake GT 150 with a “for sale” sign, and I called the number. It turned out, Randy Rinker of Rinker Boats owned it, and we struck a deal that included him shipping it to Florida on a load of new Rinker boats.
It was mechanically sound, but the hull was visibly aged like an old woman’s wrinkled brow and stooped back. In spite of the cracked vinyl, rotted floor and mushy transom, I bought it anyway.
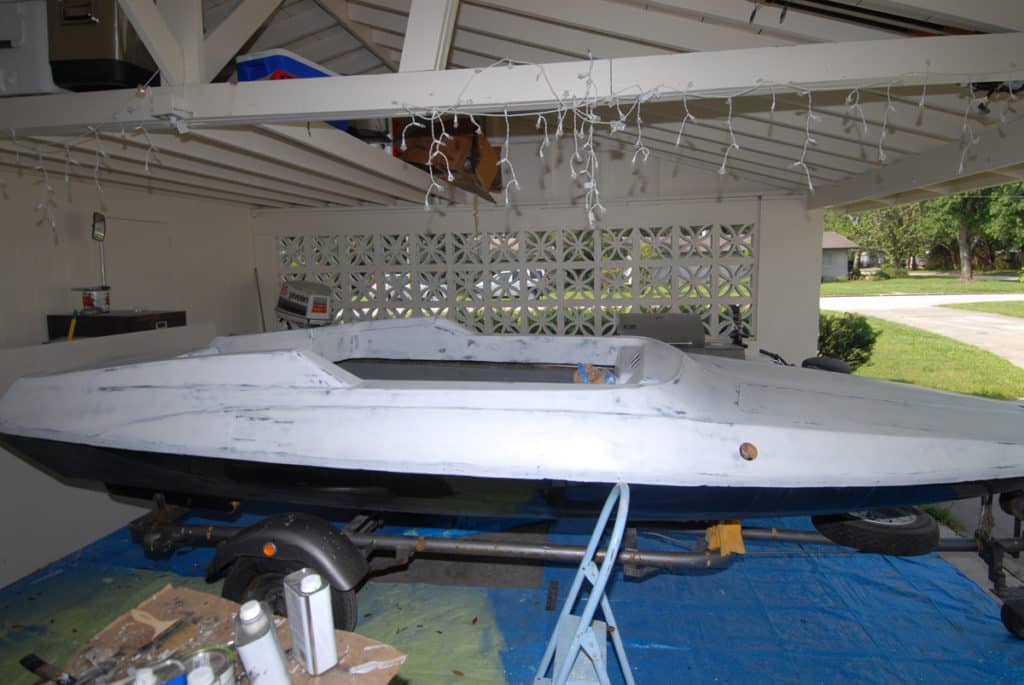
Interested in restoring a classic boat? A Glastron GT 150 is a great platform for doing just that. Its classic lines and movie-star good looks make it instantly recognizable and popular with fans of all types of boats.
At home, I hoisted the motor to my garage rafters and pulled off the deck to get to the rotted transom. I cut up the floor, removed the stringers and forward bulkheads (think the fire wall of your pickup), and was down to a Glastron-shaped bathtub.
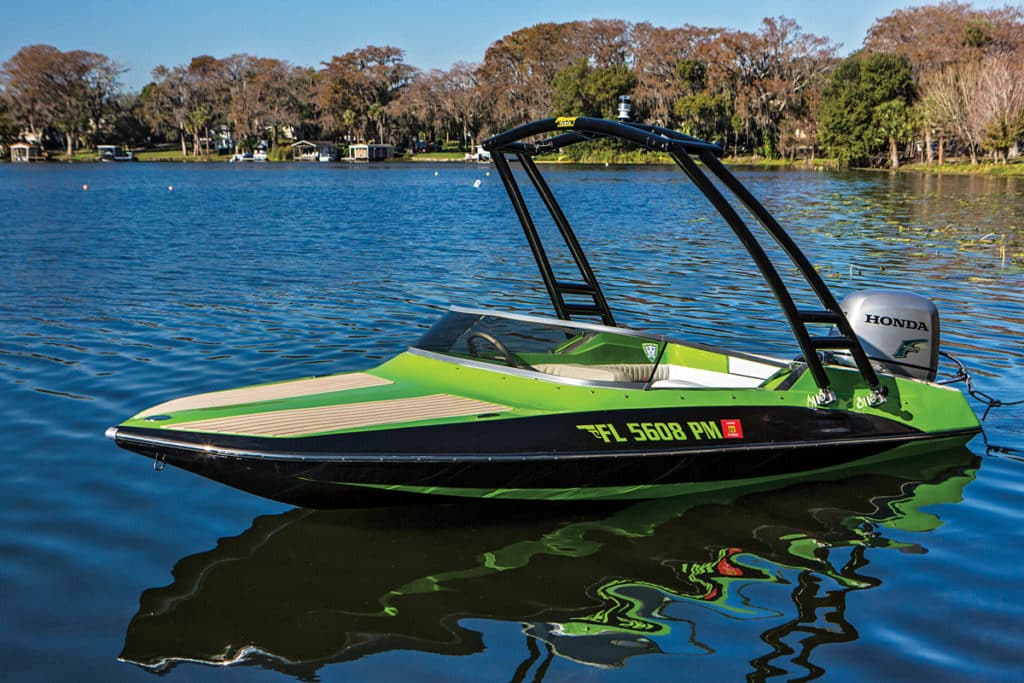
I started the job in 2006 and recommissioned her in 2012, a graduation gift for my daughter.
Fixing the Deck
Two sheets of plywood yielded the stringers and deck ($250). I laminated the stringers in glass. I epoxied the bottom of the deck, then used 3M 5200 adhesive to bond the deck to the stringers and hull and added stainless-steel screws to hold the deck to the stringers while the adhesive cured. I added an epoxy filler to smooth the deck joints at the chines and glassed in all the seams.
Tackling the Transom
The old transom came out in globs of rot, so I had to make a paper pattern and transfer it to plywood I had laminated to 1¼-inch thick — the original ply thickness. Seacast is a fiberglass filler adhesive designed for filling gaps while adding structural strength by way of its chopped-glass filling. I troweled that between the transom ply and fiberglass hull. Using bolts and the aluminum plates that had been holding the transom together under duress, I clamped the wood to the glass, squeezing out excess Seacast product ($92 per gallon, transomrepair.net). It worked like a charm.
Hull Blisters
This puppy had hundreds of tiny blisters. I never got rid of them all, but I sanded and chipped off the worst on the chines and filled the holes.
Painting the Hull
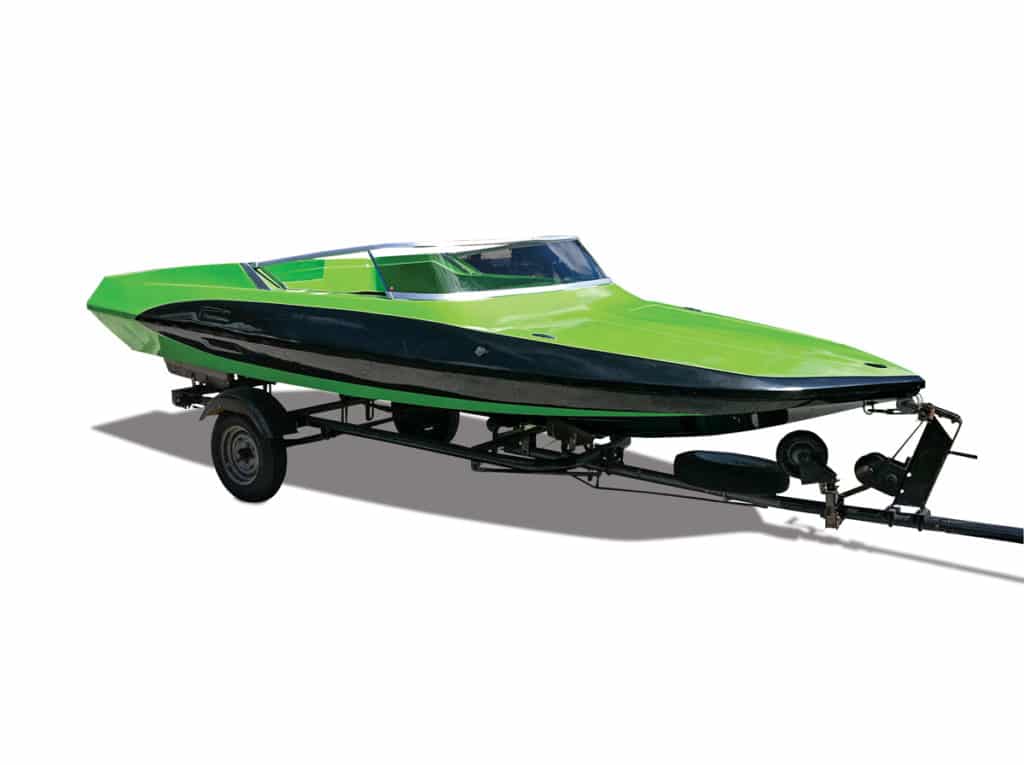
I painted the hull before fitting the deck to make sure the paint carried up under the cap, reducing the chance of visible chipping or wear at the joint. Interlux Epoxy Primekote ($55 per quart, westmarine.com) is sandable, and it filled gelcoat imperfections such as sander marks and hairline gelcoat cracks. Perfection black topcoat went over that ($100 per quart, westmarine.com). I never believed a rolled then brushed paint job could come out so smooth and glossy. With practice, I learned you had to trust the paint to level out on its own as it cured over a week.
Painting the Deck
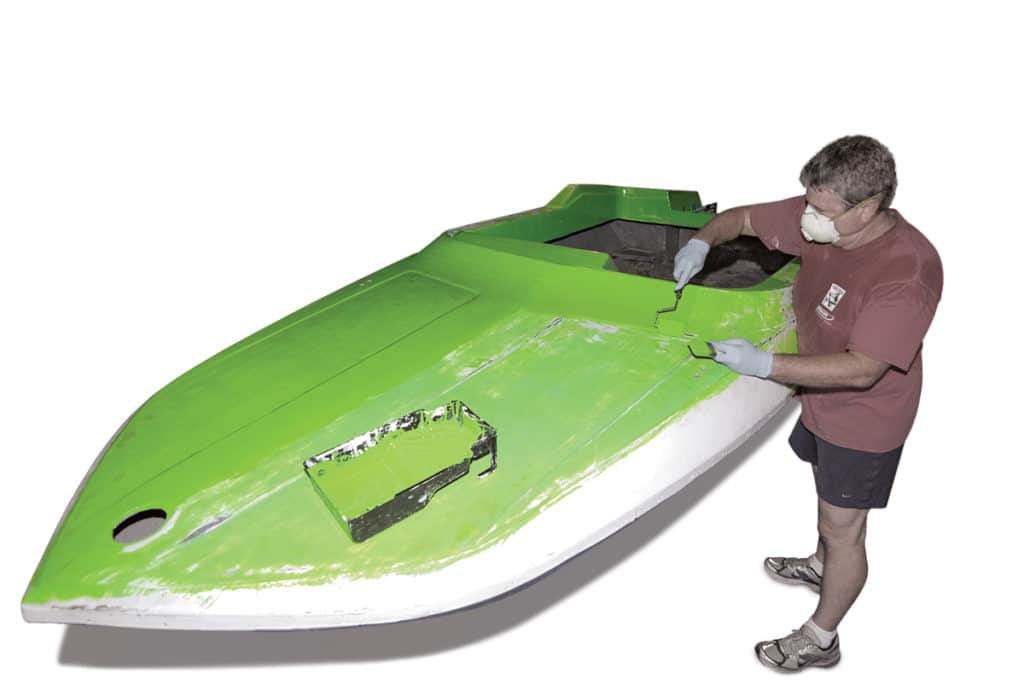
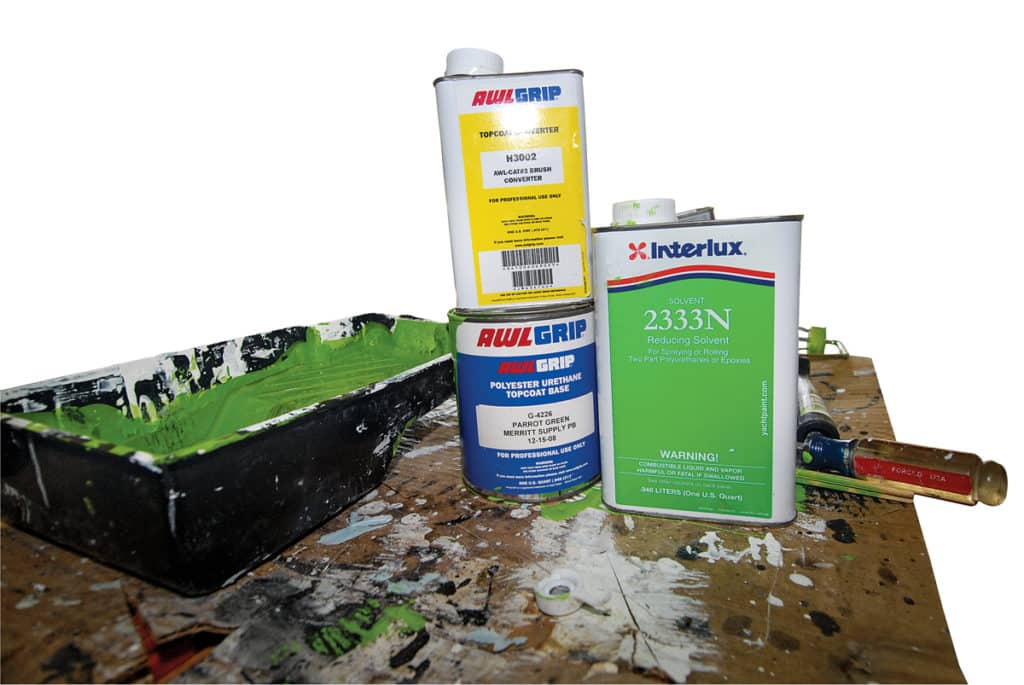
I laid wood strips across the hull and set the deck on those strips. The Parrot Green paint was available only in the professional-grade Awlgrip, which I found a little trickier to mix and use. More complex curves and edges also presented flow and drip problems. I used a foam roller to apply the paint and a foam brush to tip it. Ultimately, the result was a 10-foot finish — it appeared smooth from 10 feet, but it was not a reflection of Awlgrip’s strong reputation for gloss.
Resetting the Cap
I squeezed a bead of 5200 around the hull rim and then started to remove the supporting wood strips, lowering the deck like a shoe-box lid. Once I was sure the cap was properly seated, I pre-drilled each screw hole, beginning at the transom, at 6-inch intervals.
Cracked Windshield
The windshield was cracked, chipped, crazed and yellowed. Taylor Made Glass Systems had a perfect replacement ($500, taylormadeglass.com). The result was beautiful and so nearly identical to the original that no one could tell.
Hardware and Nav Lights
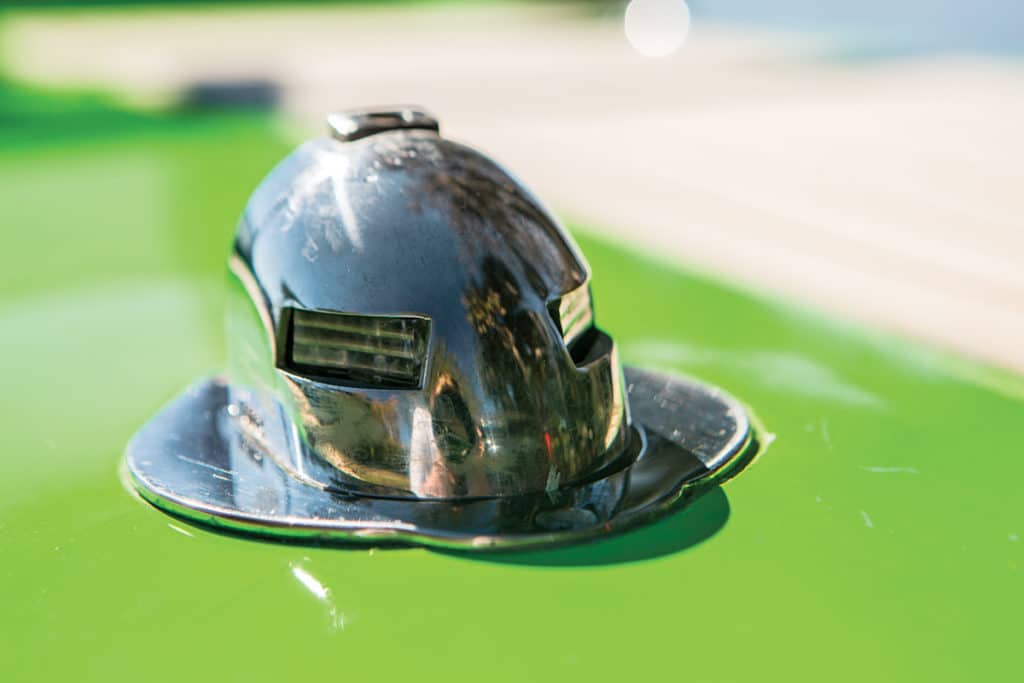
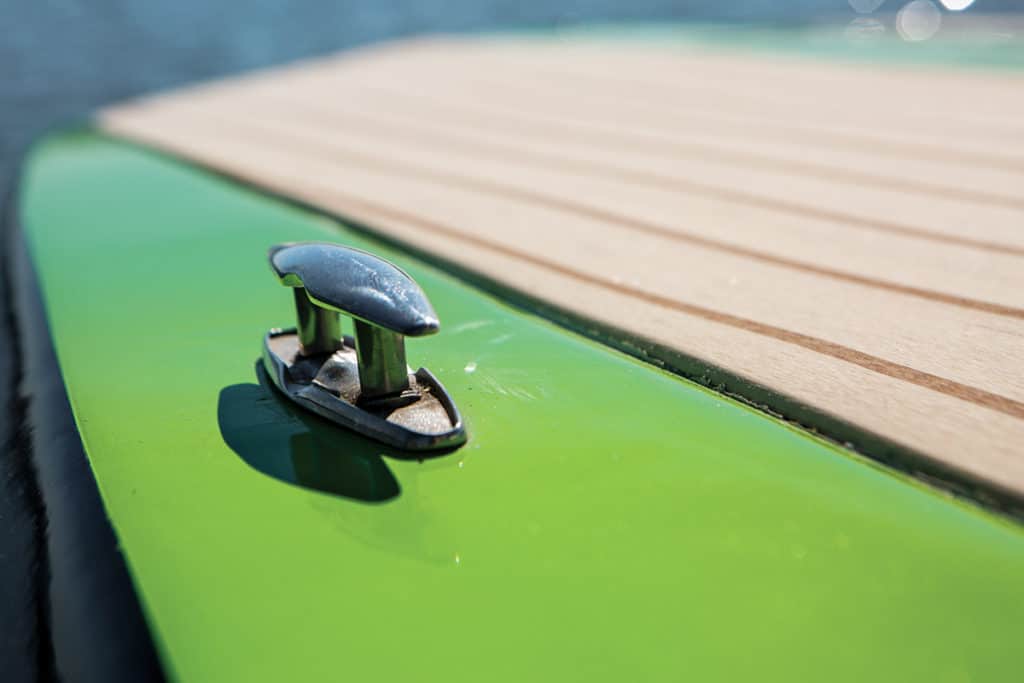
Accon 4½-inch pull-up cleats ($24 each, acconmarine.com) were sleek and easy to secure using one large backer nut. An Accon Marine stainless-steel pop-up LED navigation light ($195) enhanced the low-profile look. Four SeaSense blue LED courtesy lights (starting at $13, amazon.com) under the coamings added evening ambience.
Wiring
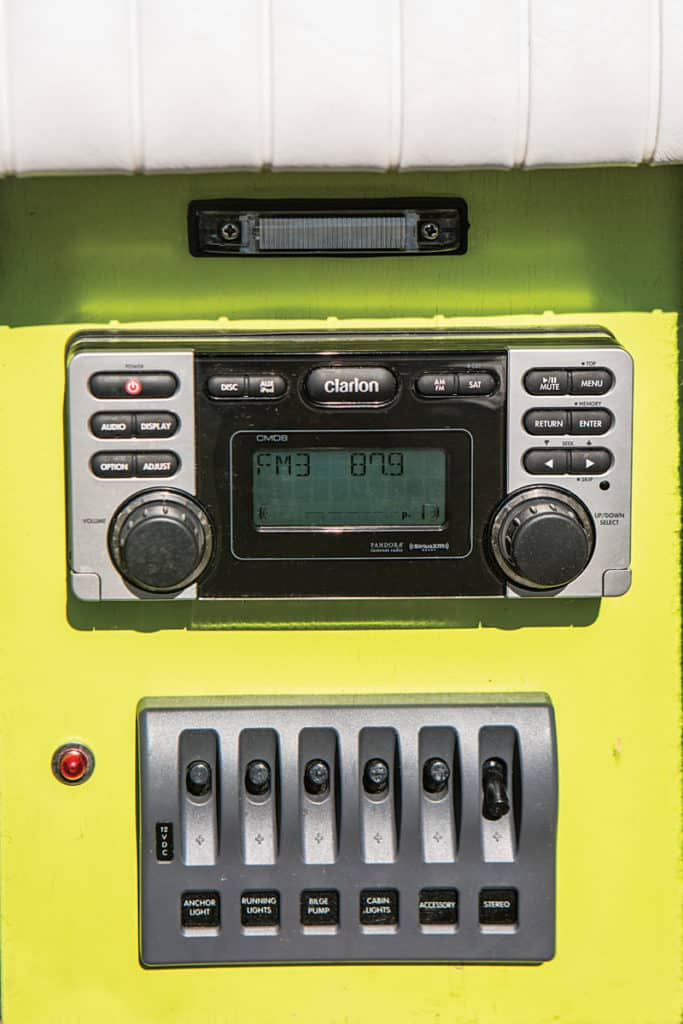
A WeatherDeck six-position switch panel, with fuses in each power-supply line fixed close to the device, and corrsion-resistant tinned wire supplied voltage.
Dashboard
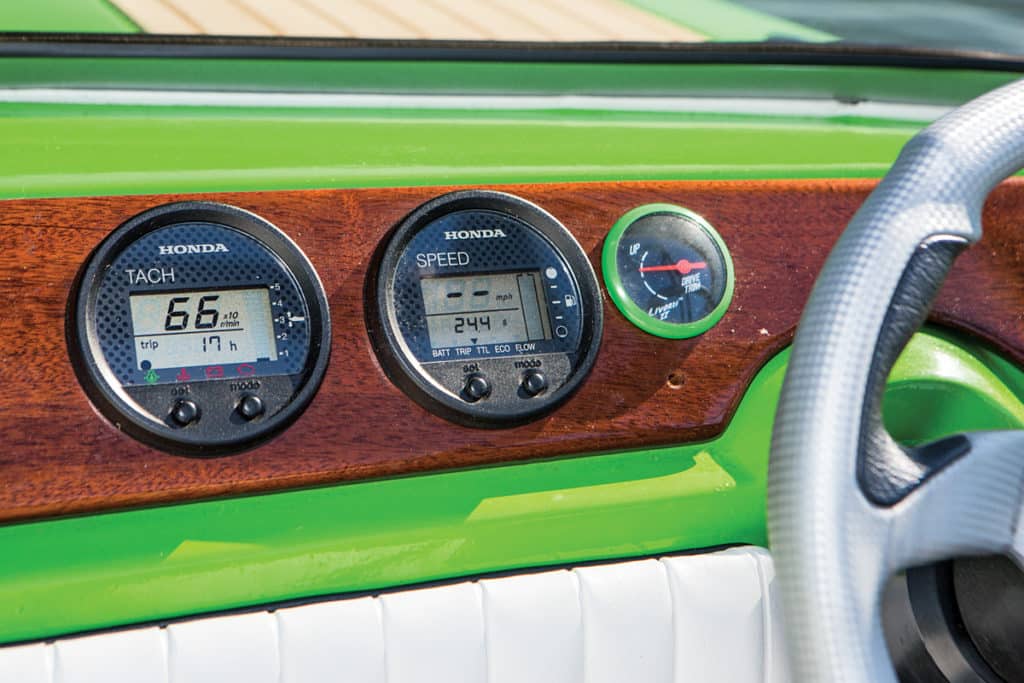
I marked out a cardboard dash template and traced it on 3/8-inch-thick mahogany, then I cut gauge holes with a hole saw. After three coats of Interlux Schooner Gold varnish ($24.99 per pint, jamestowndistributors.com), it gleamed.
Rub Rail
Rub rails are made from better stuff today. I bought the Taco Marine brand 1-inch rigid vinyl rub rail (two at $100 per 20 feet, westmarine.com) and added a ¾-inch stainless-steel insert (two at $120 per 20 feet, westmarine.com). A heat gun softened the rail at the transom corners, shrinking the material to nearly eliminate any bulges. The two side rails joined at the bow under an original trim piece. A rubber mallet formed the stainless-steel cap around the stern corners. This improvement was worth every penny.
Deck the Deck
CoolTeak mats on the bow and stern gave a great look and offered secure footing for boarding. The reversal of the dark teak and light strips kept them cool under the sun and safe for bare feet or thighs. They are easily washed or sanded, should stubborn stains occur. I cut paper templates to fit and sent them to Plasdeck. Mats arrived complete with adhesive (from $36 per square foot, plasdeck.com). Lay them in place, tape exactly at their edges and spread the adhesive with a 3/32-inch notched trowel. Press the panels in place. Remove the tape immediately for a clean edge.
Interior Design
Scotties Canvas and Marine in north Fort Myers upholstered my boat. It gave me a generous deal, and we settled on a simple rugged white vinyl for looks and price. Scotties took the still-solid wood frames and foam and made new seat covers and bolsters for an awesome look. I added an inexpensive outdoor carpet for about $100 including adhesive.
Audio
Clarion’s CMD8 watertight system was ideal for the project, and I built a compartment between two forward bulkheads that held the 12-volt Optima battery and the source unit. The source unit boasts a CD drive, Aux and USB inputs for smartphone tunes, and is watertight to boot. It’s Sirius-ready as well. The amplifier is bolted to the outside of the compartment, allowing it to breath, and a 30-amp breaker protects it. I installed the subwoofer on the inside of the left seat facing the coamings. It works fine this way and thumps the boat while staying safely out of weather.
Steering Wheel and Throttle Control
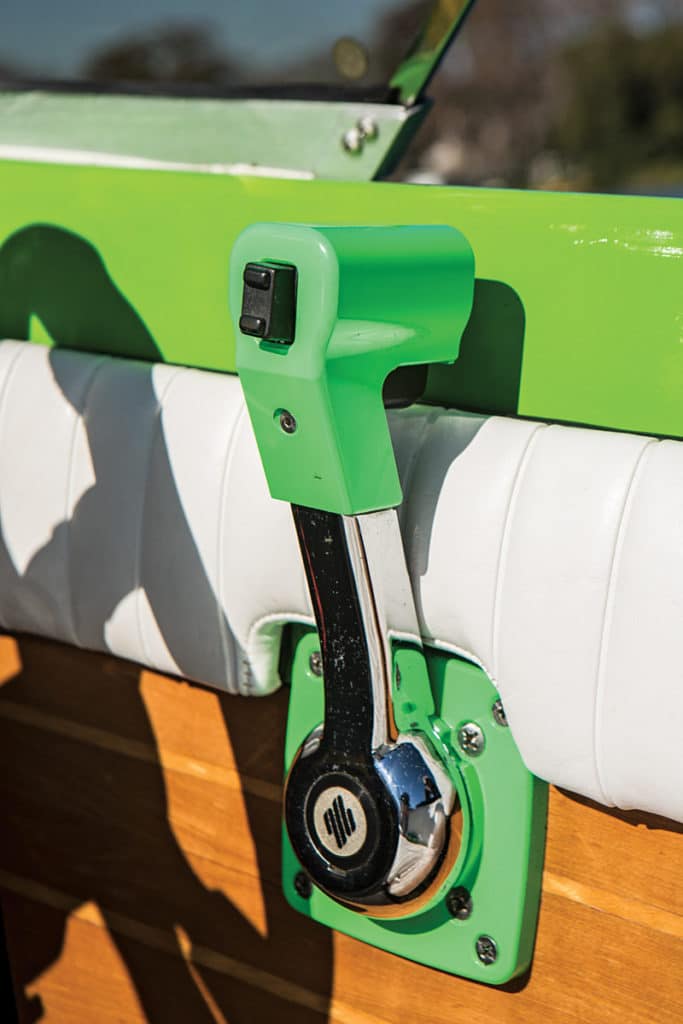
Livorsi supplied a Lisotto Italian wheel, now discontinued. The newer Grimani style ($189) would also do the trick nicely. The throttle lever in my boat is discontinued as well, but a billet aluminum model, which would be way more rad, is available for $439 (livorsi.com).
Powering Options
The original outboard ran beautifully. There is definitely something about those old two-strokes that gives them a decadeslong life span as long as you fuel, oil and winterize them. But, with so much work to modernize the boat, repowering with a four-stroke was attractive because it would mean better fuel economy and quieter cruising. Honda’s new technology slimmed down the once chubby four-strokes, and this 90 hp outboard weighed almost exactly the same as the old 85 hp Johnson ($12,000).
The variable valve timing system is powerful in the hole shot, giving a time to plane equally impressive to the Johnson at about 4 seconds. And top speed improved to about 48 mph versus 45 mph on the older motor. The digital gauges were a great touch, but I stuck with the Livorsi side-mount throttle. The prop installed is a Honda stainless-steel three-blade. This boat had portable tanks, so replacing rusty tanks with modern SeaSense SecureStack 6-gallon roto-molded tanks was logical, smart and easy ($55, walmart.com).

Towering Options
For attitude, I installed this Monster Tower ($1,299, monstertower.com) in a matter of hours. It is easy to lower for storage. A bonus is the integrated all-around white LED navigation light on the towpoint. Cool accessories include wakeboard racks, a Bimini top and stereo speakers. See the installation video at boatingmag.com/installing-wakeboard-tower.
Tubing is my most frequent tow sport, so I added a TurboSwing ($599, monstertower.com). A tube can nose-dive and suddenly put hundreds of foot-pounds of energy on the tower. That kind of force can rip it off. But the TurboSwing is mounted right to the engine mounts with the engine mounting bolts. Nothing adds more torque to the transom than the outboard, so this makes a safe towpoint for tubes. The TurboSwing also beautifully distributes the force of the rider, keeping it as close to the longitudinal center of gravity as possible, which improves handling under tow.
Boat: $1,200 | Plywood: $250 | Seacast: $92 | Fiberglass and Resin: $300 | Paint and Supplies: $300 | Varnish: $25 | Sealant and Adhesive: $75 | Rub Rails and Screws: $460| Windshield: $500 | Cleats and Lights: $291 | Interior: $1,600 | Steering Wheel: $189 | Gearshift: $489 | Wire and Connectors: $75 | Stereo: $1,000 | Monster Tower: $1,299 | TurboSwing: $599 | Fuel Tanks (2): $110 Total
$8,854 (Plus motor) Zach Stovall
