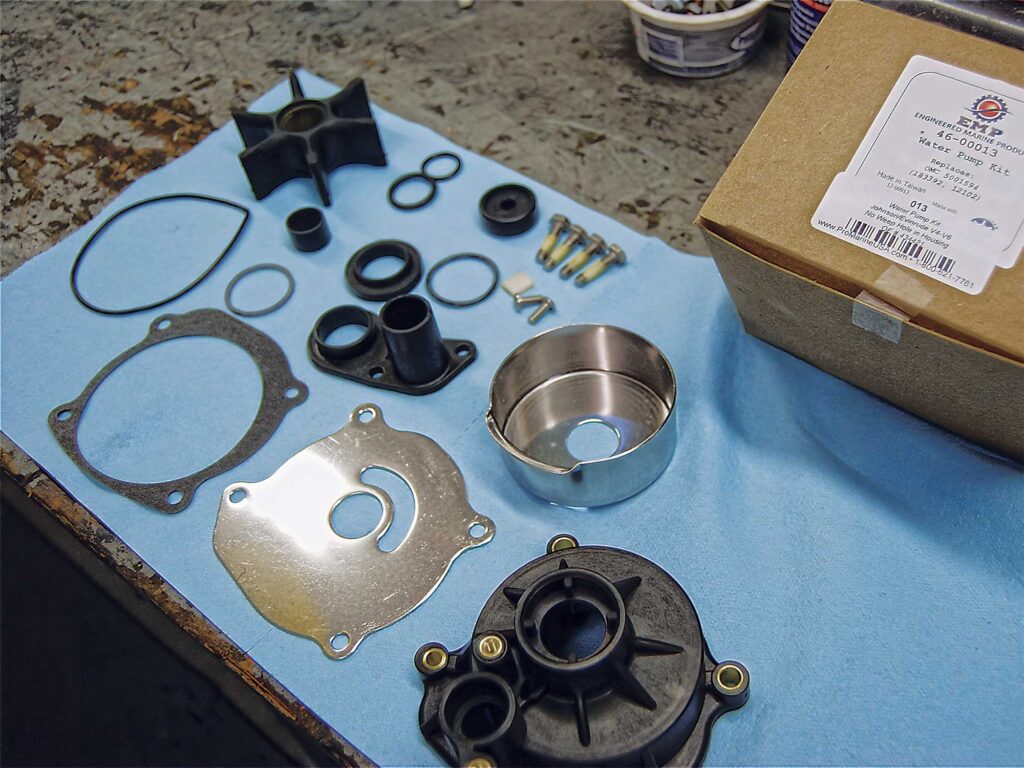
Salt, sand, and debris take their toll on your outboard’s water-pump impeller, housing, and related parts. Despite many “I’ve never replaced the water pump” stories, good preventative maintenance practice includes replacement of the pump and housing at regular intervals—annually is best.
Because every engine is different, these instructions are general. Buy a service manual, such as a Seloc manual, for your specific engine before attempting this job. Then budget an hour or so to remove the gear case, replace the pump, then reinstall the gear case.
1. Disconnect the shift cable under the engine cowl. It will be easy to see if your helper shifts the control as you watch the cable. There also might be a shift-rod connection to address. Most Mercury and Yamaha engines have a shift-rod connection in the gear case that slides apart; Johnson and Evinrude engines have a connection under the cowl. Many manufacturers specify that the unit be in forward gear or neutral or reverse, and stay there until you reinstall the lower unit. The specific procedure will be described in your manual.
2. Next, make the unit as light to handle as you can. Remove the propeller and any planing plates. If your engine is larger (over 60 to 70 hp), the unit will be hefty. Be sure that you can tilt the engine high enough and you have room to extract the gear case and drive shaft from the outboard.
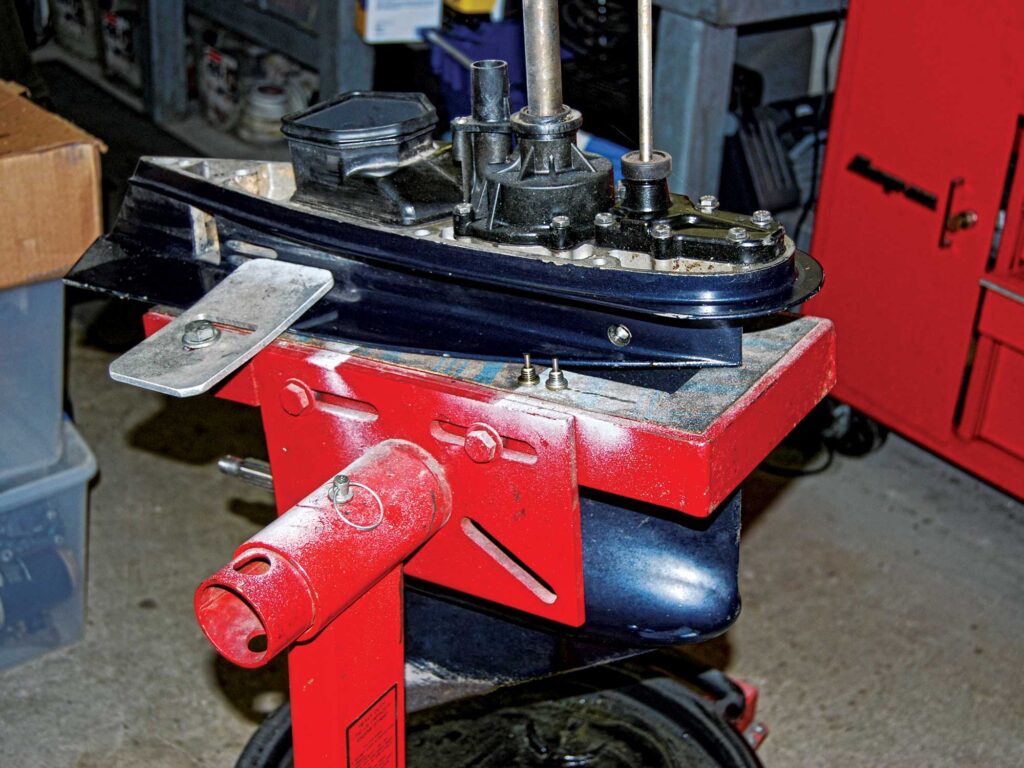
3. You’ll need a stand to hold the gear case after it’s off the outboard. A wooden stand can be fashioned and used again. Clamp smaller units in a vise by the skeg. Pad the jaws of the vise with wood to protect the finish.
4. Typically, there are two or three bolts securing the lower unit on each side of the engine. There also might be a bolt in the front. Usually there is at least one or two hidden fasteners under the antiventilation plate. Before you completely remove that last bolt or nut, prepare yourself to catch the gear case in case it drops right out.
5. Carefully pull the unit down and away from the engine. You might have to coax it with some careful wiggling and prying. “Choice words” sometimes get voiced at this stage.
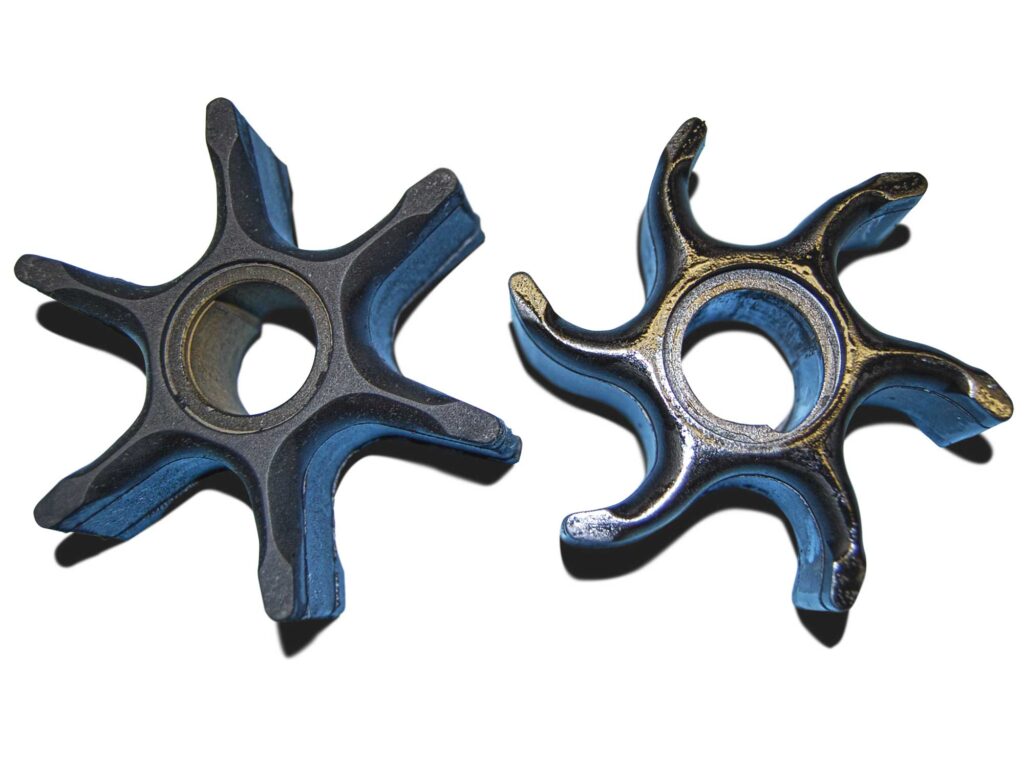
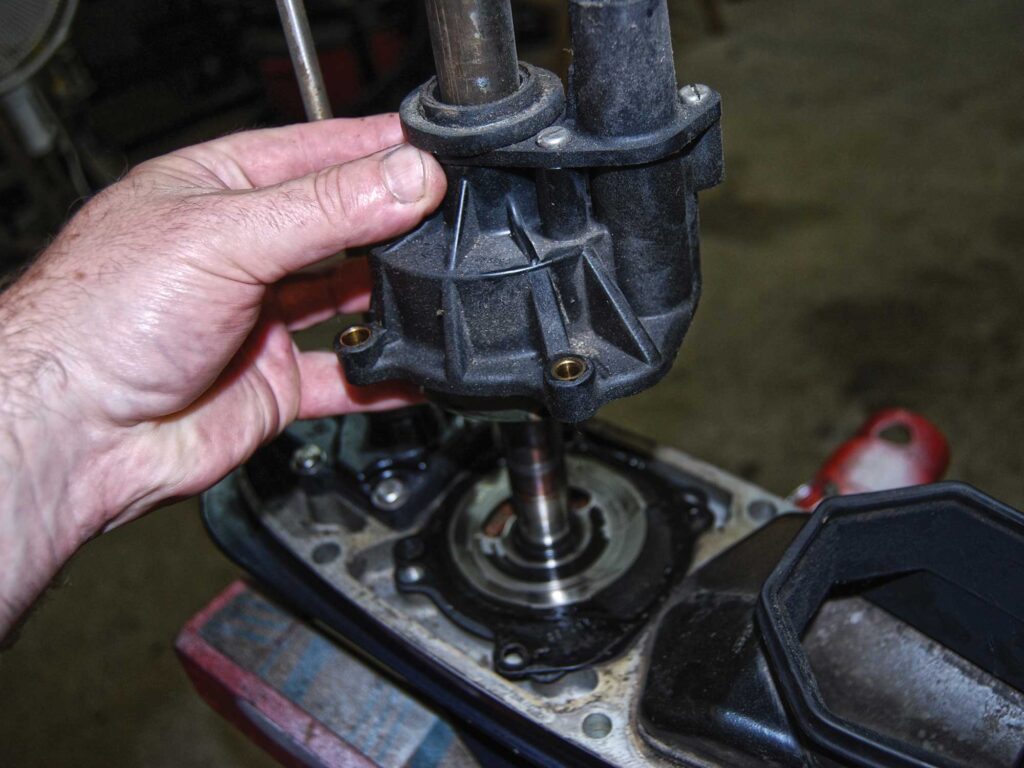
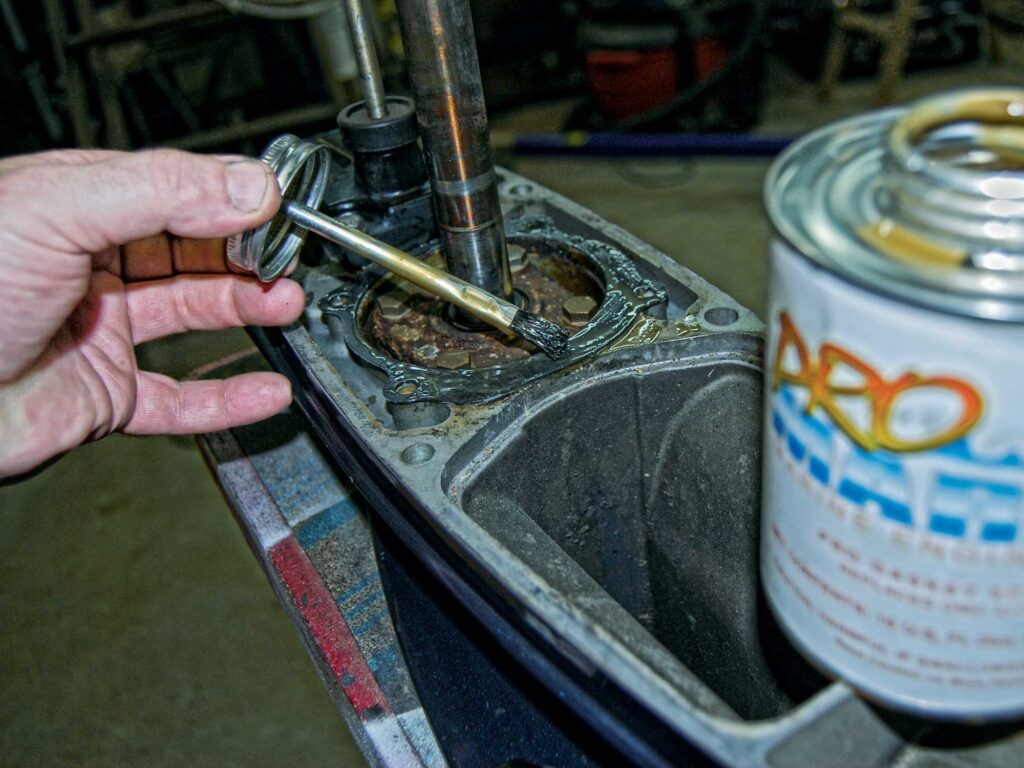
6. Use compressed air to clear debris from the intake passages and the area surrounding the pump. After removing the pump and the impeller plate, use the extended air-gun tip to reach down into the intake passages and blow out any accumulated silt. Blow compressed air up into the brass water tube in the engine midsection to clear any debris. Pull the impeller up and off the driveshaft, and remove the old Woodruff key, which should be replaced by a new one.
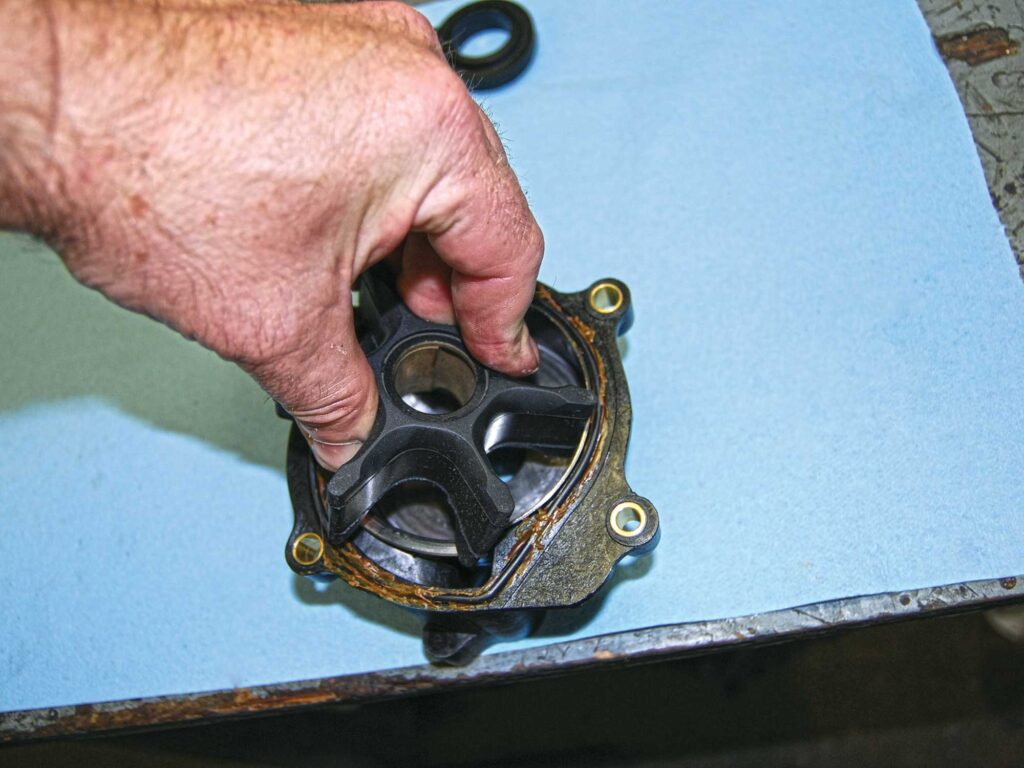
7. Install a new Woodruff key. When sliding the impeller down the driveshaft, align the slot in the impeller with the Woodruff key. Be sure of proper impeller rotation, which is clockwise, then install the pump housing on top of the impeller while turning the driveshaft so that the vanes compress in the proper direction. Use a dab of engine oil on the impeller vanes of the impeller so that it’s prelubricated upon startup of the engine. This also makes compressing the vanes easier.
8. Use any sealants called for by your engine’s manual. Carefully tighten the housing screws. Do not overtorque, or you might crack the housing and cause a leak later, which could lead to overheating. This is also a great time to drain, check, and refill the gear lubricant.
9. Remember that the gear case must be in the correct gear before installation. Don’t move the shift rod at all, or else you might have a hard time reinstalling the lower unit.
10. Clean the top of the driveshaft, then dab marine grease on the splines—not on the top. Greasing the splines will make removal of the gear case easier next time. Be sure that the exhaust adapter is properly positioned in the midsection.
Read Next: How to Service a Sterndrive Water Pump Impeller
11. While sliding the unit up into the midsection, ensure that the driveshaft, shift shaft and water tube are positioned properly. If you miss, the engine will not receive cooling water and will overheat, or it won’t shift properly and you’ll have to remove and install it again.
12. After the installation is complete and you’ve reconnected the shift shaft and shift cable, start the engine and ensure that it is pumping water, running properly at the proper temperature, and shifting from neutral to forward and to reverse correctly.