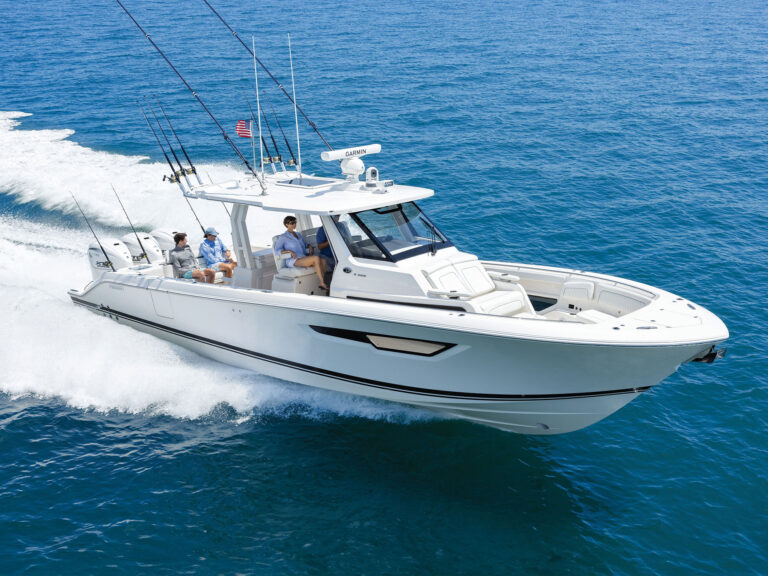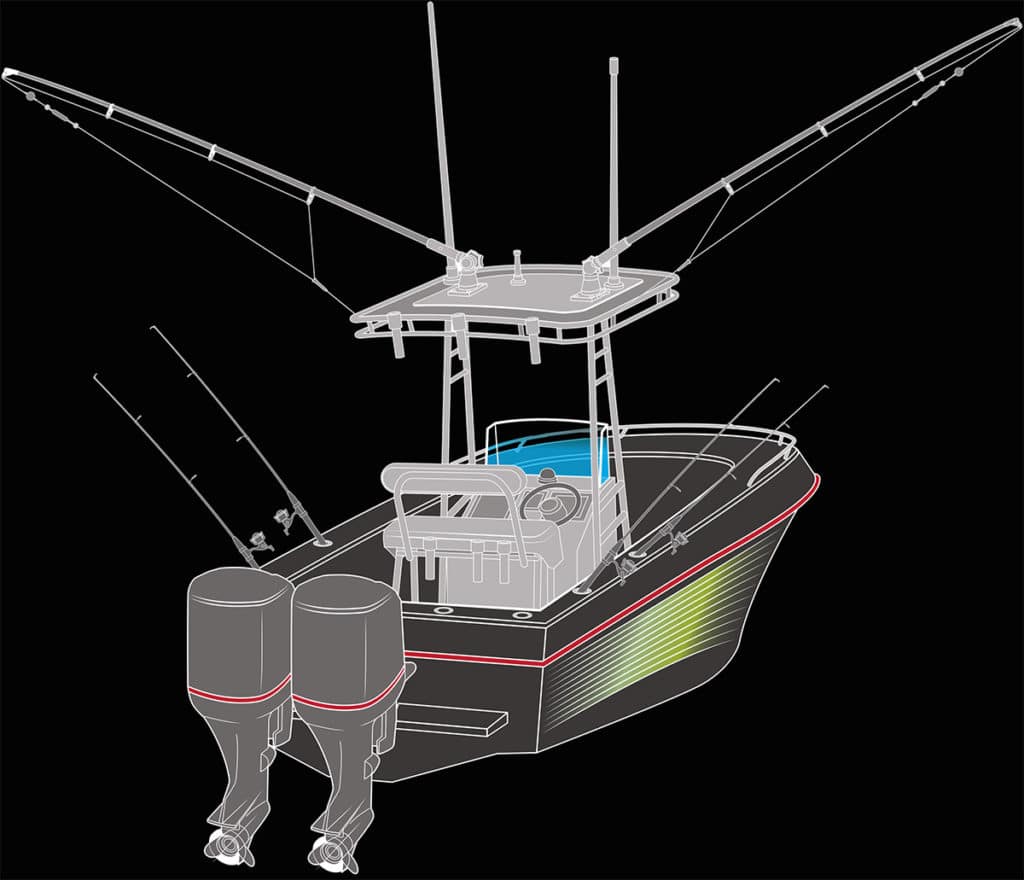
If you troll for game fish such as dolphin, marlin, tuna or wahoo, a pair of outriggers can help you present a more expansive selection of lures or baits. Essentially, an outrigger is a pole (aluminum is the most common) ranging from 15 to more than 40 feet in length that swings out to the side; each one lets you run one or more lines from release clips, increasing the spread beyond the limited number of “flat lines” and minimizing tangles. Adjustable bases let you swivel the poles in and out, while ratchets let you change the vertical angle.
Outrigger kits are available from companies such as Pompanette, Rupp Marine, Taco Marine and Tigress. Here’s how to install a pair using Taco’s popular Grand Slam 170 outrigger kit featuring 15-foot telescoping aluminum poles (that retract to 6 feet and are easy to remove for storage or trailering) on a 24-foot center-console fishing boat with a hardtop (minimum quarter-inch thickness is required on the hardtop).
Skill Level: 3/5
Time to Complete: 5 Hours
Tools and Supplies
Taco Marine Grand Slam GS-170 outrigger kit with 15-foot poles ($1,005.95; starmarinedepot.com)
Taco Marine wedge plates for sloping hardtops ($92.33/pair; pbsboatstore.com)
Taco Marine backing plate for cored tops ($62.77; usaboatstore.com)
Taco Marine spacer tube kit for cored tops
Electric drill and drill bit set
1/2-inch box wrench
3/16-inch Allen wrench
Tape measure
Combination square
Silicone sealant
Marking pencil
Clean rags (for cleaning up sealant)
Swaging tool for rigging the lines
Quick Tip: On sloping hardtops, use Taco Marine’s wedge plate. Featuring a 7½-degree angle, this optional accessory helps level the outrigger bases to improve the aesthetics of the installation.
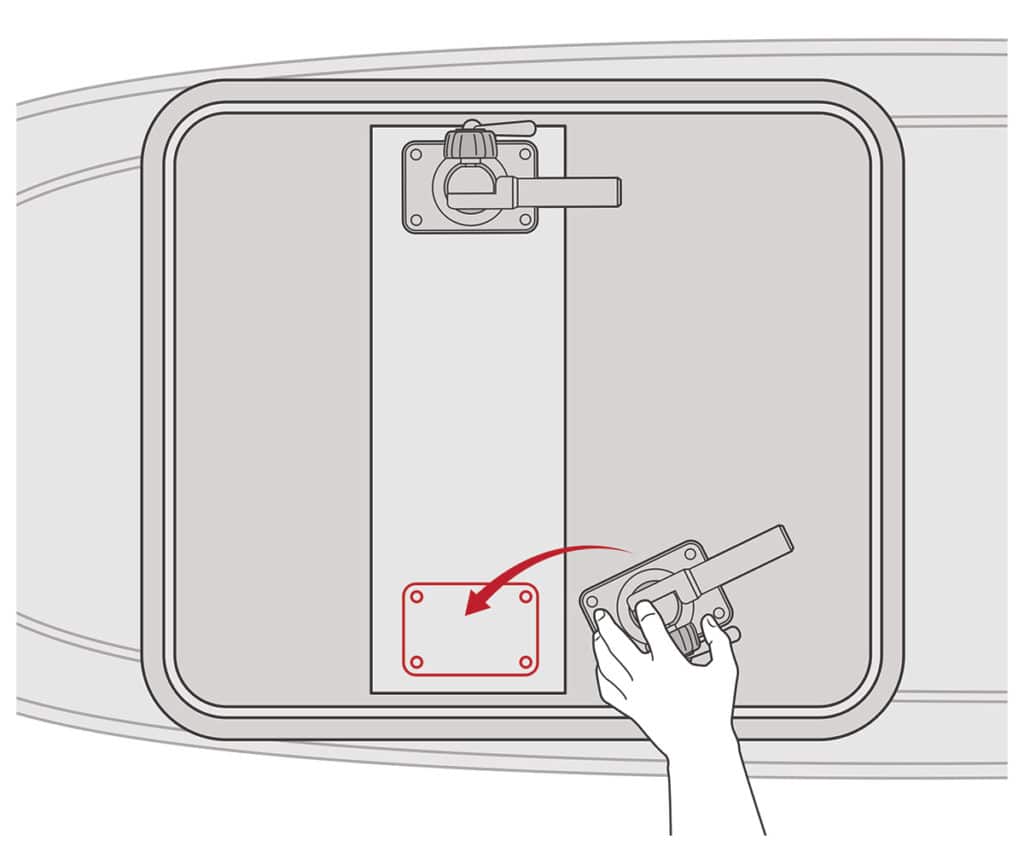
1. Position the Bases
Locate each aluminum outrigger base on the hardtop 2 or 3 feet in front of the forwardmost gunwale rod holder in the aft cockpit and 3 to 5 inches inside the edge of the hardtop. This usually places the base somewhere aft of the lateral midpoint of the top. Make sure the bases are positioned symmetrically — the same on each side. Check underneath the top for interference from elements such as structural supports, wires or dome lights. Once you’re satisfied, mark the four mounting holes.

2. Mount the Bases
Orient each base with the knob and locking lever to the outside. On a solid top, drill each hole with a five-sixteenth-inch bit. Apply a bead of sealant, and bolt with the supplied hardware. A plastic washer between the top stainless-steel washer and the base prevents galvanic corrosion. On cored tops, drill each hole with a seven-sixteenth-inch bit; insert the optional spacer tubes, part No. V22-9806BKA4 (cut flush at the top and bottom). You will also need the optional backing plates before bedding and bolting on the bases.

3. Install the Poles
This step is easiest to accomplish with telescoping poles fully retracted. First insert the supplied stainless-steel locking clip into the base of each pole, making sure the clip’s button aligns with the hole in the butt end of the outrigger pole. Then, to secure the pole, insert the butt end of the pole into the tube on the outrigger base so that the button on the locking clip snaps into the hole in the tubes. Remove, when necessary, by pressing on the button and sliding the pole out of the base.

4. Rig the Lines
The kit comes complete with rigging items, including Dacron cords, snap swivels, crimps, release clips, and a bungee with a glass ring on one end and a stainless carabiner on the other. Take your boat to a place where you can extend the poles, and follow the instruction sheet for attaching the hardware. You may need to install a pad eye to secure the carabiner, but many times you can find a place such as a hardtop support arm to secure the bungee between the ‘rigger base and the forward rod holder.


