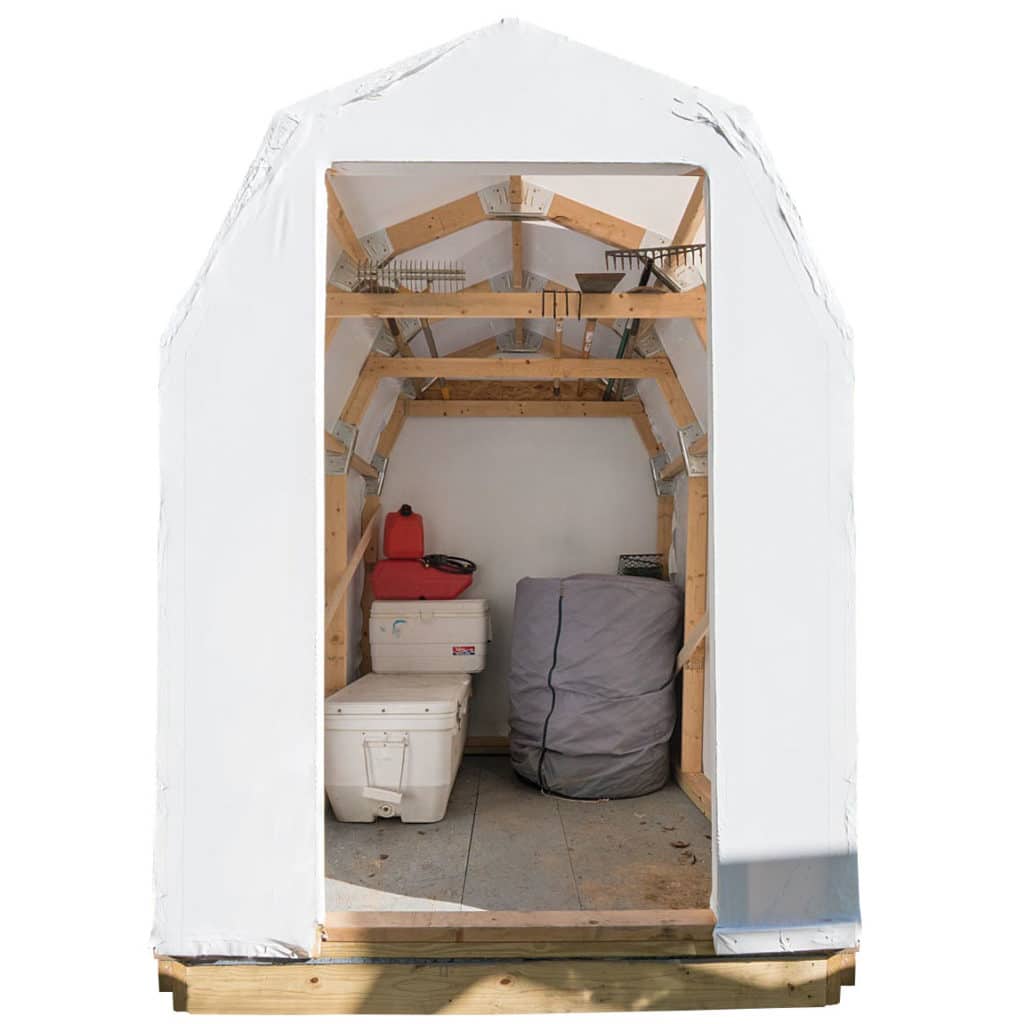
Climbing over an icy swim platform and through a snow-covered zipper door makes wintertime work aboard inconvenient. With basic carpentry, that same shrinkable plastic makes a storage shelter large enough to drive a trailered boat into with room to walk around, conveniently weatherproofing your work 365 days a year. I built a small shed to prove the concept. Here are the fruits of my experience.


Build a Structure
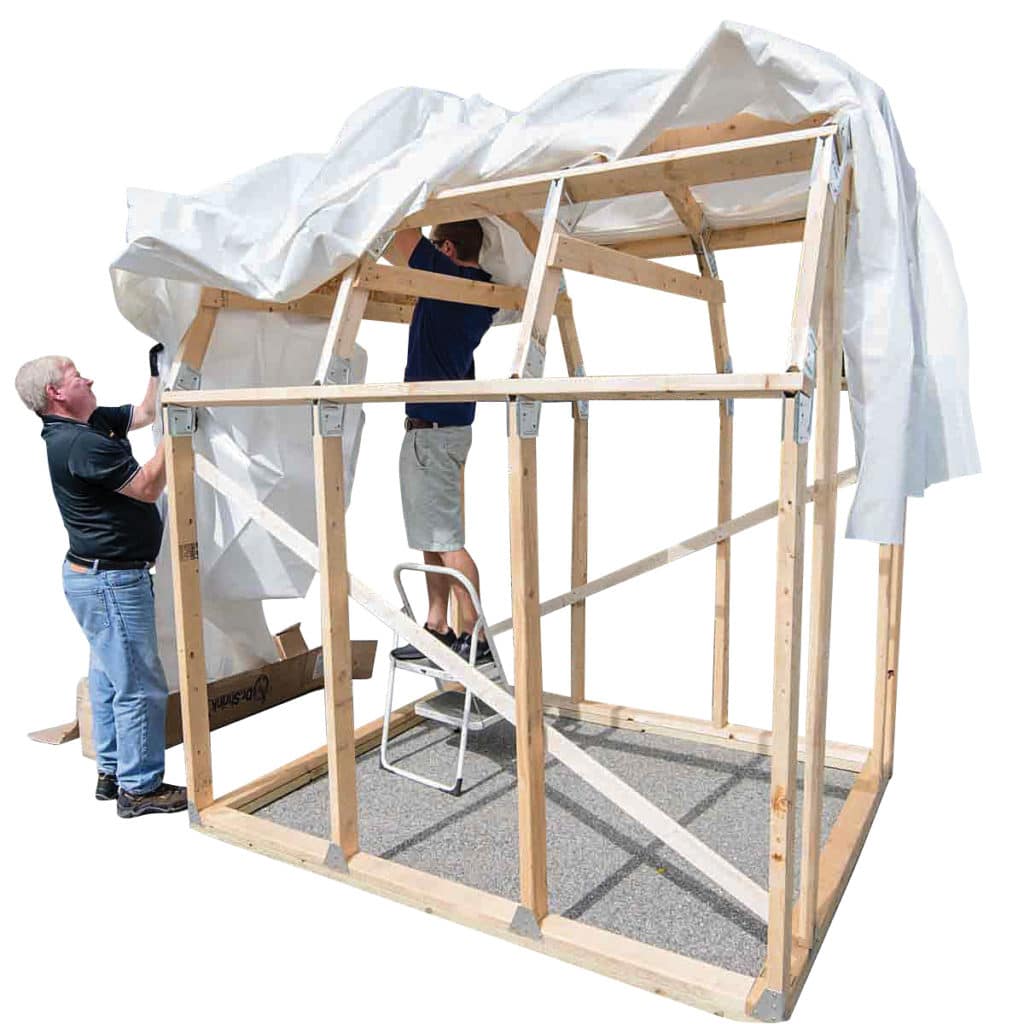
Traditional two-by-four framing techniques work well. So do framing kits from 2x4basics and other companies that rely on metal brackets to make straight-cut lumber fit together at the appropriate angles. Most come with directions to build 8- or 10-foot-wide shelters. Those plans can be expanded for wider-beamed boats.
Shrink Film
Size 7mm film offers about the right balance between cost and durability to cover a work shelter. Expect a shed to last about three years before needing a new cover. For structures with frames spaced farther than 2 feet apart, consider heavier 10mm film. White shrink-wrap film reflects sunlight, so white shed skins expand less and stay tighter on warm, sunny days. “White is really nice to work under,” adds Mike Stenberg of Dr. Shrink (dr-shrink.com). “The light is almost shadow-free, and it doesn’t skew colors the way blue would.”

Install the Film
Even very wide shrink-wrap film comes from Dr. Shrink in pleated rolls no more than about 5 feet wide, making it easy for two people to handle on days without a breeze. Cut away excess material on all four building corners and tack them closed with tape before welding those corners together — shrink film sticks to itself well in two or three layers, but once it’s bunched up, middle layers don’t get hot enough to melt together.
Secure the Edges to the Shed
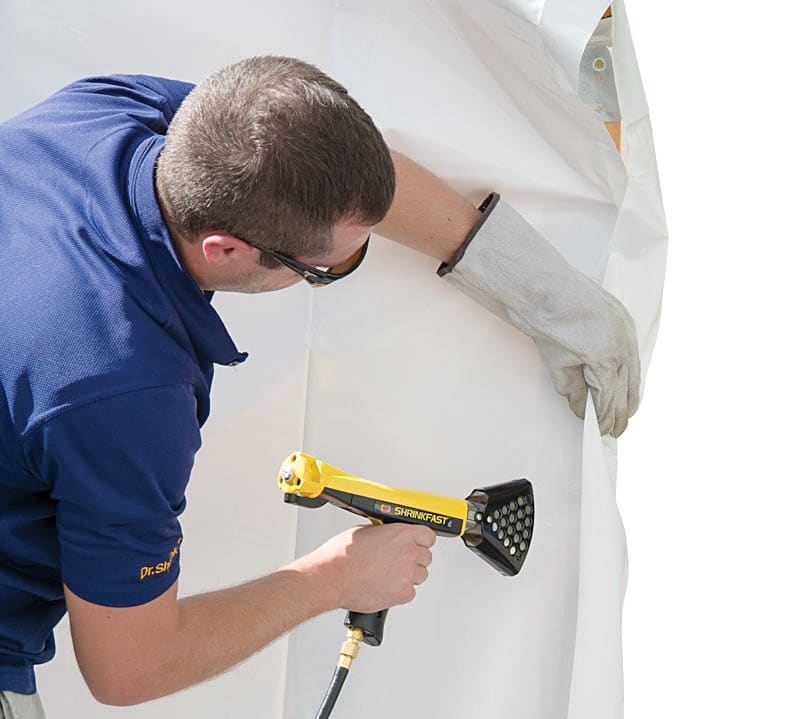
Order enough film to allow an extra foot of material along the bottom of all four sides, which is rolled around 1-by-3-inch wooden battens and screwed right into the wood structure. Once it’s heated to around 180 degrees, the film shrinks roughly 25 percent, magically tightening even a pretty loose cover.

Shrinking Advice
Start at the bottom, working in 3-foot sections. When the film goes smooth and starts to shrink, move along to adjacent, unshrunk material. Don’t go back over an area a second time with more heat. Shrink-wrap tape reinforces welded seams, covers any holes cut by sharp edges, and repairs the few burn holes that are bound to appear. Hinged door frames can be covered in shrink-wrap, or install zipper doors right in the shed’s sides and consider adding a vent or two.


