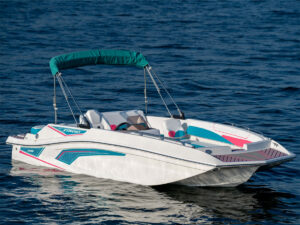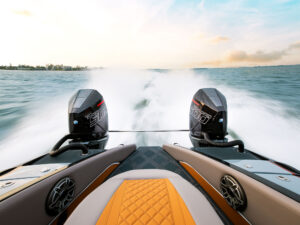
Jack plates that adjust on the fly offer a unique set of benefits on a variety of outboard-powered boat types, from bass and bay boats to performance craft. Installed between the transom and the outboard motor, jack plates from brands such as Bob’s Machine Shop, Dometic, Panther, and T-H Marine can elevate and lower a motor at the push of a button.
Elevating the motor allows boaters to operate an outboard in shallows such as tidal flats or backwaters while fishing. In addition, the ability to raise the lower unit can enhance speed by reducing drag while under way. Finally, a jack plate offers inherent “setback”—ranging up to 20 inches abaft the transom—to get the outboard propeller in cleaner water for more efficient thrust.
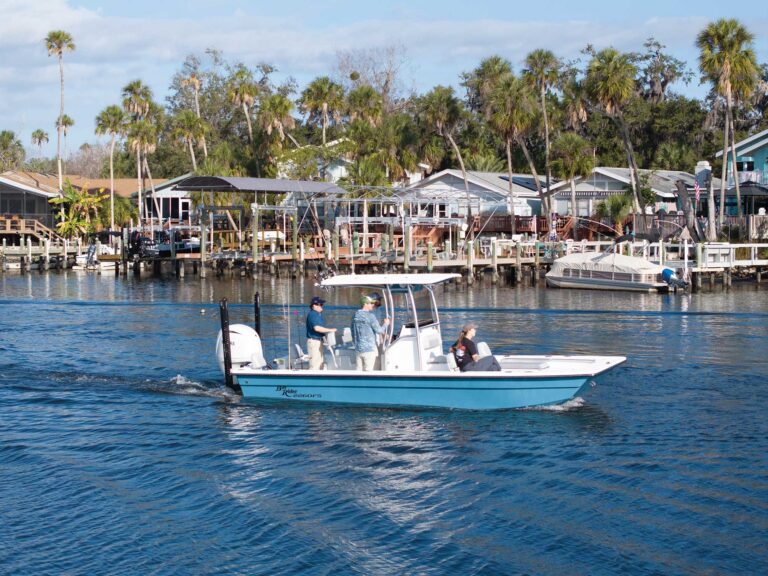
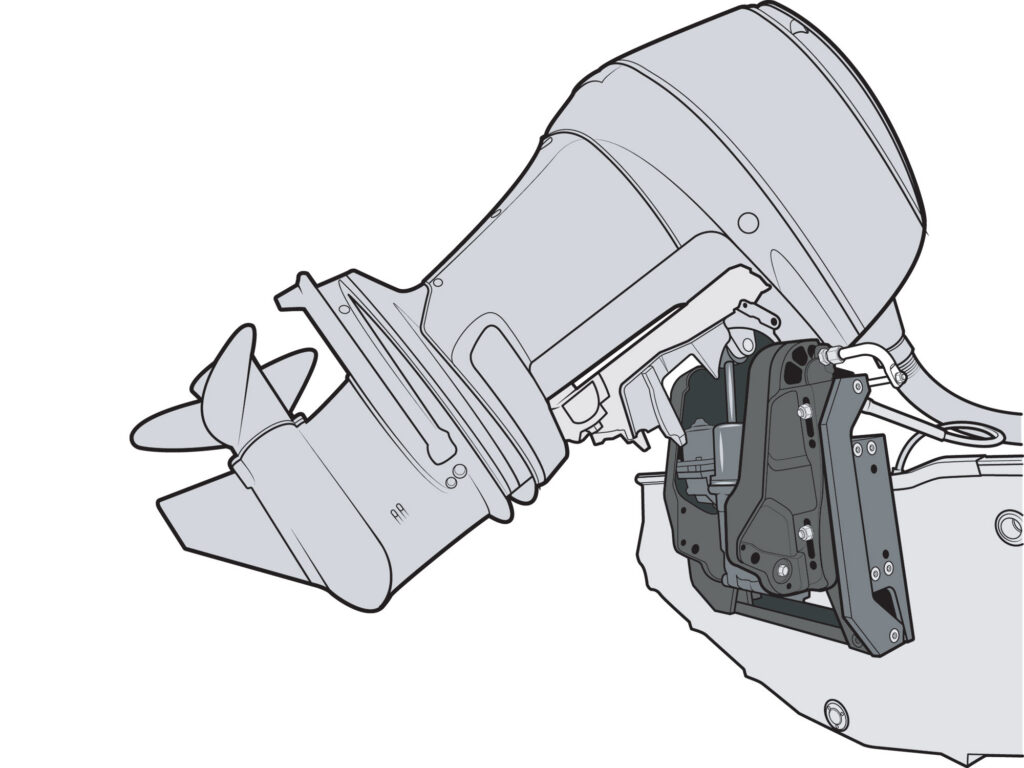
For this retrofit project, we chose a Dometic SeaStar Xtreme hydraulic jack- plate model JP5040X to install on a restored 1977 17-foot Witchcraft powered by a Suzuki long-shaft (20-inch) 115 hp four-stroke outboard. The boat was on a trailer. This particular model of jack plate has a 4-inch setback and is rated for outboard motor up to 300 hp. For more powerful outboards, Dometic offers its Mega Jackplate series, rated for up to 600 hp. The hydraulic system is built into the jack plate itself, which simplifies the installation, as there is no need to install hoses or pumps. Read through the installation manual before you get started.
Skill Level: 3.5 of 5
Finish Time: Approx. 3-4 hours
Tools and Supplies
- Dometic Xtreme jack-plate model X5040JP ($2,087.99; westmarine.com)
- Manufacturer-approved outboard mounting hardware
- Blue Sea System 0.44-inch cable gland to seal relay harness at the transom ($35.99;
defender.com) - Marine sealant suitable for below the waterline
- Socket and box/open end wrench sets
- Torque wrench
- Crimping tool
- Power drill and bits
- Phillips screwdriver
- Small stainless-steel self-tapping screws
- Zip ties and zip-tie mounts (to secure cabling)
- Shop rags (to wipe away excess sealant)
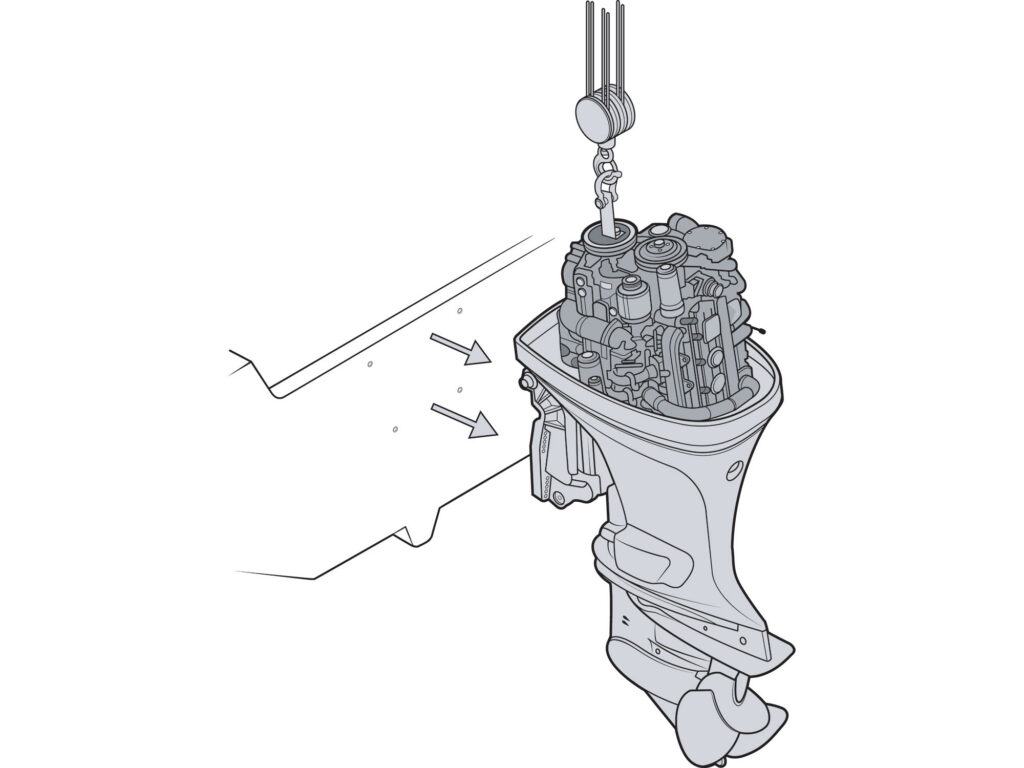
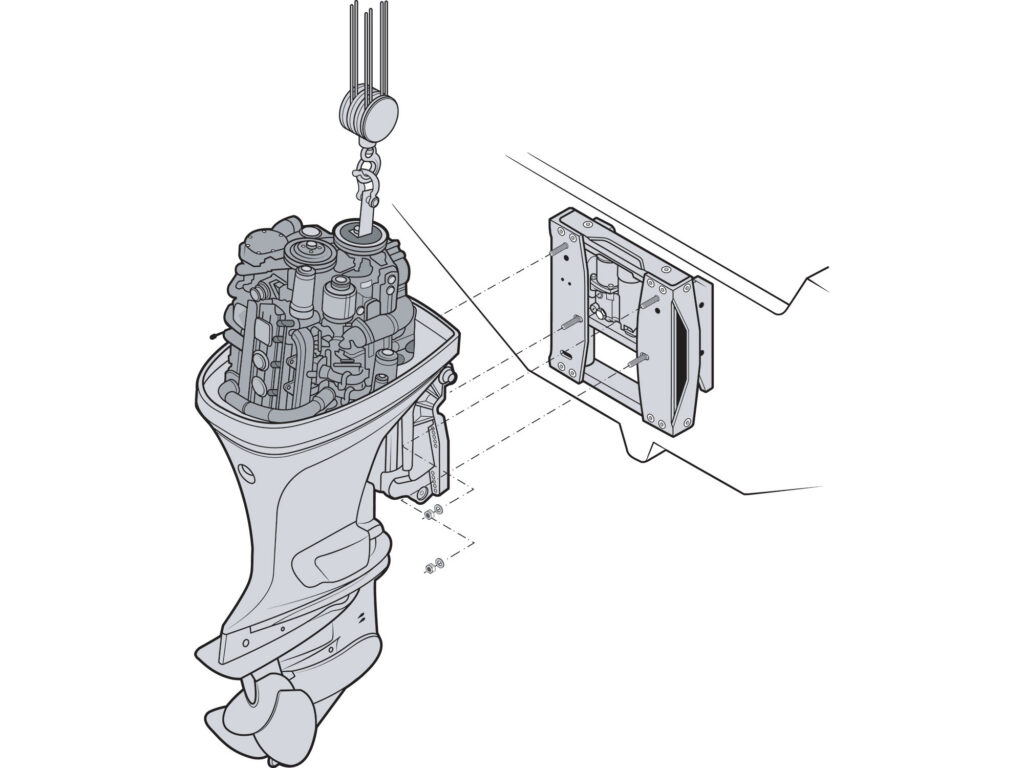
Remove the Outboard
The first step is to deinstall the outboard. You need a lifting device such as a hydraulic floor crane ($269 for a one-ton capacity model at harborfreight.com; or $46 per day at sunbeltrentals.com). Remove the outboard hood and tilt the engine to the vertical position. Secure a heavy-duty hook and chain from the outboard’s lifting eye to the hook on the crane’s boom. Take up the slack before disconnecting the outboard’s mounting bolts. Once the bolts are removed, roll the crane/outboard away from the transom.
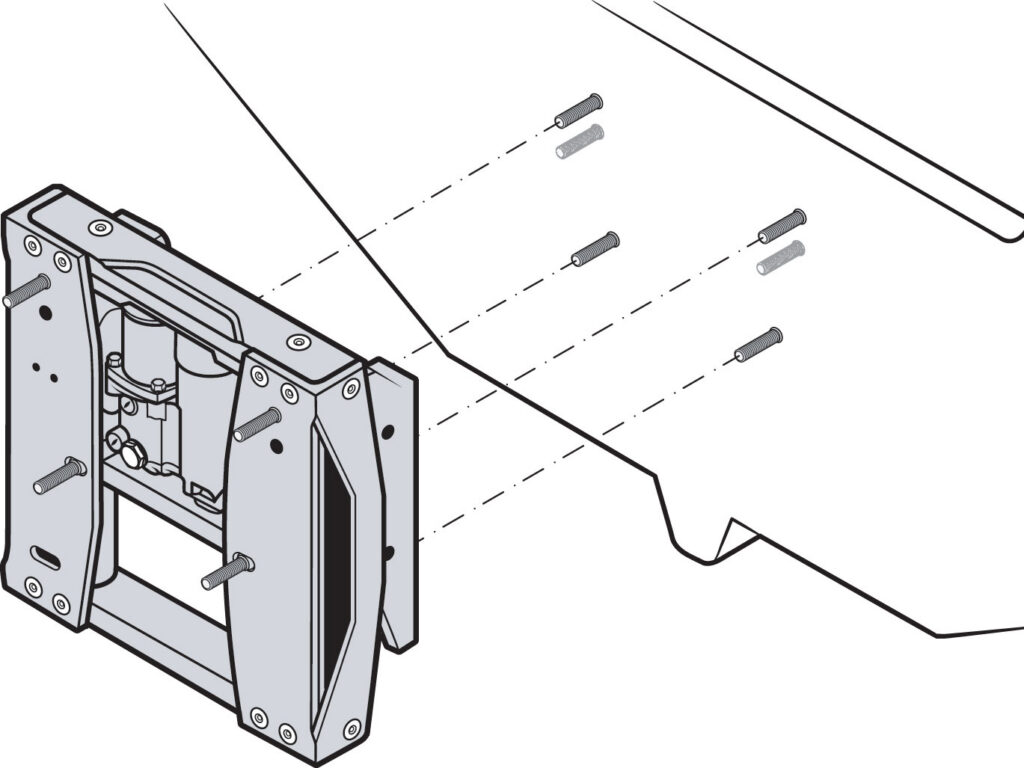
Bolt It Up
Xtreme models align with standard outboard bolt patterns. Prior to mounting the jack plate, insert the engine mounting bolts through the engine side of the plate with threads are aft. Insert approved bolts from inside the transom, then pass them through the jack plate mounting holes. Use fender washers or backing plates under the bolt heads. Bed with marine sealant. Use thick 1/2-inch stainless-steel washers under brass locknuts on the bolts to secure the jack plate. Torque to specifications. Tightening may require two people.
Jack Plate Clearance: Check for jack plate clearance after installation and before use. Starting with the jack plate at its lower position, verify full steering range. Then, with the outboard centered, carefully tilt the engine up to verify that no interference occurs between the jack plate and steering cylinder, hoses, tiebars or other components.
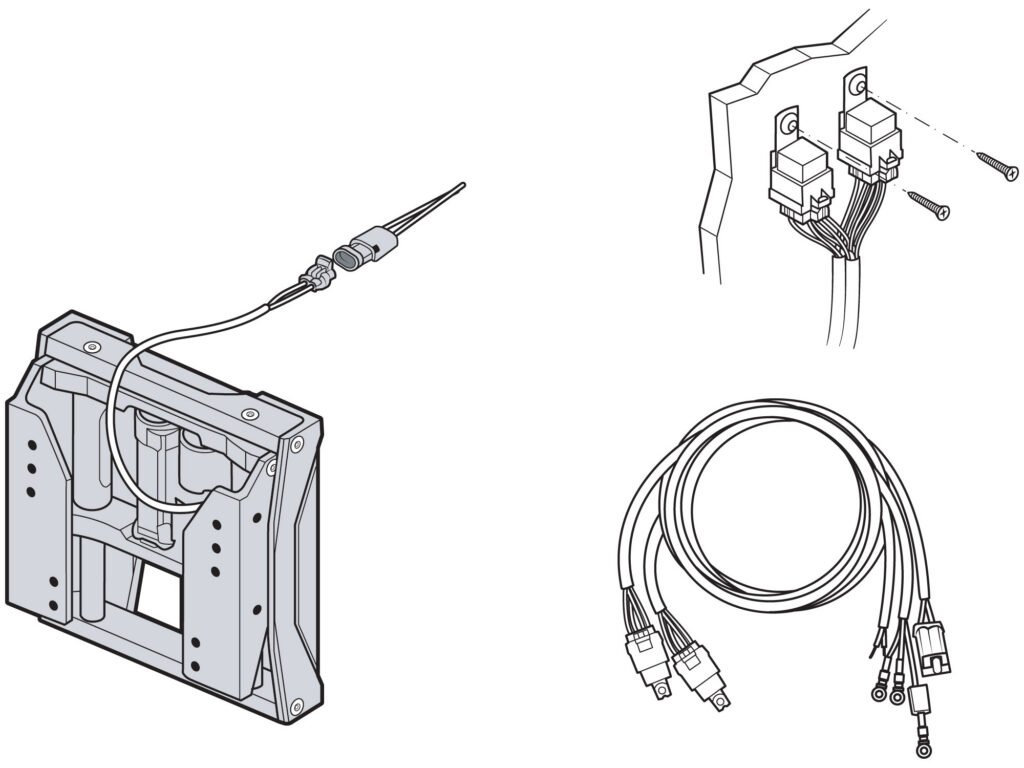
Run Relay Harness
Find a dry place to mount the relay wire harness. Use the mounting holes in the relay brackets to the boat. Attach the ring terminal from the red cable with a circuit breaker to the positive post on the starting battery. Attached the black-cable terminal to the negative post. Route the cable with actuator plug through the transom and plug it in to the jack-plate pigtail. Run the cable with the switch leads, as well as the fused wired from the positive battery harness, to the backside of the dash. Make sure the wires are supported.
Read Next: The Benefits of Dometic Mega Jackplates
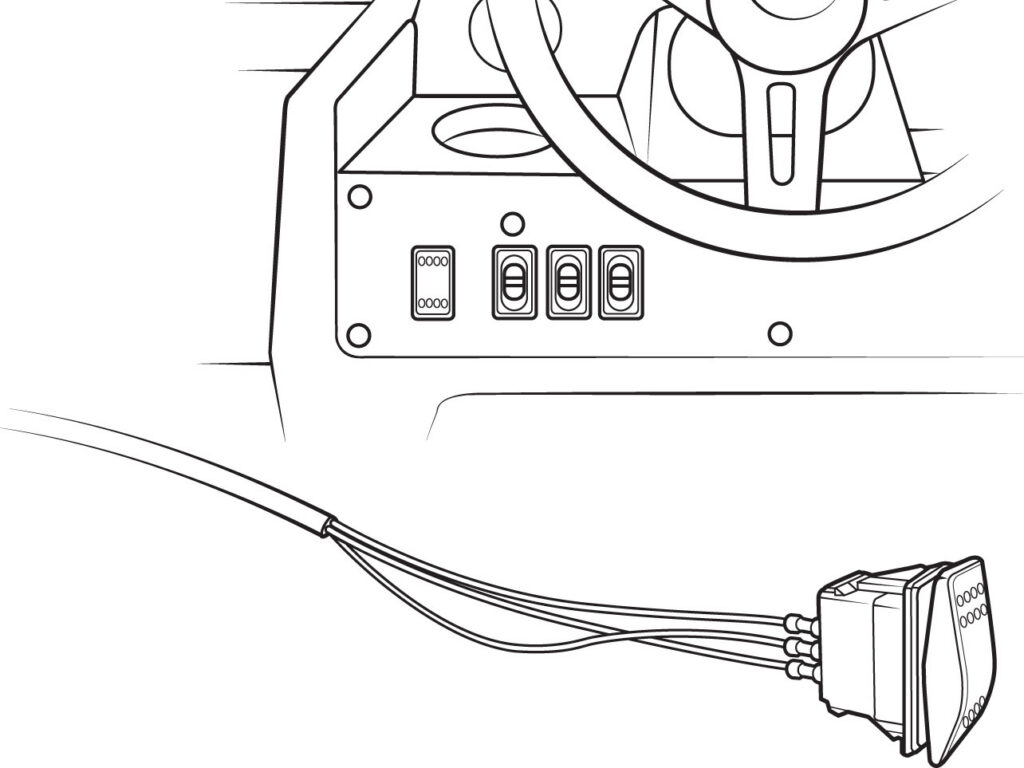
Install the Switch
Xtreme jack plates come with a momentary two-way rocker switch. Cut an appropriate rectangular opening in the dash for the switch. Pull the two switch leads and the fused wire from the positive battery harness from behind the dash through the hole and crimp on the supplied spade connectors. Connect the spade connectors to the rocker switch control as outlined in the manual. Before seating the rocker switch, confirm the jack plate movements are consistent with the directions on the switch. Then seat the switch.
Dometic Pro-Trim: Pro-Trim turn-signal-style controls replace the rocker switch, offering fingertip control while keeping both hands on the wheel. Pro-Trim fits behind the wheels of SeaStar hydraulic and cable steering helms and is available in single- and dual-function systems ($115.99 and $193.99, respectively; marinepartssource.com).
Reinstall the Motor
Slide the crane against the bolts on the engine side of the jack plate and insert them through the mounting holes on the outboard. We used the second holes down (as when the outboard was mounted to the transom). You might need to wiggle the engine or raise/lower the crane to get all of the bolts aligned. Use thick 1/2-inch stainless-steel washers under brass locknuts on the bolts to secure the jack plate and torque to specifications. Test the operation of the jack plate and check for clearance, as outlined above.