Removing and reinstalling an outboard gear case (aka lower unit) is a relatively simple and necessary process when rebuilding a water pump or inspecting and greasing the splines on the driveshaft that connects the gear case to the powerhead. This is a job that needs to take place when the boat is on a trailer or in dry storage. Each outboard brand and model have slightly different procedures. Many of today’s outboards (both digital- and mechanical-shift models) can be left in neutral during this process, but consult your engine manufacturer about what gear position is recommended. Large-outboard lower units are heavy, so have a buddy help you support the weight during removal and reinstallation. Have a gear case stand ready to support and secure the lower unit in a vertical position once it is free of the outboard. For details on how to build a lower-unit stand, visit boatingmag.com/build-a-lower-unit-stand.
1. Full Tilt
Tilting the outboard as high as possible will make it easier to wrench on the bolts holding the lower unit in place and remove the lower unit. Ensure that there is nothing astern blocking the ability to slide the shaft out and away from the outboard. Afterward, turn off the start-battery switch.
2. Lose the Prop
First removing the prop saves weight, making it easier to support and handle the lower unit as it is being removed and replaced. It is also necessary in order for the gear case to fit in a lower-unit stand.
3. Shift-Rod Separation
Some outboards, especially older ones, have vertical-action shift rods with a pin secured by a clip to connect the upper part of the rod with the lower section of the rod. Remove the pin to separate the sections of the shift rod. Most of the newer outboards have rotating shift rods that join via female/male splined joints that separate easily when removing the lower unit.
4. Remove Bolts and Wires
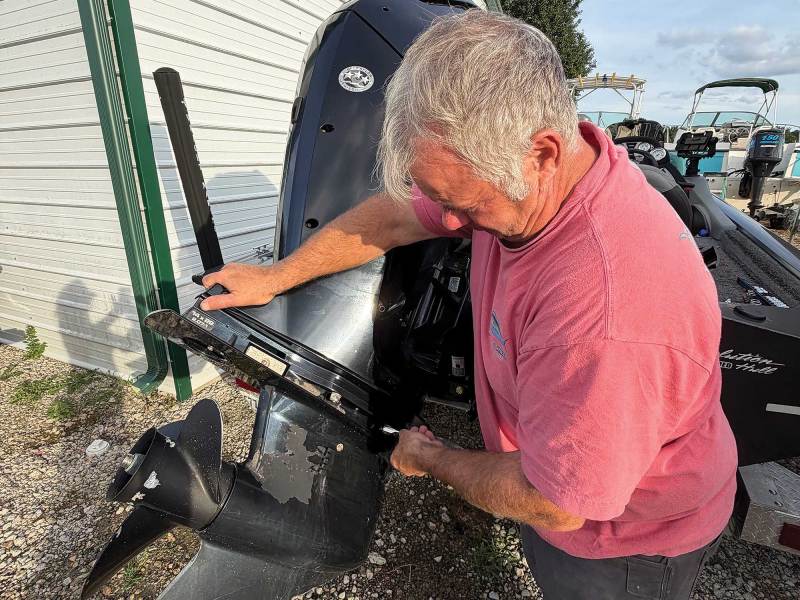
Remove any bonding wires between the lower unit and the midsection by removing the screws holding the bonding wire terminals in place. Loosen and remove all bolts holding the lower unit in place. The number of bolts will vary with each model. On my Suzuki 200, there are seven, three on each side and one hidden above the steering torque tab. Remove the tab to get to the bolt. Before removing the last couple of bolts, have your buddy hold the lower unit to prevent it from prematurely sliding out and falling to the ground.
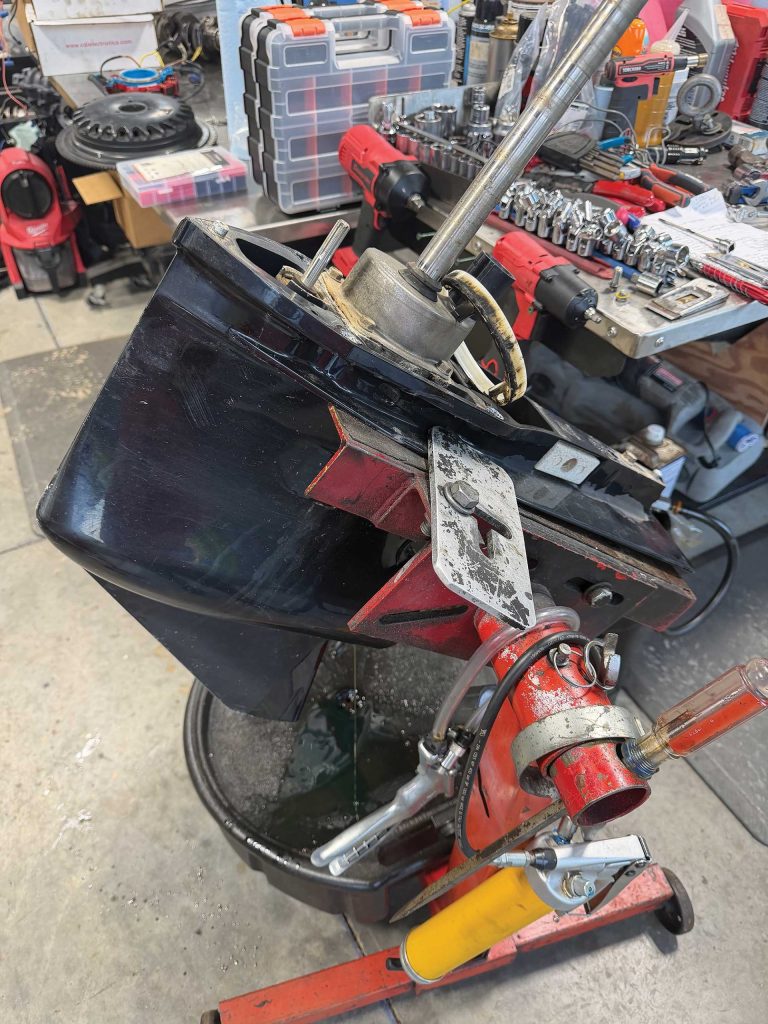
5. Slide the Lower Unit Out
Work with your buddy to carefully slide the lower unit and driveshaft out and away from the midsection. If it does not willingly come off, you may have missed a bolt or two. Make sure all bolts are removed. If the gear case remains stuck, there may be a corrosion issue holding it in place. In this case, contact a service shop or dealer to help diagnose and resolve the issue.
6. Reinstall the Gear Case
Carefully slide the driveshaft up through the midsection, through the lower seal, and into the splined joint in the powerhead. If it does not immediately align, pull the lower unit back a few inches so you can reach and spin the driveshaft a tad to line up the splines. Also, make sure the splined joint for the shift rod lines up. Once you’re done, there should be no gap between the mating surfaces of the lower unit and midsection.
7. Reinstall Everything
Have your buddy hold the lower unit in position until you reinstall the bolts and torque them to factory specs. Before bolting everything together, I like to thinly apply grease to bolt threads to forestall corrosion in the future. Then reinstall the steering torque tab, bonding wires, shift-rod pin (if necessary), and the propeller. Turn the battery back on. Tilt the outboard down and test your work by running the engine on the hose and muffs, but staying well clear of the prop while you make sure it shifts and runs properly.