Tying up your boat properly is both an art and a skill. The skill part comes from learning about knots, lines, and the potential effects of wind and moving water, and then applying that knowledge in a practical manner. The art comes from adjusting those techniques to suit the variables of a specific boat berthed in a specific type of slip.
In the descriptions that follow, we’ll discuss the basics of what’s required for a secure tie-up on tidal water, as that’s generally the more challenging environment. Read along and learn tips for tying-up your boat at a dock.

Floating Dock
Securing your boat at a floating dock is usually less complex than tying-up at a fixed dock. With your boat tied to a floating dock, you do not have to account for the rise and fall of the tide.
Let’s assume you are going to dock alongside a floating dock, between two other boats. You will need four lines to do this right. Let’s name them.
- Bow Line: Holds the bow next to the dock.
- Stern Line: Holds the stern next to the dock
- After Spring: Prevents boat from moving aft.
- Forward Spring: Prevents the boat from moving forward.
There is another type of dockline that is used, less frequently. It is called a Breast Line. This line is tied between the boat and dock at a 90-degree angle and is often a temporary line tied while readying your other lines.
This article isn’t about docking but about how to tie up, but some docking info will prove helpful. For instance, as you approach the dock, look for cleats on the dock and try to come alongside corresponding these to the bow and stern of your boat. You’ll also ready your docklines by now, getting them out and untangled and cleated off on the boat’s bow and stern cleats. Cleat them off on the side of the boat that will be against the dock. You may need to move quickly if the wind is blowing or the current is running. Also, deploy your fenders before you land.
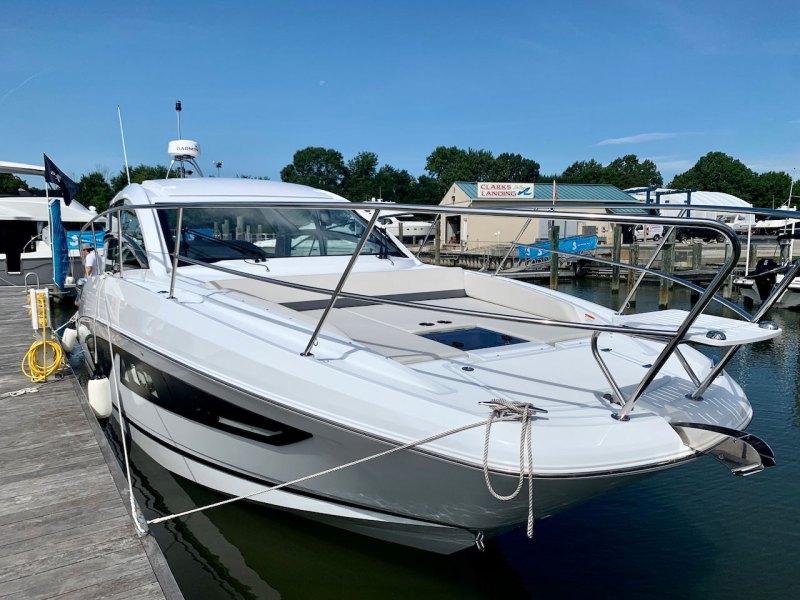
Once alongside, place the boat in neutral and get a breast line between a cleat amidship and the dock. Don’t have amidships cleats? Every well-found boat should have these. Installation is straightforward. Make sure they are large enough to accommodate two docklines and a fender line.
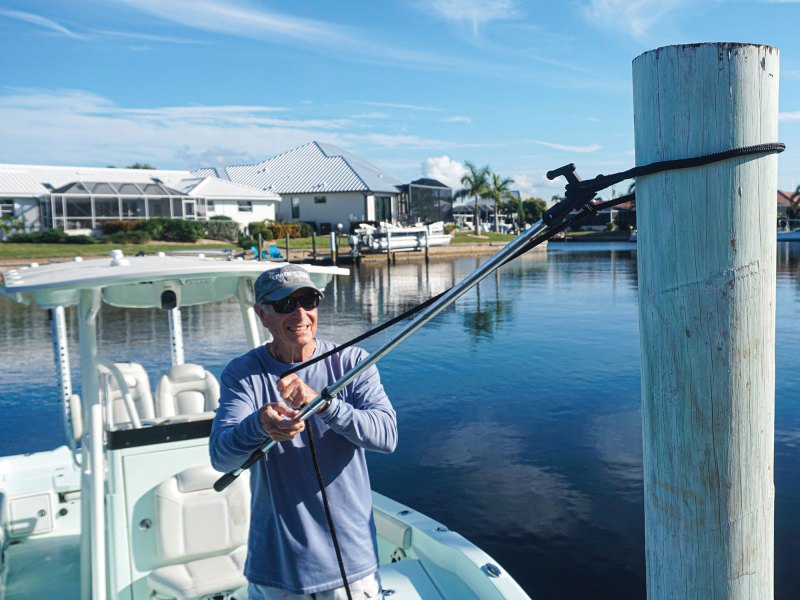
Next, grab the loose end of your bow or stern line, hold it tight, and step ashore. Cleat it off on the dock. Repeat for the stern cleat.
Now replace the breast line with your springlines. Run one springline aft from the amidship cleat and tie it to a dock cleat at a length that doesn’t allow the boat to move forward much. Run the other springline forward to a dock cleat and tie it at a length that doesn’t allow the boat much movement aft.
Finally, check and readjust all four lines, adjust your fenders and you are done.
Make sure your docklines are long enough. A line that’s too short is worthless. While too much length is ungainly, and expensive, you want enough length cover yourself. Different docks have different cleat spacings. As a rule-of-thumb, I recommend bow and stern lines be at least twice the boat’s beam long. Springlines should be as long as the boat.
Of course, for your own permanent dock, you can use exact length lines, perhaps even custom-splicing these yourself.
Fixed Docks
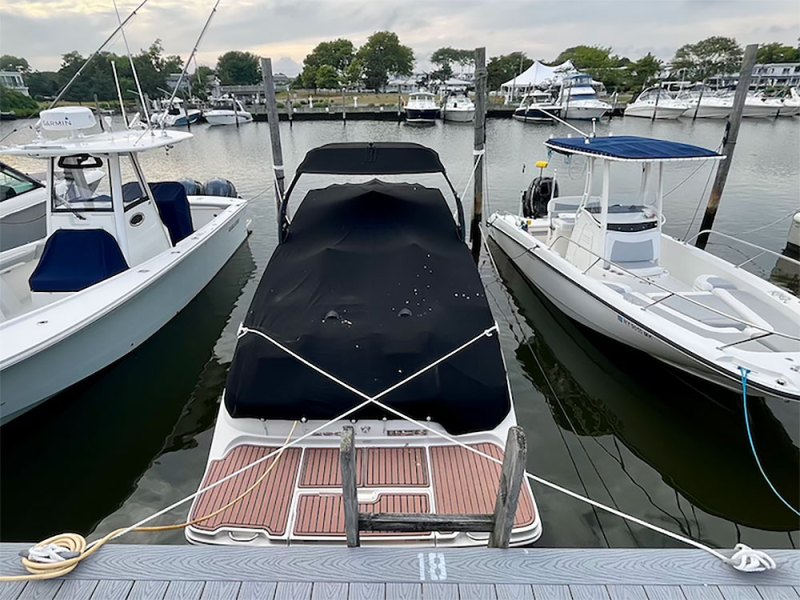
At a fixed dock, your boat can’t just be tied tight. You have to allow for the rise and fall of the water, lest the boat be left hanging by its lines at low tide or pulled under by its lines at high tide.
Crossed stern lines keep the boat from moving sideways, limiting the distance the boat can move (at a given tidal stage) away from the direction the line is tied. Lines tied right next to the boat can’t prevent the boat from hitting pilings to which they are tied or keep the boat out of the neighboring slip. They also provide more length than uncrossed lines, helping to allow for changing water levels. But you can’t just cross the lines and walk away. You need to find the window, or envelope, of length, monitoring and adjusting for different stages of tide until you find the “just right” spots to tie and length. Get a head start by tying off level with the cleat at half-tide.
For a permanent slip, this won’t change much year to year (storms and astronomical events excepted). For a transient slip at a restaurant or an overnight spot, you’ll need to check several times per tide cycle. In that sense tying up to a fixed dock overnight is similar to anchoring overnight: prudent mariners keep a watch.
Spring lines’ length and height must also be factored from trial and error. Too long and your boat will bang the dock when current or wind is astern; too short and you’ll have to make a leap to board during high tide. Experiment through several tides.
Tip: No Loops
Lines looped over cleats can become too tight to undo during astronomically low and high tides (or after high winds, or in strong currents). Use cleat hitches on the boat side and you’ll always be able to untie. Using cleat hitches instead of loops also builds-in adjustability. Leave a few feet of tag end to adjust for extremes in water level caused by weather events or other factors inordinately affecting water level.
Conclusion
Tying your boat to a floating dock presents different challenges than rigging a slip at fixed dock. Tying up where water levels remain relatively constant, and or there is little current presents fewer challenges than tying up where the water moves a lot during the course of a day. In all scenarios, the keys to success are to take a thoughtful approach, check on your boat frequently, and ask the advice of local or more experienced boaters if available.